Choosing the Right Template for Your Needs
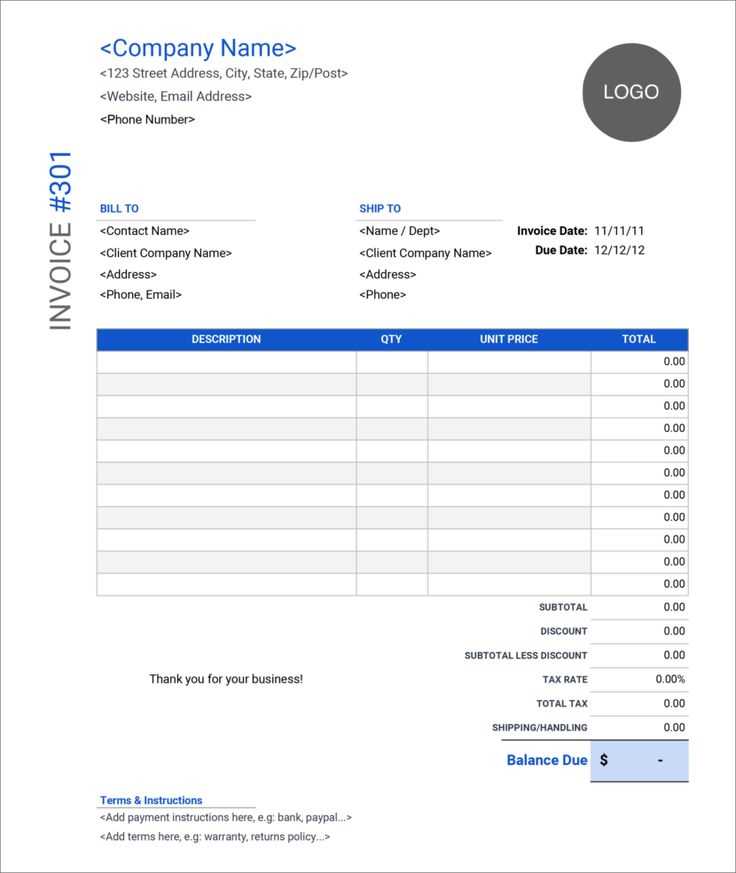
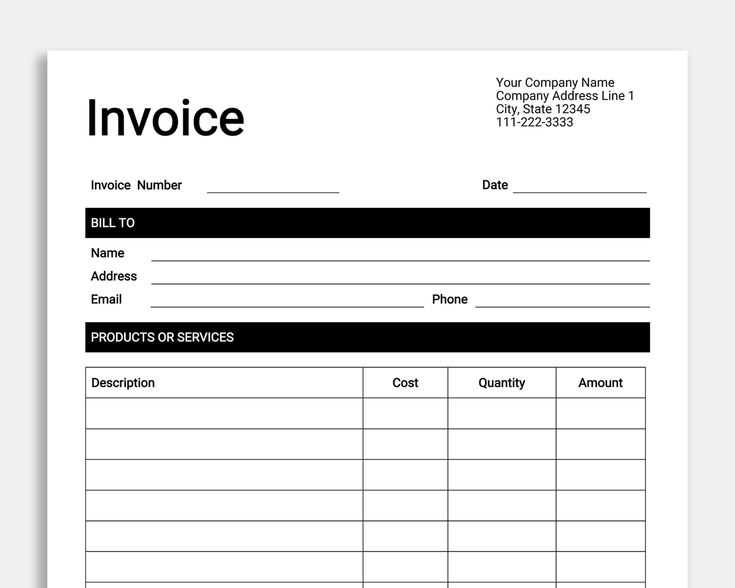
Use a structured invoice template to streamline billing. A well-designed Excel sheet should include:
- Company name, logo, and contact details
- Client information
- Invoice number and date
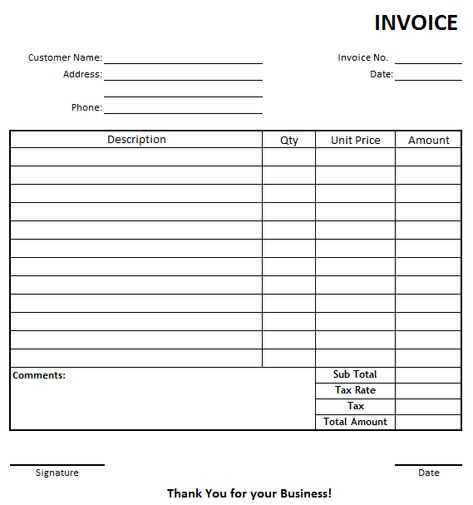
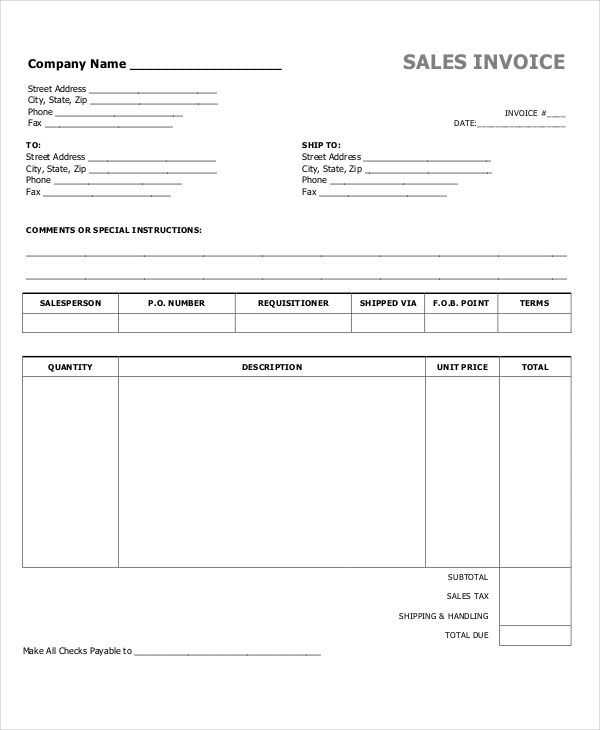
- Itemized list of products or services
- Subtotal, taxes, and total amount
- Payment terms and due date
A receipt template should include similar fields but emphasize the payment confirmation details, such as transaction method and receipt number.
Optimizing Your Template for Automation
Use Excel formulas to reduce manual work:
- SUM function: Calculates totals automatically.
- IF function: Flags overdue invoices based on due dates.
- VLOOKUP: Fetches client details from a separate sheet.
Conditional formatting highlights unpaid invoices, and drop-down lists ensure consistency in item descriptions.
Exporting and Sharing
Convert the finished invoice or receipt to PDF for secure sharing. Use built-in Excel options or free online tools. Emailing directly from Excel simplifies communication and speeds up payment processing.
Invoice and Receipt Template in Excel
How to Create a Basic Billing Format
Formatting Tips for a Clear and Readable Layout
Automating Calculations with Formulas in Excel
Customizing Designs with Logos and Branding
Saving and Exporting as PDF Files
Tracking and Organizing Issued Documents

How to Create a Basic Billing Format
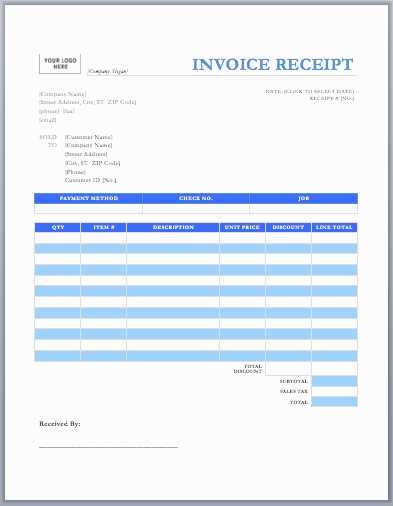
Use separate columns for item descriptions, quantities, unit prices, and totals. Apply clear headings and ensure consistent spacing for readability. Enable text wrapping in cells containing longer descriptions to keep the layout compact.
Automating Calculations with Formulas in Excel
Use =SUM() to total amounts automatically. Apply =A1*B1 for unit price and quantity calculations. Implement =IF() to handle tax inclusion dynamically. Protect formula cells to prevent accidental changes.
Save the file as a template to streamline future use. Keep records organized by using a structured naming convention for each invoice or receipt.


