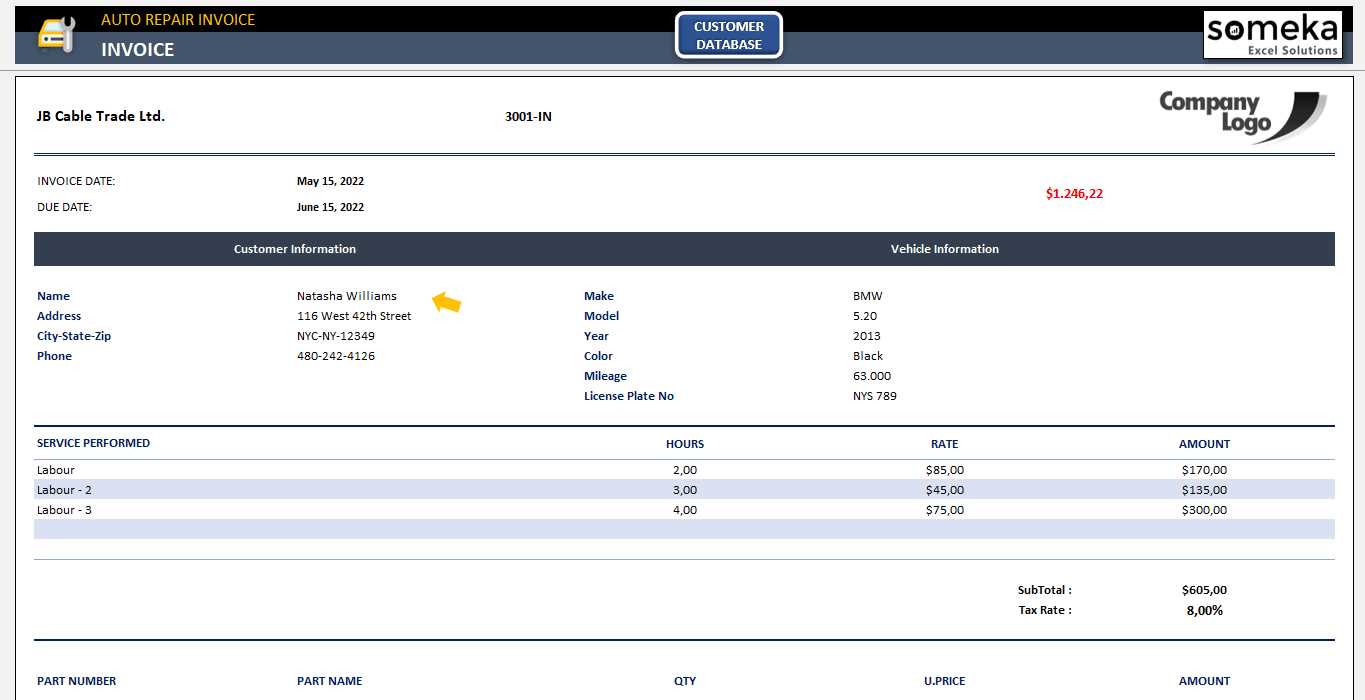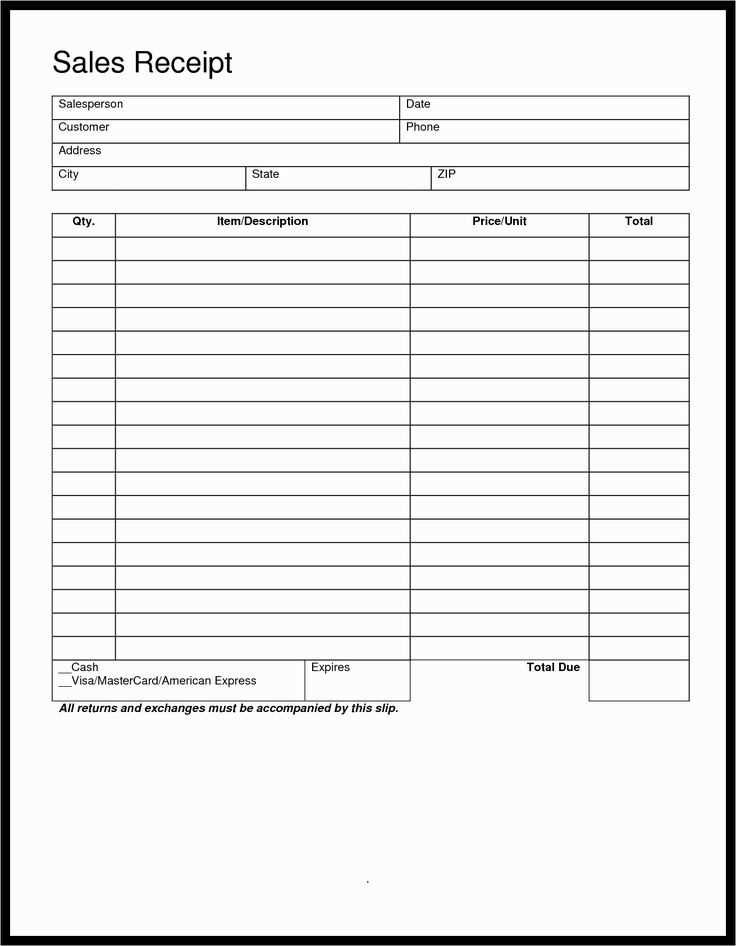
Download a structured itemized receipt template in Excel to streamline record-keeping and ensure clarity in transactions. A well-formatted template helps organize item descriptions, quantities, prices, and taxes without manual calculations.
Use pre-built formulas to automate totals and tax calculations, reducing errors and saving time. Each row should clearly display product details, while column headers remain fixed for easy navigation. Formatting options, such as currency symbols and date fields, make receipts more professional and user-friendly.
Customize templates by adding a company logo, modifying color schemes, or adjusting tax rates to meet local regulations. Protect formulas and key fields to prevent accidental changes. If multiple currencies are required, integrate exchange rate calculations for accurate invoicing.
Convert completed receipts into PDF format for secure sharing, or print directly from Excel. For businesses handling frequent transactions, consider using Excel macros to automate repetitive tasks and generate receipts faster.
Itemized Receipt Template in Excel
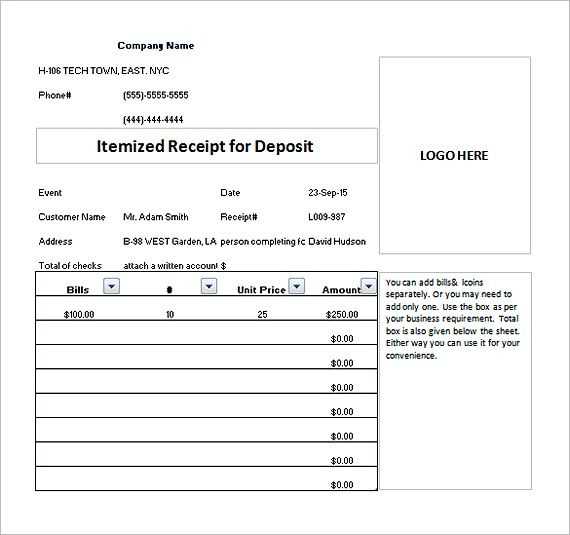
Use a structured table format to organize details clearly. Include columns for date, description, quantity, unit price, and total. This setup ensures easy tracking and accurate calculations.
Automate Calculations with Formulas
Insert formulas to calculate totals automatically. In the “Total” column, use =C2*D2 to multiply quantity by unit price. For a running total, apply =SUM(E2:E100) at the bottom. This reduces errors and speeds up entry.
Enhance Readability with Formatting
Apply number formatting to currency columns for consistency. Use bold headers and gridlines for clarity. Conditional formatting can highlight unpaid items or overdue balances, improving visibility.
Save the template with predefined fields to streamline future use. Lock formulas and headers to prevent accidental changes while keeping entry fields editable.
How to Structure an Itemized Receipt in Excel
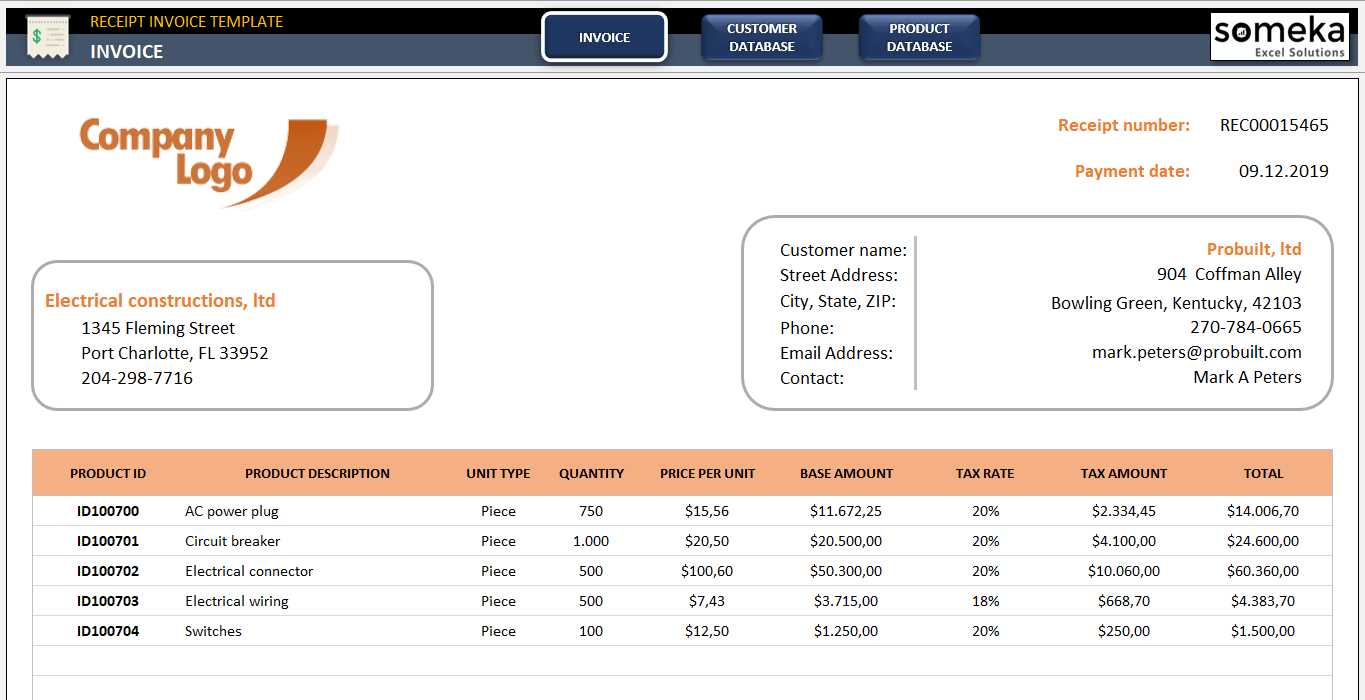
Use separate columns for key details: Date, Receipt Number, Item Description, Quantity, Unit Price, Subtotal, Tax, and Total. Keep headings clear and bold for readability.
Format currency fields for consistency. Select the relevant cells, right-click, choose “Format Cells,” and apply the currency format. This ensures that all monetary values appear correctly.
Automate calculations with formulas. In the “Subtotal” column, use =B2*C2 (adjust cell references as needed) to multiply quantity by unit price. For tax, apply =D2*0.08 (replace 0.08 with the applicable rate). Sum up the total using =SUM(E2:E10).
Include a section for payment details. Add a row for the total amount due and indicate the payment method, such as cash, card, or bank transfer.
Improve presentation with borders and alignment. Select the table, go to “Borders” in the formatting toolbar, and apply gridlines. Align text and numbers properly–left-align descriptions, right-align amounts.
Save the template for future use. Click “File” > “Save As,” choose Excel Template (.xltx), and store it in an accessible location. This way, every new receipt follows the same structured format.
Customizing Formatting and Calculations
Adjust column widths to ensure all text is visible. Double-click the right edge of a column header to auto-fit content or drag manually for a custom width.
Applying Conditional Formatting
Highlight overdue payments or large expenses with conditional formatting. Select the relevant cells, go to Home > Conditional Formatting, and set rules based on value thresholds. For example, format amounts over $500 in bold red text.
Automating Calculations
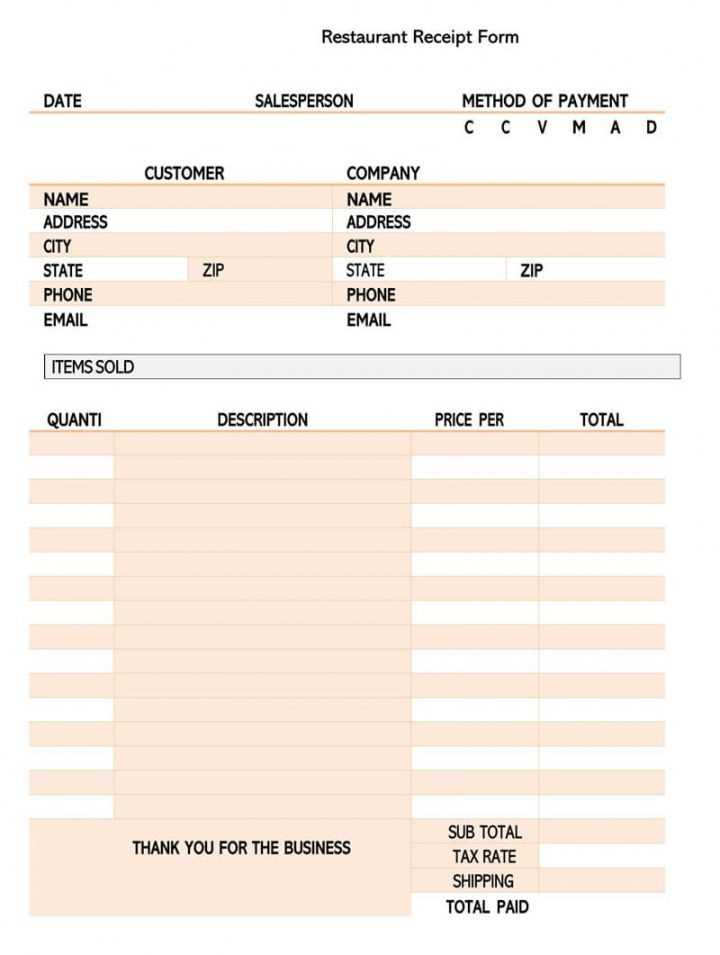
Use formulas to streamline totals and taxes. In the Total column, apply =SUM(B2:B10) to add item costs. For tax, multiply the subtotal by the tax rate: =B11*0.08 (adjust as needed). Enable automatic calculations under Formulas > Calculation Options to update values instantly.
For precise currency formatting, select cells, go to Number Format, and choose Currency with the preferred symbol and decimal places.
Automating Data Entry with Excel Features
Use Excel’s built-in features to minimize manual data entry and reduce errors. The following tools help streamline the process:
- Data Validation: Restrict input to predefined values using drop-down lists. Select a range, go to Data > Data Validation, choose List, and enter allowed values.
- Flash Fill: Automatically extract, format, or combine data based on a pattern. Enter an example in the adjacent column, press Ctrl + E, and Excel fills the remaining cells.
- Form Controls: Use checkboxes, combo boxes, or buttons for quick selection instead of typing. Enable the Developer tab, insert a control, and link it to a cell.
- Power Query: Automate data imports from multiple sources. Open Data > Get Data, select a source, apply transformations, and refresh with one click.
- Macros: Record repetitive actions and execute them instantly. Go to View > Macros, start recording, perform the task, then save and run the macro as needed.
Combine these tools to build an efficient workflow, ensuring accuracy and consistency while saving time.
