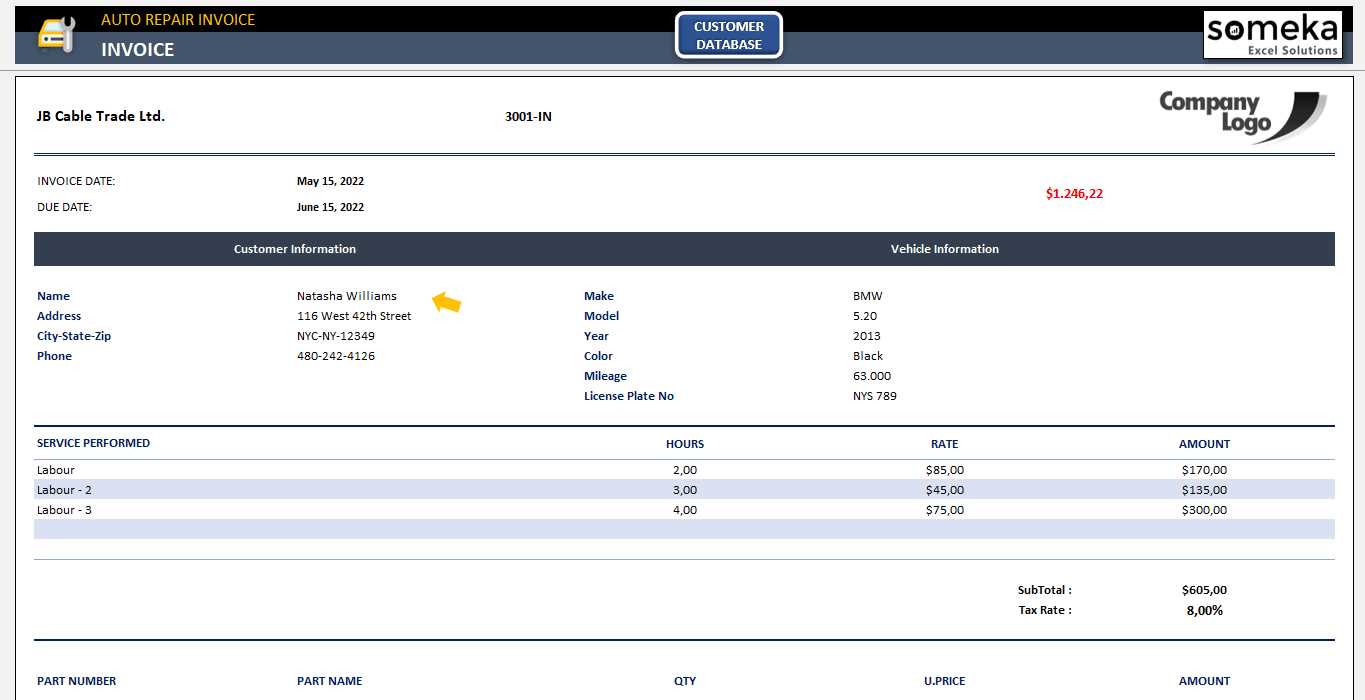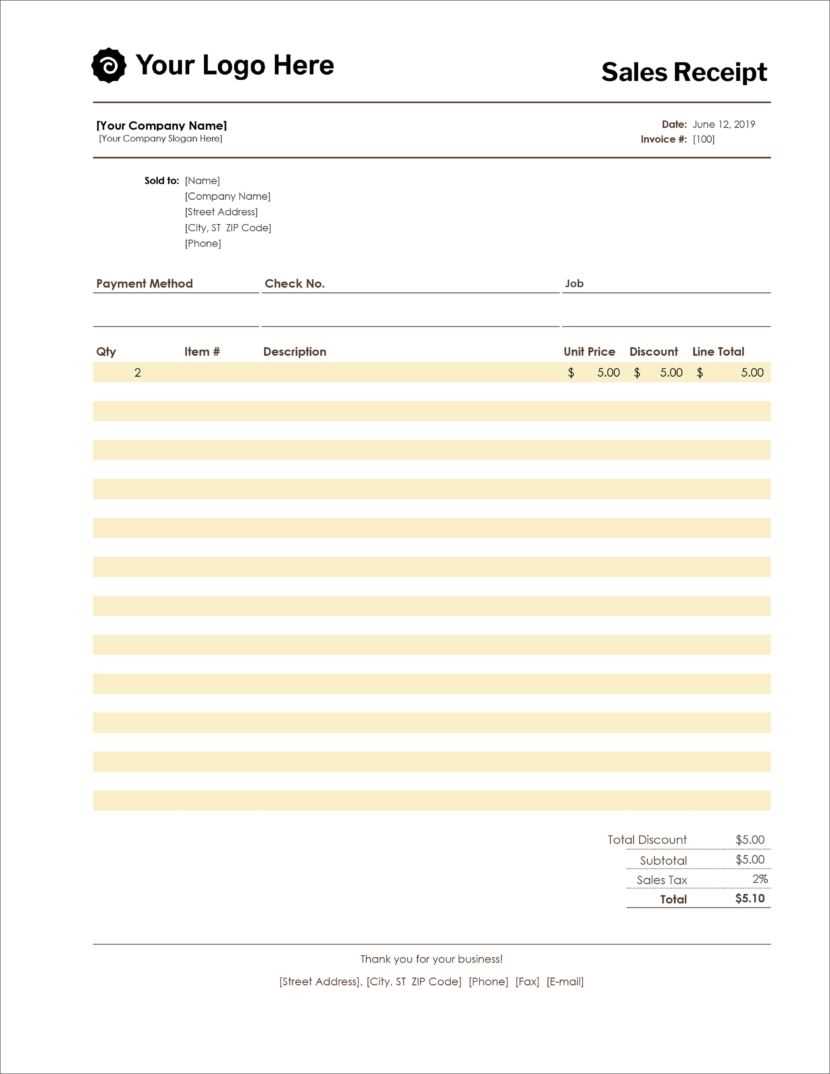
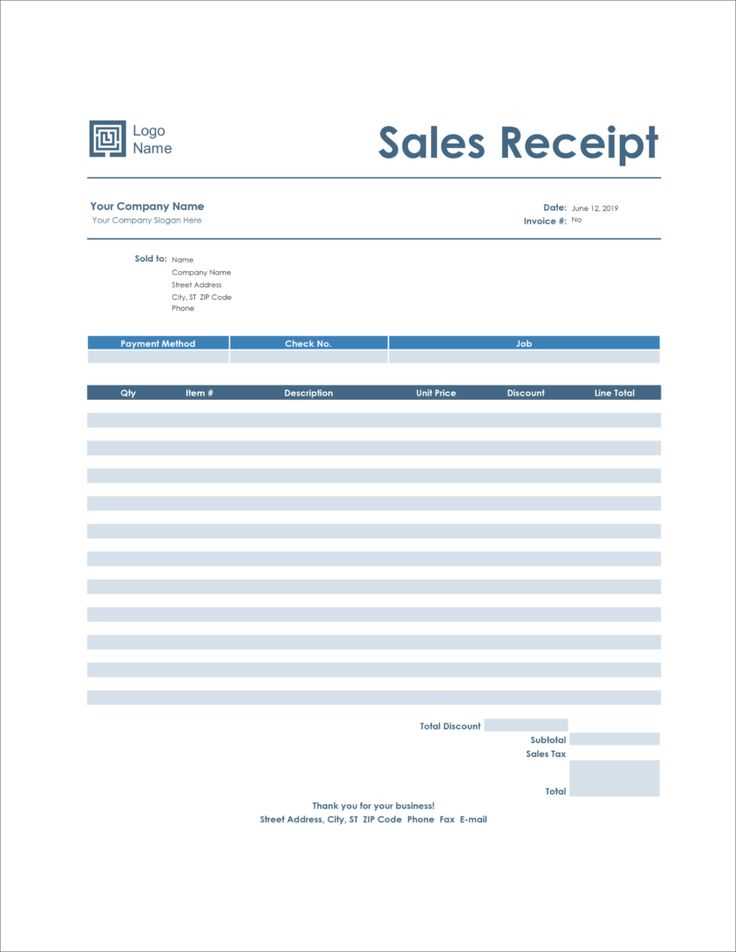
Using a Microsoft Excel receipt template can streamline the process of creating professional receipts with minimal effort. Excel provides an easy-to-use framework for both small businesses and individuals looking to generate receipts efficiently. Simply open a blank workbook, insert key receipt details like the date, product or service descriptions, quantity, and price, then format the cells for clarity.
By customizing the template with your branding elements such as logos or color schemes, you can create personalized receipts that match your business identity. Adjust the columns to ensure everything fits neatly, and include formulas to automatically calculate totals, taxes, and discounts, which reduces manual calculations and human error.
It’s also helpful to save the template as a file so it can be reused for future transactions. This way, you won’t have to recreate receipts from scratch each time. A quick update with the new details is all it takes to generate a new receipt. Excel’s built-in features like cell protection and data validation can also ensure that users fill out only the required fields, adding an extra layer of organization to your receipts.
Microsoft Office Excel Receipt Template
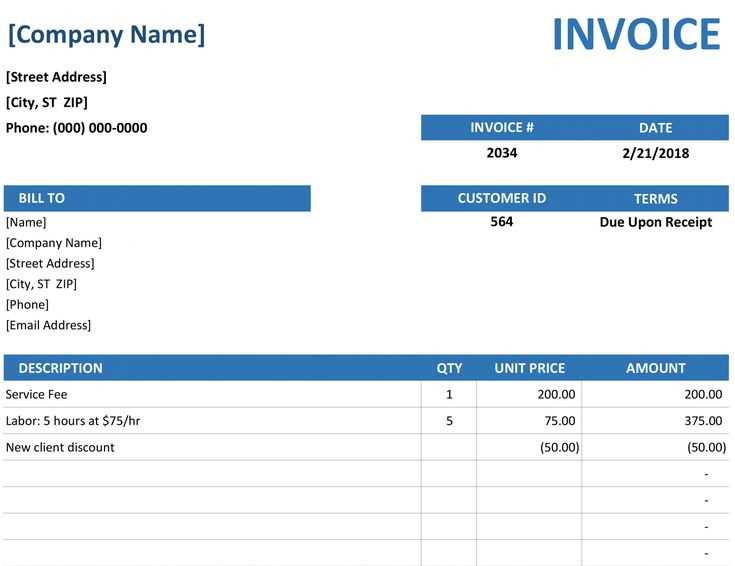
Creating a receipt in Microsoft Office Excel is straightforward. Start by setting up the basic structure with headers for essential information, such as the date, item description, quantity, price, and total. Adjust column widths to ensure data fits neatly, and use bold formatting for key sections like the receipt title and totals.
Next, use Excel’s built-in formulas to calculate totals automatically. For example, use the SUM function to add up the total cost of items. If you’re including tax, set up a separate cell with a formula to calculate tax based on the subtotal. To make your receipt more professional, apply borders around the cells to define sections clearly.
Excel also allows you to add a logo or other branding elements. Place these in the header section and adjust the size to ensure they don’t take up too much space. You can also customize the font style and color scheme to match your brand identity or the style of the receipt.
Save the template as a reusable file so that you can create receipts quickly for future transactions. By setting up the template properly, you can streamline the process of issuing receipts while maintaining a professional appearance every time.
Creating a Custom Receipt Template in Excel
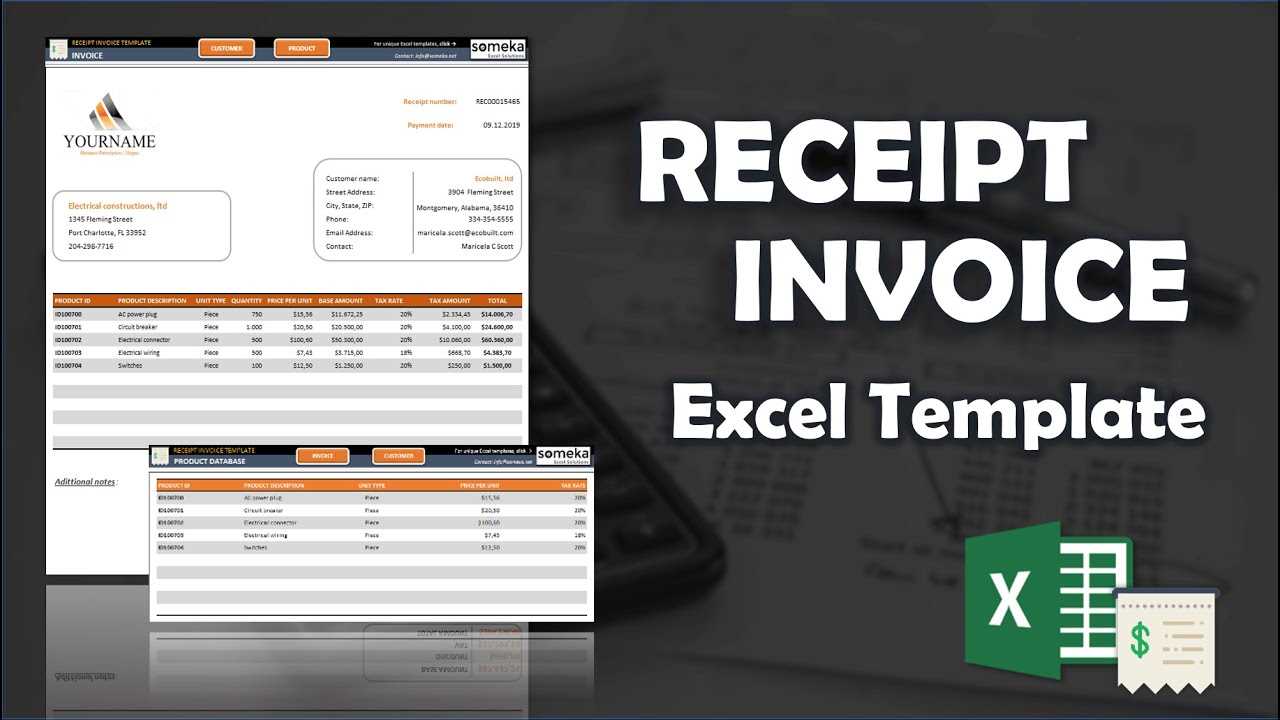
To create a custom receipt template in Excel, begin by setting up a clean, simple layout with the key elements you need. Use headers for sections such as “Receipt Number”, “Date”, “Item Description”, “Quantity”, “Unit Price”, and “Total”. Each section should have its own column, and adjust the column widths so all data is visible without excess space.
Here’s a step-by-step guide to customize the layout:
- Step 1: Label each column clearly. Include a “Total” column where you can use the SUM function to calculate the total amount automatically.
- Step 2: Add formulas to calculate totals and taxes. For example, multiply quantity by unit price for each item, and use a separate cell for tax calculations if needed.
- Step 3: Customize the look. Bold headers and totals for emphasis. Apply borders around sections to visually separate each part of the receipt.
- Step 4: Insert a logo or company name at the top of the template for branding purposes. Resize it to ensure it fits neatly within the header area.
Once you’re satisfied with the structure, save the template for future use. This allows you to easily generate receipts without starting from scratch each time. The template can be modified based on the specifics of your transactions, such as adding or removing columns or changing formatting.
Adding Formulas for Automatic Calculations
To make your receipt template more dynamic, apply formulas for automatic calculations. Start by calculating the total cost by multiplying quantity and unit price. Select the cell where you want the total and enter the formula =A2*B2, assuming column A contains the quantities and column B contains unit prices. This formula will automatically update the total whenever you change the quantity or price.
For more advanced calculations, like applying a discount, use the formula =C2-(C2*D2), where C2 is the total cost and D2 is the discount percentage. This will calculate the discounted price, adjusting whenever you update the discount rate.
To automatically calculate the sales tax, you can use =E2*0.1 if E2 is the price before tax and 0.1 represents a 10% tax rate. Modify the tax rate as needed based on your location.
To ensure totals stay accurate, include a summation formula at the bottom of your table. Use =SUM(F2:F10) to add up all the individual totals in column F, adjusting the range to match the number of rows in your receipt.
These formulas simplify updating your receipts. Any changes in quantities, prices, or rates automatically reflect in the final calculations, saving time and reducing errors.
Saving and Reusing Your Template for Future Transactions
To save your Excel receipt template for future use, click File in the top left corner, then select Save As. Choose a location on your computer or cloud storage where you can easily access it. Save the file with a clear name, like “Receipt_Template.xlsx,” so it’s easy to recognize later.
If you plan to use the template frequently, consider saving it in a shared folder or OneDrive for easy access from any device. This way, you won’t have to search for it each time you need it.
To reuse the template, simply open the saved file, make any necessary updates (like transaction details), and save it as a new document with a unique name for each transaction. This ensures your original template remains unchanged for future use.
If you want to speed up the process even more, you can create a shortcut to your template on your desktop or pin it to the Excel “Recent” list. This makes the template just a click away every time you need it.
