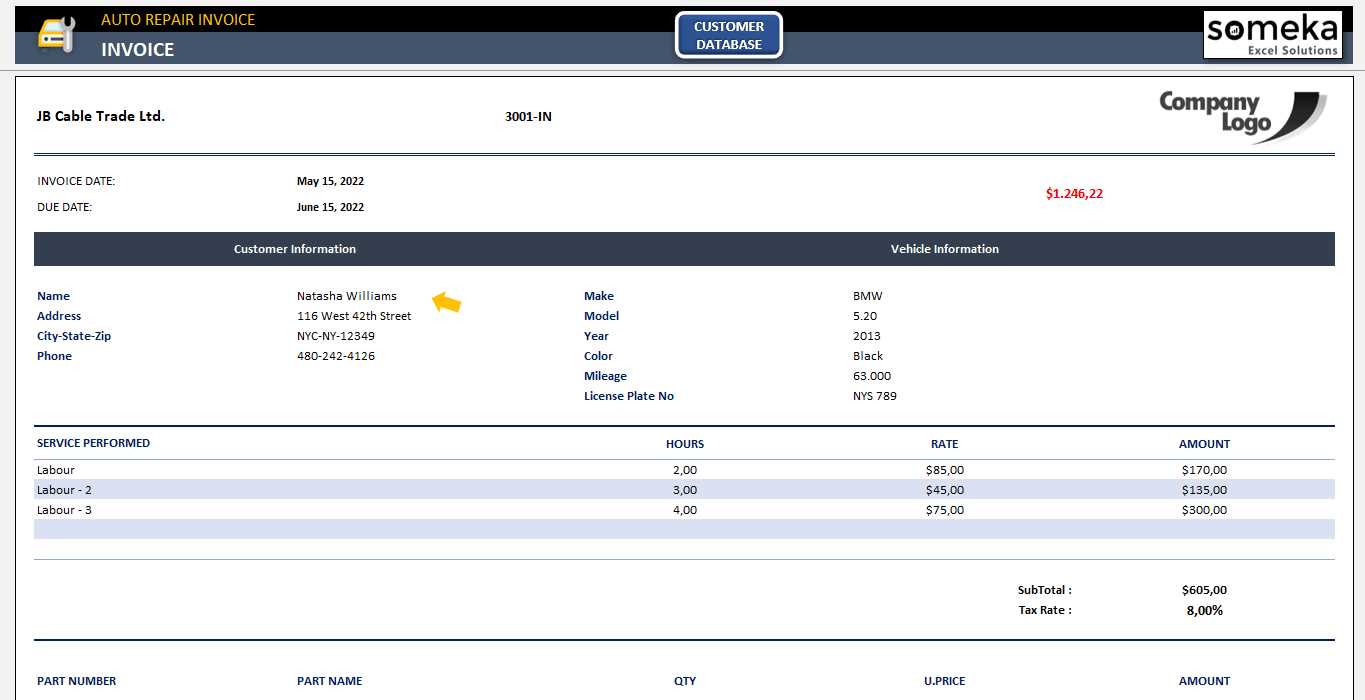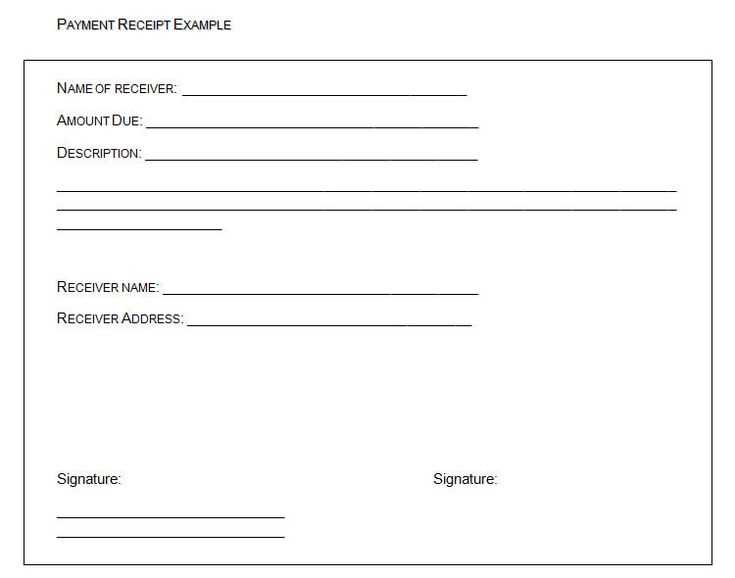
If you’re looking for a straightforward way to create a professional paid receipt, using an Excel template is a reliable solution. With Excel’s easy-to-use format, you can customize the receipt according to your specific needs without the complexity of specialized software. The template allows you to track payments, record transaction details, and maintain clear records for both parties involved.
The template should include key components such as the date of payment, payer’s and payee’s information, itemized list of services or products, payment method, and total amount. These elements ensure clarity and transparency, reducing confusion for both the sender and receiver. By organizing this information efficiently in Excel, you’ll have a neat and consistent record that can be quickly updated or edited as needed.
Using Excel also offers the advantage of easy customization. You can adjust the layout, add your business logo, or even automate calculations for totals and taxes, saving time and minimizing errors. As a result, creating a professional-looking paid receipt is both simple and cost-effective, making it an ideal choice for freelancers, small business owners, and anyone needing a reliable receipt format.
Paid Receipt Template Excel: A Practical Guide
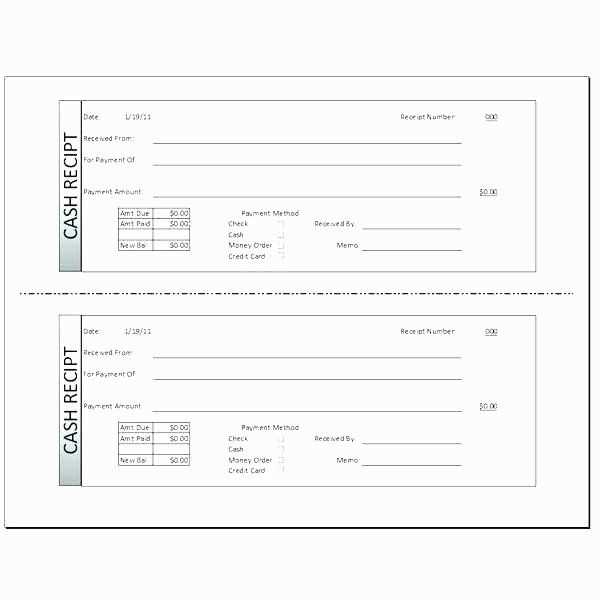
To create an effective paid receipt template in Excel, begin by organizing key information clearly. Include the following components:
- Company Information: Add the company name, address, phone number, and email at the top for easy reference.
- Receipt Number: Assign a unique number for each receipt to track payments efficiently.
- Transaction Date: Include the date of payment for accurate record-keeping.
- Customer Details: Include the customer’s name, address, and contact information.
- Itemized List: List products or services with quantities and amounts paid.
- Total Amount: Provide the total amount paid, including any applicable taxes.
- Payment Method: Specify the method of payment, such as cash, check, or credit card.
- Notes Section: Optionally, leave space for additional notes or terms related to the payment.
Using Excel’s built-in formulas can simplify calculations, such as automatically summing up item costs and applying taxes. You can also use conditional formatting to highlight important fields, making it easier to spot discrepancies.
Customizing the Template
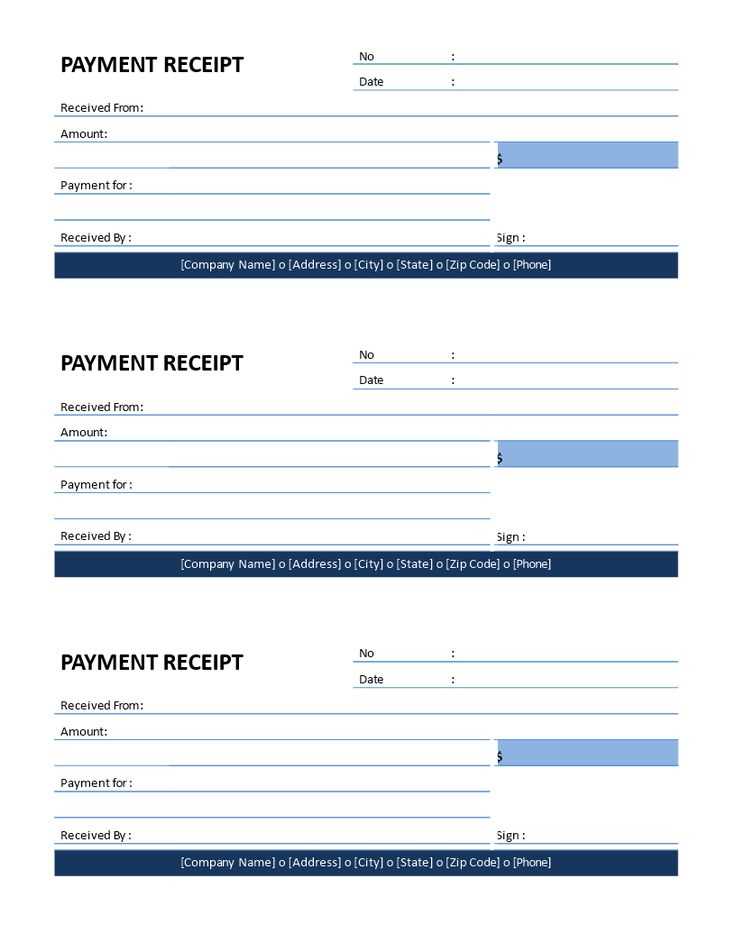
Excel offers various customization options to match your business needs:
- Design Elements: Add your company logo and adjust fonts and colors to align with your branding.
- Drop-down Menus: Include drop-down lists for payment methods or item descriptions to streamline data entry.
- Security: Lock cells with formulas or sensitive information to prevent accidental changes.
Final Tips
Always save a copy of the template for reuse. Excel allows you to create templates that can be reused for future receipts without starting from scratch each time. Make sure to regularly back up your files to avoid losing important data.
How to Create a Customizable Paid Receipt Template in Excel
Begin by opening a new Excel workbook. Set up the columns to display key details: Date, Item/Service, Quantity, Price, Total, and Payment Method. Each column should have a header to ensure clarity and easy data entry.
Step 1: Define the Layout
In the first row, create labels such as “Date,” “Customer Name,” “Item Description,” “Amount Paid,” and “Payment Method.” Leave enough space between each column for the necessary details. You can adjust the column width later for better visibility.
Step 2: Add Formulas for Calculations
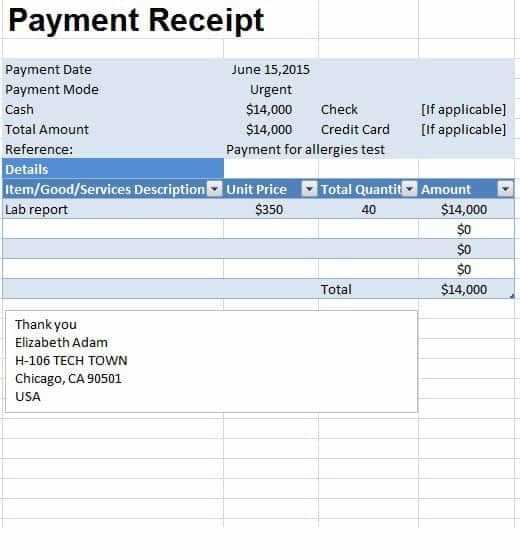
In the “Total” column, insert a formula to automatically calculate the total payment. For example, use the formula “=Quantity * Price” to multiply the quantity of items by their price. This will update dynamically when the quantities or prices change.
Consider using a SUM function at the bottom of the “Amount Paid” column to display the total payment made for all items in the document.
Ensure each section (e.g., Quantity, Price, Total) is formatted for currency to maintain consistency in your receipt.
Step 3: Customize for Your Business
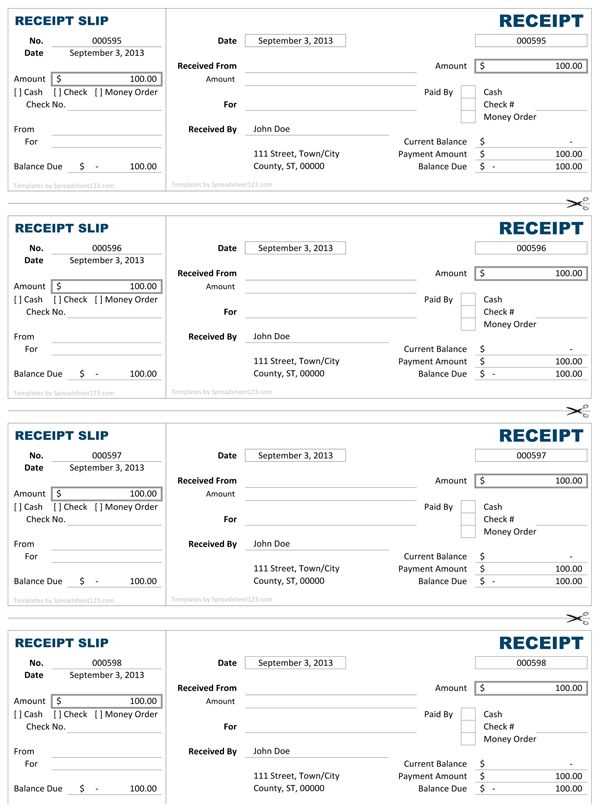
Adapt the template by adding your business logo at the top of the sheet. You can also modify the font style and color to match your company branding. Add specific payment methods or notes relevant to your transactions, such as “Paid by Cash” or “Invoice Number.”
Once you’ve created the template, save it as an Excel template file (.xltx) to easily reuse it for future transactions. Customize the format for each receipt as needed, ensuring a professional presentation every time.
Adjusting Formatting and Calculations for Different Payment Methods
To tailor your Excel receipt template for various payment methods, ensure each method is formatted correctly for clarity and accuracy. Set specific columns to calculate totals based on the payment method used, and avoid confusion by visually differentiating each method’s entry.
1. Cash Payments
For cash payments, format the amount field with a standard currency format. Use a conditional formula to automatically calculate the total based on the entered cash amount. Ensure that the “Total Paid” field includes only cash and adjusts the remaining balance accordingly. Highlight the cash payment row with a distinct color for quick identification.
2. Credit/Debit Card Payments
For card transactions, include a column for the card type and transaction number. Create a formula to compute the total for card payments, factoring in any service fees or discounts. Use a separate section for these payments if necessary, ensuring clear separation from cash transactions. Additionally, format the card number field to show only the last four digits for privacy.
3. Bank Transfers
Bank transfers typically involve a delay before payments are received, so use a status column to track whether the transfer is pending or completed. Use formulas to adjust the total once the payment is confirmed. A date column will help track transfer dates, ensuring accurate timing for processing receipts.
By adjusting calculations for each method, your receipt template becomes more intuitive, reducing errors and improving the overall experience for both the user and the client.
How to Automate Date and Number Entries for Fast Receipt Generation
Use Excel’s built-in functions to automate the date and number entries for quick receipt creation. For automatic date insertion, use the formula =TODAY(). It updates the date each time the file is opened, saving time for manual entry. If you need a fixed date, use =NOW() but remember this also updates automatically.
For sequential numbering, use Excel’s ROW() function. In your number column, enter =ROW()-1 to start from 1 if your data begins in row 2. If you’re working with a header row, adjust the formula as needed to avoid including it in the numbering.
For dynamic numbering across multiple sheets, use a combination of COUNTIF() or COUNTA() to ensure the number increases regardless of sheet changes. Place the formula like =COUNTIF(Sheet1!A:A, “*”) + 1 to continuously increment without having to manually track each entry.
Combine these formulas in your receipt template to make date and number entries seamless and automated. This method significantly reduces the time spent on repetitive tasks, letting you focus on generating the receipts themselves.
