Creating a POS receipt template in Excel offers a simple and practical way to manage transactions. With just a few easy steps, you can set up a customized template that suits your business needs.
Begin by organizing your template into clear sections: date, item description, quantity, price per unit, and total. Use Excel’s built-in functions like SUM to automate calculations for totals and taxes. The use of cell formatting can further enhance readability, ensuring that each transaction is easy to follow.
Ensure that your template is flexible enough to accommodate various transaction types. Adding fields for discounts or promotional codes can make it adaptable for different scenarios. Don’t forget to add a section for payment methods and customer details if needed.
Finally, save your template as a reusable file so you can quickly access it for future transactions. This will save time and reduce errors in your daily operations.
Detailed Plan for “Pos Receipt Template Excel”
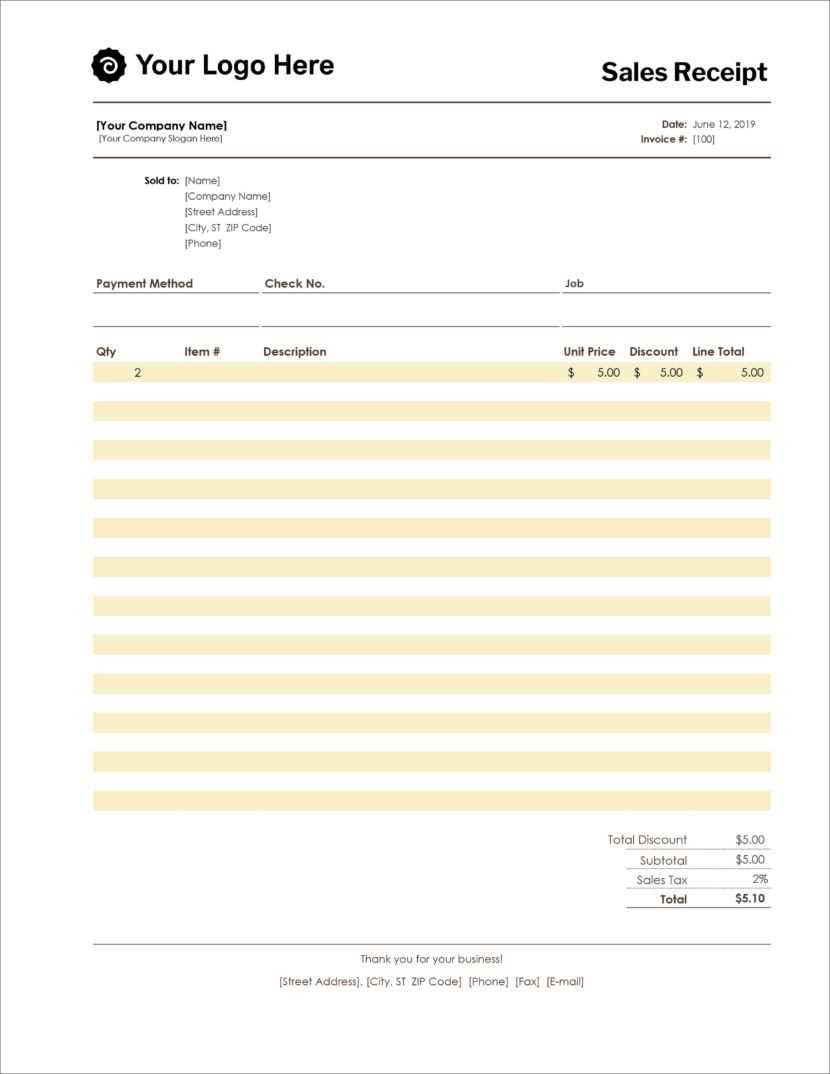
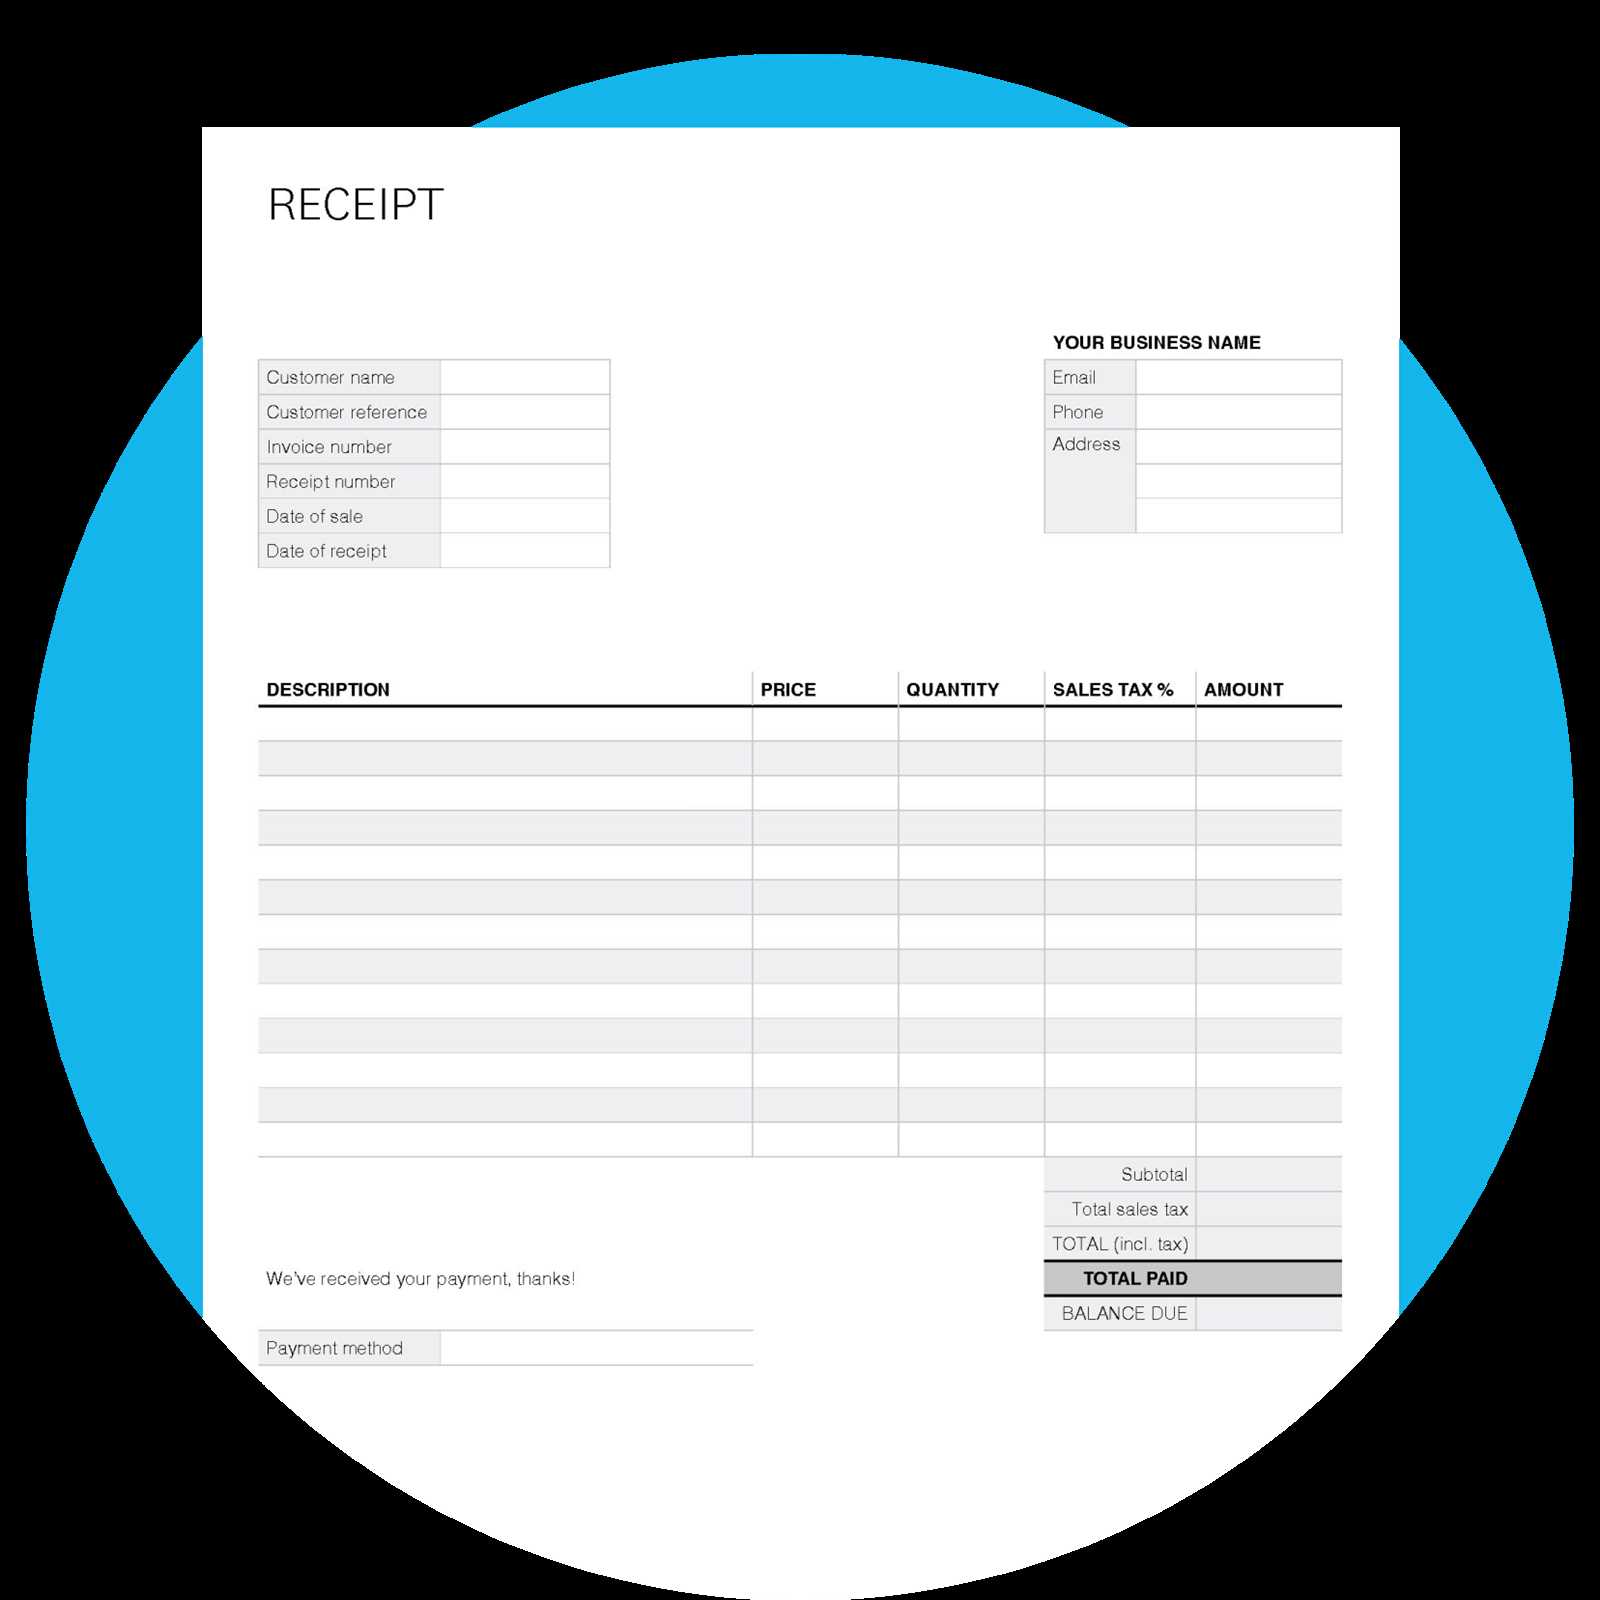
Begin by setting up the basic layout of your POS receipt template in Excel. Create a structured grid that includes essential fields like “Store Name,” “Address,” “Phone Number,” “Date,” “Transaction ID,” and a table for purchased items.
Step 1: Set up Headers
- Label the first row for headers such as “Item Name,” “Quantity,” “Unit Price,” and “Total.”
- Use bold text to highlight these headers, ensuring clear readability.
- Ensure enough space is allotted to each column for product details.
Step 2: Formatting the Columns
- For the “Quantity” and “Unit Price” columns, set the format to number with two decimal places.
- The “Total” column should automatically calculate the total for each item. Use the formula: =Quantity * Unit Price.
- Format the “Total” column to show currency values by applying the currency format.
Step 3: Adding Tax Calculation

- Include a row for tax calculation below the item table.
- Use the formula: =SUM(Total Column) * Tax Rate to calculate the total tax.
- Make sure the tax row stands out by formatting it with bold text or a background color.
Step 4: Final Total Calculation
- At the bottom of the receipt, add a row for the final total, which sums the item totals and the tax.
- Format the final total with a larger font size or bold text for emphasis.
Step 5: Customizing for Specific Needs
- Depending on your business, you may want to include additional fields like discounts, coupons, or loyalty points.
- Modify the template as needed to reflect your brand’s design, such as adding a logo or specific color scheme.
Ensure that the template is easy to update, especially for frequent changes in pricing, taxes, and product offerings. Save the template as a master copy to maintain consistency in receipts.
Creating a Custom POS Receipt Template in Excel
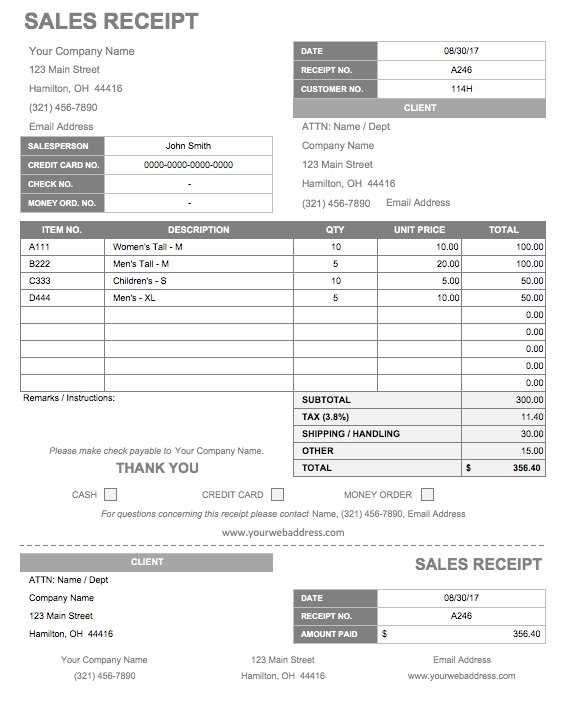
To create a custom POS receipt template, begin by setting up a new workbook in Excel. Organize the layout by dividing the sheet into key sections: store information, transaction details, item list, and payment summary. Each section should be clearly labeled to ensure the receipt is easy to read.
Start with the store details at the top, including the store name, address, and contact information. Use bold formatting to make these details stand out. Then, add a section for the transaction, such as date, receipt number, and cashier name. This helps keep track of sales and provides important information for both the customer and the business.
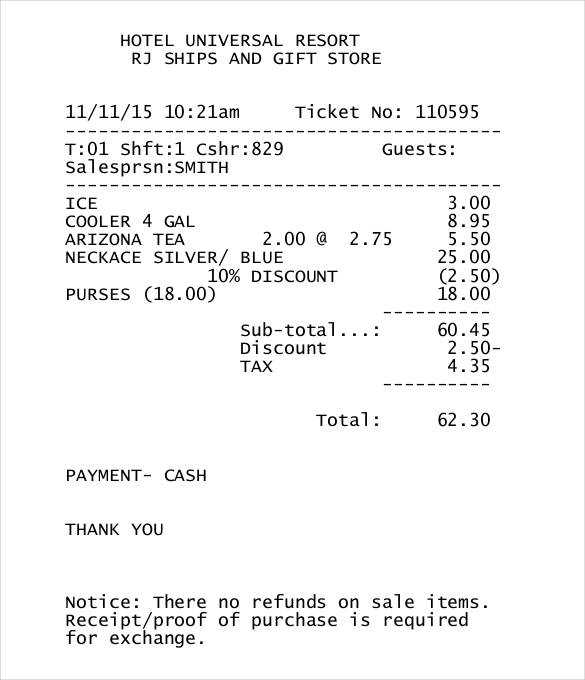
For the itemized list, use columns for item descriptions, quantity, unit price, and total price. Format these columns to automatically calculate the total for each item by multiplying quantity and unit price. At the bottom of the item list, include a subtotal field that sums the total price of all items.
Next, include a section for taxes and discounts. Use formulas to calculate sales tax based on the subtotal and apply any discounts before calculating the final total. This ensures accuracy and eliminates the need for manual adjustments.
Finally, add a payment summary with the total amount due, the amount paid, and the change to be returned, if applicable. Format the cells for easy readability, ensuring that key information like the total and change is highlighted for quick reference.
Save the template as a reusable file. Each time a transaction occurs, you can easily fill in the details and generate a new receipt without needing to redesign the format.
Automating Calculations for Sales and Taxes
Use Excel formulas to automate sales and tax calculations within your POS receipt template. Start by applying a basic multiplication formula to calculate the total sale amount: simply multiply the quantity of items by the unit price. For example, if the quantity is in cell B2 and the unit price in C2, use the formula =B2*C2 in the corresponding total column.
Applying Sales Tax

To add tax to the sale, create a separate column for the tax rate. For a 10% tax rate in cell D2, use the formula =B2*C2*D2 to calculate the tax for each item. Then, add the tax to the total amount using =B2*C2 + B2*C2*D2 in the final total column to get the complete cost.
Using Conditional Formatting for Discounts
Conditional formatting can highlight discounts automatically. Set up a discount column and use a formula to apply the discount only when a specific condition is met (e.g., if the total exceeds a certain amount). For example, use =IF(B2*C2>100, (B2*C2)*0.9, B2*C2) to apply a 10% discount on totals greater than 100.
Printing and Saving POS Receipts Efficiently
Choose a POS receipt template that is compatible with your system. This ensures a smooth integration between your software and printer, reducing setup time and errors. Select templates that support quick modifications to include necessary transaction details like item names, prices, and taxes. Simpler designs speed up the printing process and reduce the chances of cutting errors from the printer.
Utilize Cloud Storage for Easy Access
Cloud storage is a reliable option for saving receipts. It provides easy access and organization without taking up local storage space. Set up your system to automatically upload receipts to the cloud once they are printed. This way, you have a secure backup and can retrieve any receipt from any device when needed.
Optimize Printer Settings for Consistency

Adjust the printer settings for consistency. Choose the optimal paper size and print quality to prevent paper jams and ensure clear, readable receipts. Regularly maintain your printer to avoid hardware issues that could cause delays. Keep track of ink levels or paper supply to prevent running out during peak business hours.


