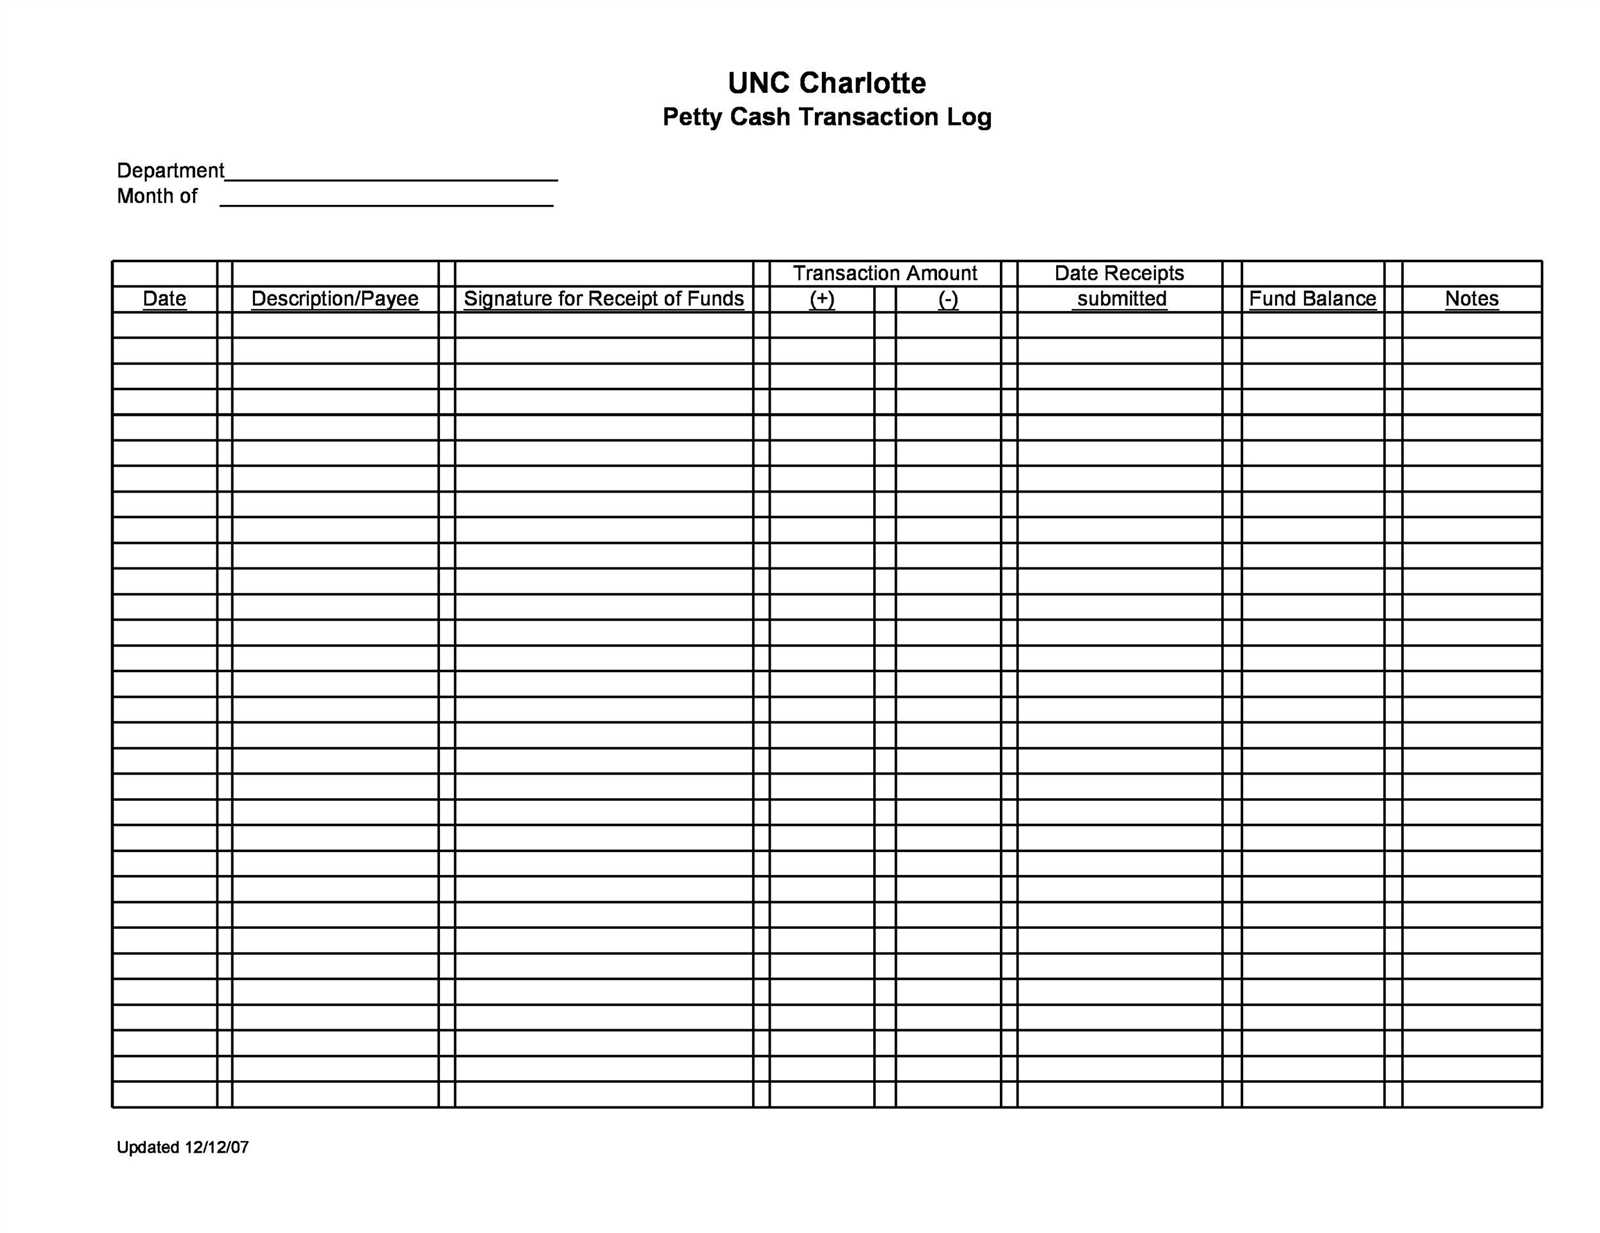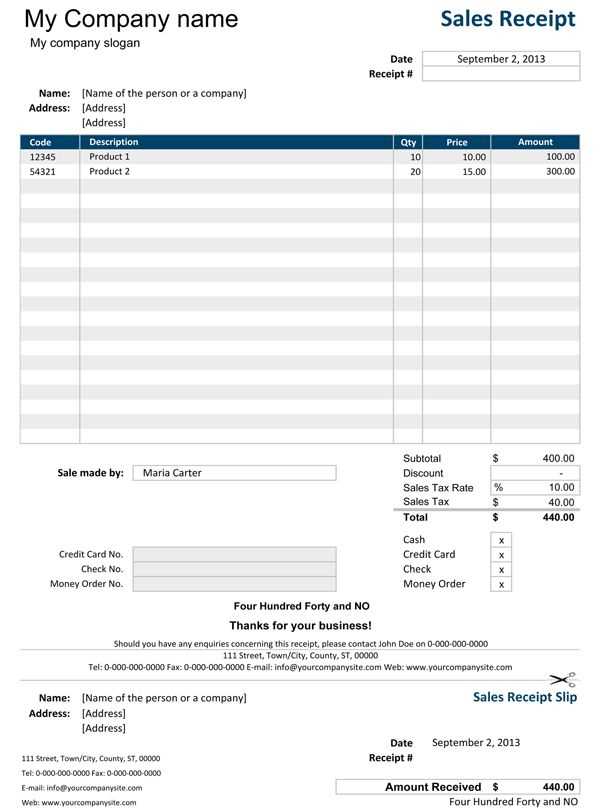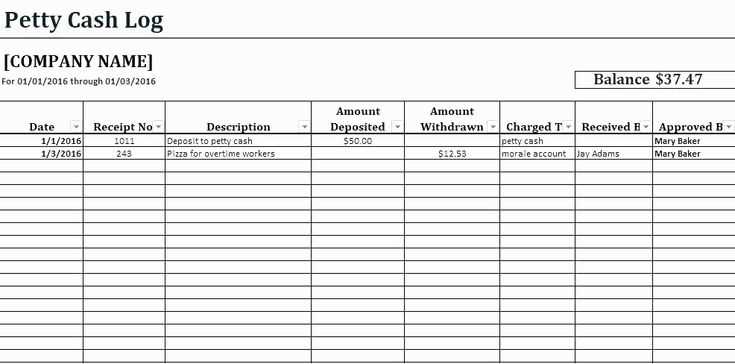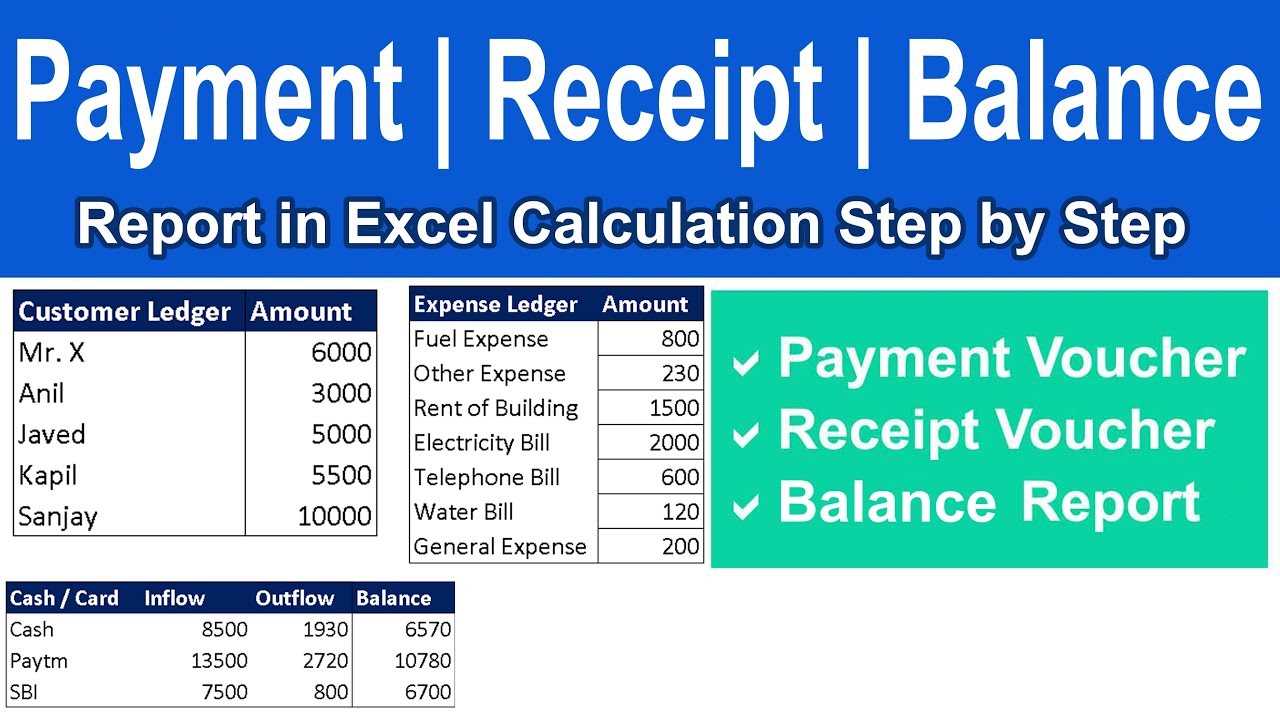
Managing receipts becomes effortless with a well-structured Excel template. Instead of searching through stacks of paper or digital records, use a single spreadsheet to log every transaction. A properly formatted template saves time, minimizes errors, and ensures all essential details are in one place.
Set up clear columns for date, vendor, amount, category, and payment method. Consistency in data entry helps with sorting and filtering when reviewing expenses. Adding an automatic total calculation provides instant insights into spending patterns.
For businesses, a detailed log simplifies tax preparation and financial reporting. Individuals benefit by tracking personal budgets and identifying unnecessary expenses. Customizing the template with drop-down lists or conditional formatting improves usability and accuracy.
Using Excel’s built-in tools, such as pivot tables and charts, transforms raw receipt data into meaningful reports. This approach not only enhances organization but also supports better financial decisions based on real data.
Receipt Log Excel Template: Practical Guide
Create a clear and organized receipt log in Excel to track your expenses with ease. Set up the template by including columns for the date, vendor, item description, amount, and payment method. This will help ensure all receipts are accounted for and easy to reference later. Here’s how to do it:
| Date | Vendor | Item Description | Amount | Payment Method |
|---|---|---|---|---|
| 02/01/2025 | ABC Store | Office Supplies | $50.00 | Credit Card |
| 02/02/2025 | XYZ Market | Groceries | $30.00 | Cash |
By adding formulas, such as summing the amounts, you can easily track your total expenses. Set up conditional formatting to highlight large amounts or unusual transactions. This helps draw attention to potential errors or discrepancies quickly. Customize the template by adding extra columns for project codes or departments if needed for more detailed tracking.
How to Structure a Receipt Log in Excel
Organize your receipt log by defining clear columns for each key piece of information. Focus on what matters most: transaction details, amounts, and dates.
1. Set Up Key Columns

- Date: Record the date of each transaction for easy tracking.
- Receipt Number: Assign a unique identifier for each receipt to ensure clarity and avoid confusion.
- Description: Briefly note what was purchased or the service rendered. Keep it concise but specific.
- Amount: Enter the total cost associated with the receipt.
- Payment Method: Track how the payment was made (cash, credit card, etc.).
- Category: Classify expenses (e.g., office supplies, travel, meals) to easily summarize later.
2. Use Filters and Sorting
Enable Excel’s filtering option to quickly search or sort by any column. Sorting receipts by date or amount can help you find details faster. Filters help isolate specific expense categories or time periods for review.
3. Apply Formulas for Totals
Summing the total amounts automatically can save time. Use the SUM function at the bottom of your amount column to get a running total of expenses.
4. Keep It Consistent

Establish a consistent format for entering data. This will reduce errors and ensure the log remains clear and accurate over time.
Setting Up Automatic Calculations for Totals
To simplify the process of calculating totals in your receipt log, use Excel’s built-in formulas. Begin by selecting the cell where the total should appear, then apply the SUM function. For example, if the amounts are listed in cells B2 to B10, enter =SUM(B2:B10) in the total cell. This automatically updates the total whenever you add or remove entries from the list.
Using Cell References
Instead of manually updating totals, use cell references for consistent calculations. If you have a column for item costs and another for quantities, apply the SUMPRODUCT function to calculate totals for each item based on its quantity. Enter =SUMPRODUCT(B2:B10, C2:C10), where B2:B10 is the cost range and C2:C10 is the quantity range. This provides a dynamic total that adjusts as data changes.
Incorporating Discounts or Taxes
For receipts that require the addition of taxes or discounts, use the IF function to adjust totals automatically. For example, to apply a 10% discount, enter =SUM(B2:B10)*(1-0.10). Similarly, to add tax, use a formula like =SUM(B2:B10)*(1+0.08), where 0.08 represents an 8% tax rate. This approach ensures that totals are calculated accurately and updated without extra steps.
Using Drop-Down Lists for Expense Categories
Set up drop-down lists in Excel to simplify categorizing expenses. This method reduces data entry errors and speeds up the process of assigning categories to transactions. Here’s how you can implement it:
- Select the cells where you want the drop-down list to appear. You can select a column or specific range.
- Go to the “Data” tab and click “Data Validation” from the toolbar.
- Choose “List” from the options in the Data Validation dialog box. In the “Source” field, enter your list of expense categories separated by commas. For example: “Food, Travel, Utilities, Entertainment”.
- Click “OK” to apply the drop-down list to the selected cells. Now, each cell will have a list of categories to choose from.
This method ensures that each expense is classified correctly, streamlining your expense tracking. It’s especially useful for repetitive tasks and large datasets, where consistency is key.
To make the process even more efficient, consider creating a master list of categories on a separate sheet. Then, use a range reference instead of typing the categories manually. This way, you can update the list easily without modifying the validation settings.
Adding drop-down lists helps maintain consistency and improves the accuracy of your expense logs, making financial tracking smoother and less time-consuming.
Adding Conditional Formatting for Better Visibility
Highlight important data points by applying conditional formatting to cells in your receipt log. Select the range of cells where you want to apply formatting, then go to the “Home” tab and click on “Conditional Formatting.” Choose a rule type such as “Cell Value” or “Text Contains” depending on your needs.
Highlighting Specific Amounts
To easily identify high or low amounts, create a rule that changes the cell color based on values. For example, apply a rule to highlight all receipts over a certain threshold in green, making them easy to spot in your log. Set the condition to “greater than” and enter the threshold value. This way, large receipts stand out automatically.
Color Scales for Trends

For better trend analysis, use color scales to visually represent values. Select your data range and apply a two- or three-color scale under conditional formatting. The highest values might be shaded in green, and the lowest in red. This quickly shows patterns and makes reviewing your log more intuitive.
Generating Monthly and Yearly Summaries
To generate summaries, use Excel’s built-in functions for quick data aggregation. Set up pivot tables that categorize receipts by month and year. This allows you to see total spending by category in seconds.
Using Pivot Tables for Summaries
First, select your data range and insert a pivot table. Add “Date” to the rows section and group by months or years. Then, place “Amount” in the values section and set it to sum. This creates a simple monthly or yearly summary based on your receipt entries.
Automating the Process with Formulas
Use the SUMIF function to automatically calculate totals for specific months or years. For example, =SUMIF(A:A,”>=01/01/2025″,B:B) sums all values in column B for January 2025. Adjust the date range for different periods to quickly generate summaries without manually filtering data.
Exporting and Sharing the Receipt Log
To export your receipt log, open the Excel file and navigate to the “File” tab. Select “Save As” and choose your preferred file format, such as CSV, PDF, or XLSX. For sharing, ensure the log is saved in a universally accessible format, like CSV or PDF, so recipients can open it easily on various devices.
If you need to share the log with others, use cloud services like Google Drive, Dropbox, or OneDrive. Upload the file and share a link with the intended recipients, adjusting the sharing settings to control who can view or edit the document. For email sharing, attach the file and ensure it is in a readable format.
For regular updates, set up automated export options if your receipt log is linked to financial software. This allows for seamless sharing without manual updates.


