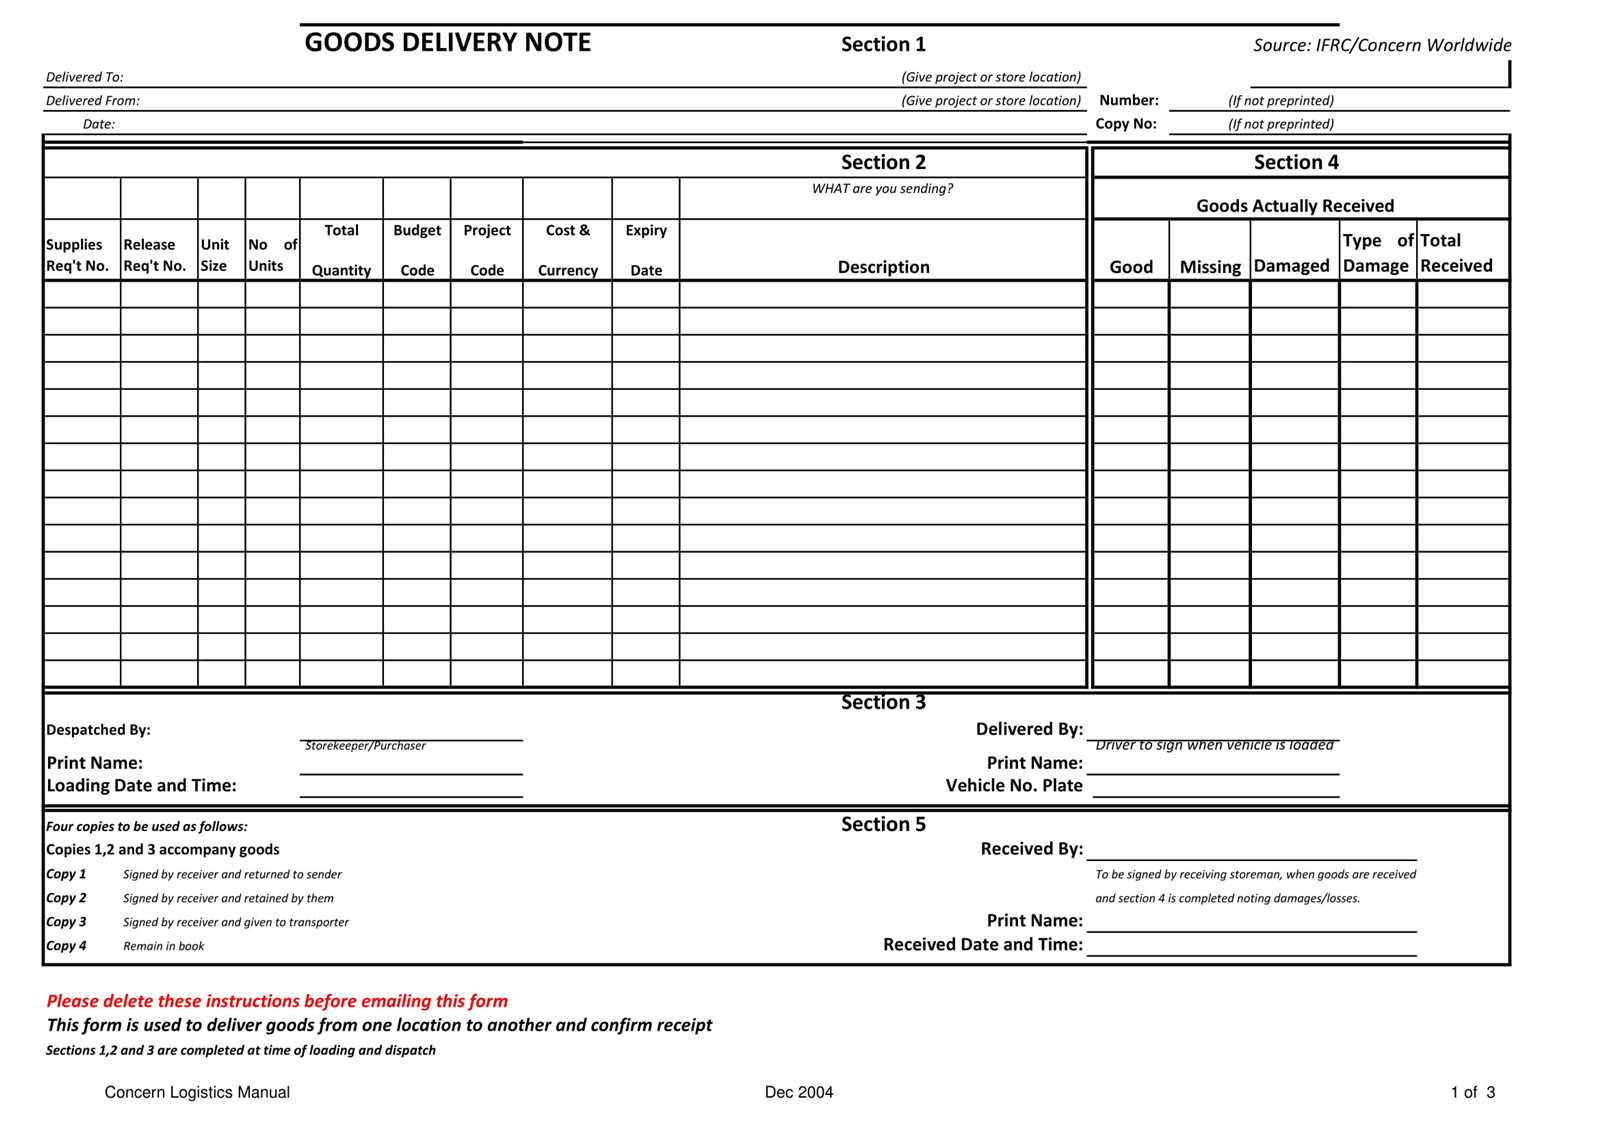
If you’re looking to streamline your inventory or order tracking process, a Receipt of Goods form template in Excel is a practical tool to consider. It helps capture essential details like product names, quantities, and delivery dates in a structured format, making it easier to keep track of received goods and manage your stock efficiently.
The template should include fields for item descriptions, unit prices, totals, and other relevant details. Customizable columns allow you to adapt the form to suit the specific needs of your business, whether you’re dealing with small or large shipments. Be sure to add automatic calculations for total amounts, taxes, and any applicable discounts to save time and reduce errors.
To make the process smoother, include checkboxes or dropdown menus for easy selection of common items or conditions, such as payment status or returnable goods. This setup ensures that all necessary information is captured quickly and accurately, making the form a valuable tool for record-keeping and future audits.
Receipt of Goods Form Template in Excel
A well-organized receipt of goods form template in Excel allows businesses to track inventory more effectively. To create a simple yet functional template, start by structuring the worksheet into key columns such as ‘Item Description,’ ‘Quantity Received,’ ‘Unit Price,’ ‘Total Value,’ and ‘Date Received.’ These columns provide clear visibility of each item’s details and its associated costs.
Include a section for ‘Supplier Information’ to capture the vendor’s name, contact details, and purchase order number. This ensures all relevant details are linked to the right transactions. Customize the template with formulas to automatically calculate totals based on quantity and unit price, minimizing manual errors.
For better organization, add conditional formatting to highlight discrepancies or items requiring attention. This can help quickly spot mistakes or missing information. Additionally, consider adding a ‘Notes’ section for any specific instructions or comments about the received goods.
By structuring your receipt of goods form this way, you simplify inventory tracking, improve accuracy, and enhance communication between departments. Excel’s flexibility also allows easy updates to fit your business’s changing needs.
Designing a Structured Template for Goods Receipt
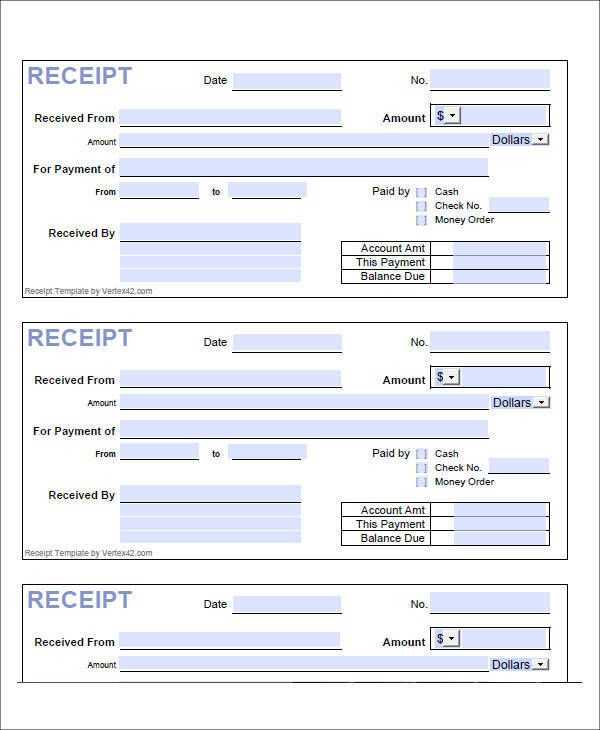
Create a clear layout that captures key transaction details, ensuring ease of use and clarity for all stakeholders. Begin with a header section that includes basic information like the company name, supplier, and receipt date. This sets the context immediately.
The next section should outline the received goods. Include columns for item description, quantity received, unit of measurement, and unit price. This keeps the record accurate and transparent for inventory management.
- Item Description: Be concise yet detailed enough to avoid ambiguity.
- Quantity Received: Specify both total quantity and the number of units per package, if applicable.
- Unit Price: Include cost per unit to provide a clear breakdown of the total value.
After item details, include a section for receipt verification. This can include the person verifying the goods and a place for their signature. Tracking who handled the receipt reduces confusion and provides accountability.
Finally, reserve space for any additional notes. This could include discrepancies, returns, or special instructions related to the goods. This ensures that any issues are documented for future reference.
In terms of layout, make sure to use clear borders and alternating row colors to improve readability. A well-structured template simplifies data entry and supports smooth follow-up processes for any discrepancies.
Key Elements to Include in the Excel Sheet
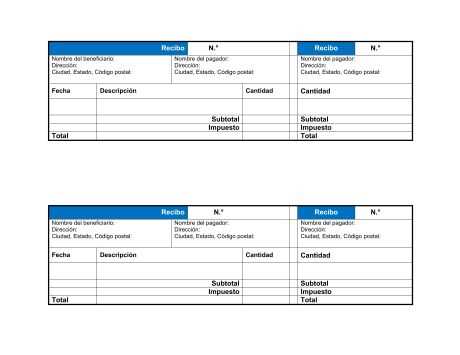
To create a functional goods receipt form in Excel, focus on including the most relevant details for tracking and verifying shipments. Each entry should be clear, precise, and easy to reference for all parties involved in the process.
Start with these key components:
| Element | Description |
|---|---|
| Receipt Number | A unique identifier for each transaction to prevent confusion and ensure traceability. |
| Supplier Name | The name of the supplier or vendor providing the goods. This helps verify the source of the shipment. |
| Delivery Date | The date when the goods are expected to arrive or have been received. This is important for inventory management. |
| Item Description | Provide a clear description of each item received, including model numbers or SKUs for easy identification. |
| Quantity Received | Indicate the number of units received to confirm it matches the order. |
| Unit Price | The price per unit of each item, which can help calculate the total value of the received goods. |
| Total Value | The total cost of the received goods, calculated by multiplying the quantity by the unit price. |
| Condition | Note any damage or discrepancies in the items received. This ensures accountability in case of issues. |
| Remarks | Any additional comments or special instructions related to the shipment can be noted here. |
Organizing these elements clearly in your Excel sheet allows for quick data retrieval and supports efficient inventory management, enabling smoother processes for both receiving and reconciling goods.
Customizing Fields for Specific Business Needs
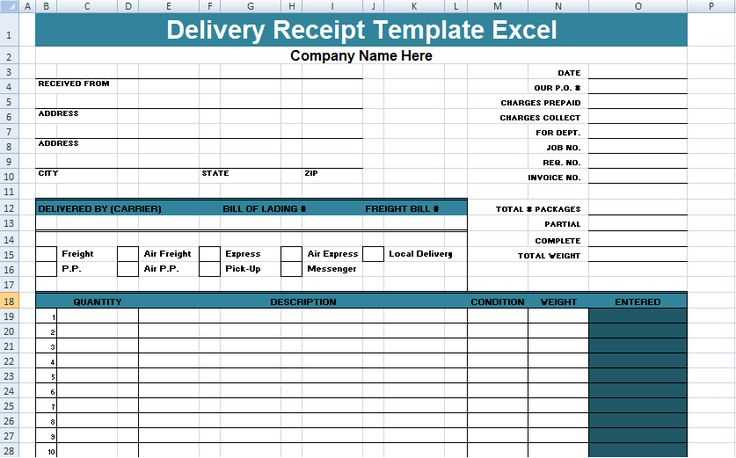
Tailoring a receipt of goods form to fit your business’s unique requirements starts with adjusting the available fields. Start by reviewing the key information you need to track for each transaction. Remove or modify any default fields that do not serve your purpose and add new ones that capture the data critical to your processes.
Include Product-Specific Details
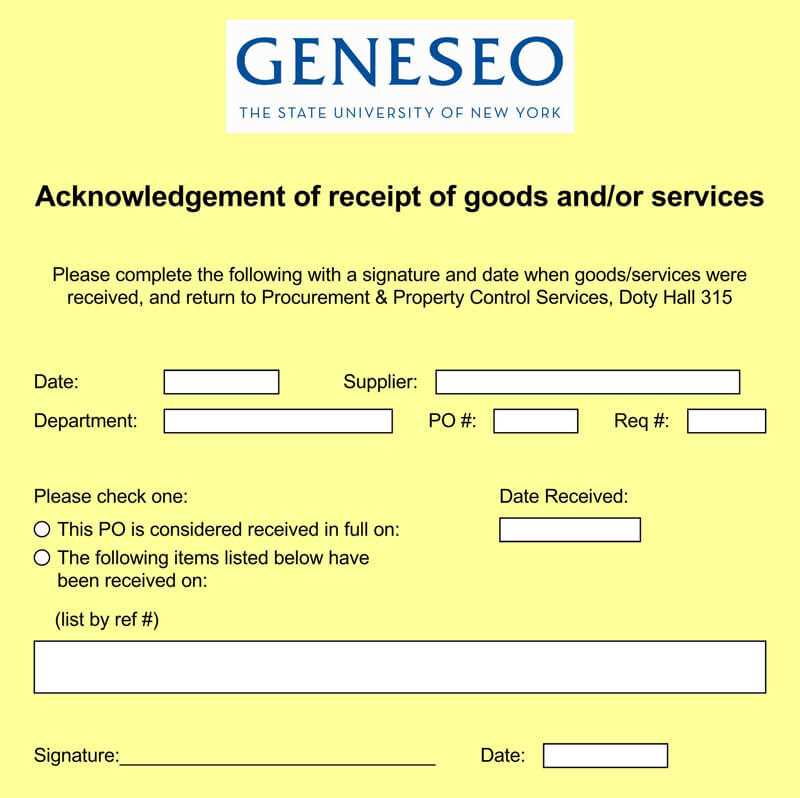
Consider adding fields to track product serial numbers, batch codes, or expiry dates if your business deals with perishable or serialized items. This helps maintain accurate inventory records and avoid potential errors when fulfilling orders or processing returns.
Customize for Shipping and Delivery
Fields for tracking delivery dates, shipment methods, or tracking numbers allow for better logistics management. If your business involves multiple warehouses or distribution centers, include a field for location to quickly identify where goods are stored or dispatched from.
By adjusting these fields, you create a receipt form that works seamlessly with your workflow and ensures you capture all the necessary details for smooth operations.
Automating Calculations for Item Quantities and Prices
Use Excel’s built-in formulas to calculate item quantities and prices automatically. The most common approach is setting up a formula for each row in the “Total” column, multiplying the item quantity by the unit price. For example, if the quantity is in column B and the price in column C, enter the formula =B2*C2 in the “Total” column (D). Copy this formula down the column to apply it to each row.
To handle discounts, create a separate column for discount rates. For example, if the discount percentage is in column E, you can adjust the total price by using a formula like =D2*(1-E2). This will reduce the total based on the discount rate entered for each item.
To track subtotal and grand total, use the SUM function. At the bottom of the “Total” column, use =SUM(D2:D100) to sum all the totals. This gives you the overall amount for all items listed in the form.
For more advanced automation, you can incorporate conditional formatting or data validation. For instance, if an item’s price changes or the quantity exceeds a set limit, Excel can highlight the row or display a warning, making it easier to spot discrepancies. This saves time and improves accuracy.
Lastly, ensure all cells are properly formatted for currency, making calculations easier to read and ensuring consistency throughout the sheet. Use the “Currency” format in Excel for this purpose.
Ensuring Compatibility with Inventory Management Systems
Ensure your template integrates smoothly with inventory systems by confirming compatibility with the platform’s file formats. Most systems work best with CSV, XLSX, or XML formats. When setting up the template, choose the format that aligns with your system’s requirements. Verify that the fields in your receipt template correspond to the fields in the inventory software–product IDs, quantities, and dates must match to avoid data inconsistencies.
Map the columns in your template to the relevant fields in the inventory system. This step prevents the need for manual data entry and reduces the chance of errors. Make sure to test the template by importing a sample receipt into your inventory system. If discrepancies arise, adjust the template’s structure or data format accordingly.
Ensure the template’s layout is adaptable to various software. Some systems allow importing templates with predefined column headers, while others require customization. Always check for system-specific guidelines to avoid compatibility issues down the line. Periodically review your template as software updates may change data handling protocols.
Tips for Maintaining Accuracy and Consistency in Data Entry
Double-check data inputs before saving. Small errors can cascade into larger discrepancies, so verifying each entry ensures reliability across the entire form.
Set clear guidelines for each data field. Define acceptable formats, such as date formats or numerical ranges, to minimize entry mistakes and inconsistencies.
Leverage data validation tools available in Excel. These features restrict input types and highlight errors instantly, saving time and reducing manual corrections.
Standardize naming conventions. Consistent terminology across forms helps prevent confusion and mismatched entries, especially when sharing or analyzing data.
Use drop-down lists for repetitive fields. Predefined options reduce human error and maintain uniformity throughout the data collection process.
Implement conditional formatting to highlight discrepancies. Instantly spot any inconsistencies in data entries, such as incorrect formats or unexpected values.
Train team members on best practices for data entry. Proper understanding of templates and expectations ensures uniformity and minimizes mistakes.
Regularly audit entered data. Scheduling periodic checks prevents errors from compounding and ensures that the data remains accurate over time.


