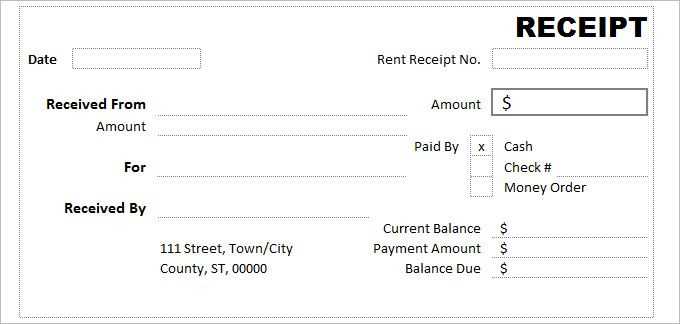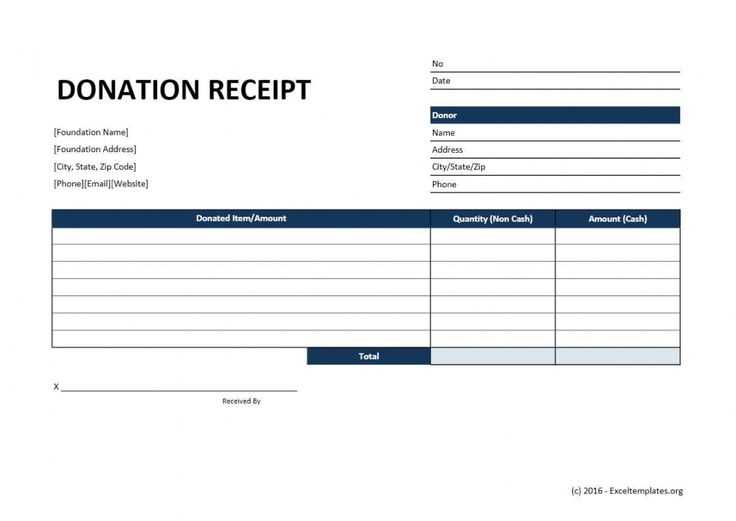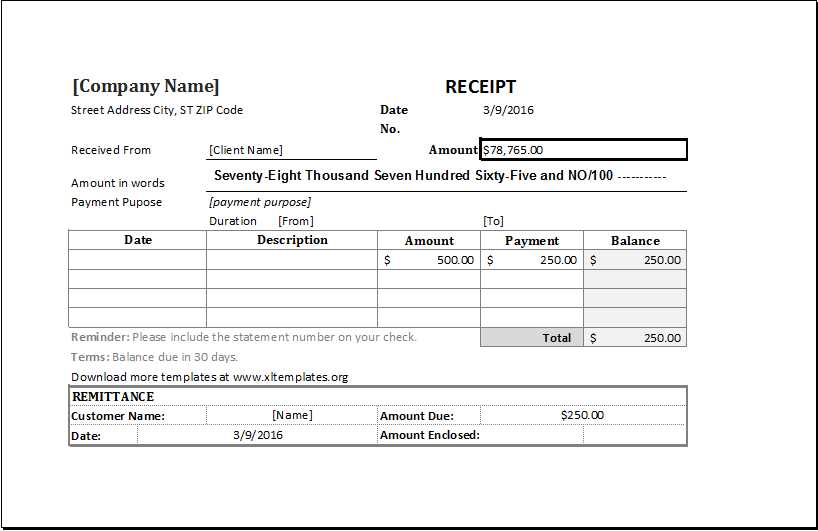
Use an Excel receipts template to save time and streamline your financial records. Whether you’re managing personal expenses or handling business transactions, a structured receipt template ensures accuracy and consistency. With preformatted fields for dates, amounts, descriptions, and payment details, you eliminate manual errors and speed up data entry.
Customization is key. Modify an Excel template to fit your needs by adding your company logo, adjusting currency formats, or incorporating automated calculations. If you issue receipts frequently, formulas can help you auto-calculate totals, taxes, and discounts, reducing repetitive work.
For businesses, digital record-keeping is essential. An Excel template provides a structured way to track revenue, refunds, and outstanding payments. Instead of sifting through paper receipts, filter or sort data instantly, generate reports, and maintain a clear financial history.
Not sure where to start? Download a free Excel receipts template, personalize it, and simplify your transaction tracking today.
Receipts Template in Excel: A Practical Guide
Create a structured and reusable receipts template in Excel by using built-in features like tables, formulas, and conditional formatting. This approach ensures accuracy and saves time when generating receipts for different transactions.
Step 1: Define the Layout
Use clear column headers such as Date, Receipt Number, Description, Quantity, Price, Tax, and Total. Format the table with borders for readability. Adjust column widths to fit data without truncation.
Step 2: Automate Calculations
Set up formulas for automatic calculations:
- Multiply Quantity by Price to get the subtotal:
=B2*C2 - Apply a tax rate:
=D2*0.1(adjust percentage as needed) - Calculate the total:
=D2+E2
To avoid errors, use data validation for numeric fields and format currency fields with accounting style.
Step 3: Enhance with Drop-Down Lists
For consistency, create drop-down lists using Data Validation. Example: Restrict payment methods to Cash, Credit Card, or Bank Transfer. This minimizes input errors and speeds up entry.
Step 4: Apply Conditional Formatting
Highlight overdue receipts by setting a rule: If the Due Date is past today, change the background color. Go to Home > Conditional Formatting > New Rule and use =A2
Step 5: Save as a Template

Once formatted, save the file as an Excel Template (.xltx) to reuse it without overwriting the original. Access it via File > New.
Using these steps, you can streamline receipt creation while maintaining accuracy and efficiency.
How to Create a Custom Receipt Template in Excel

Use Excel’s built-in table formatting to structure your receipt. Select a blank sheet, enter column headers like “Date,” “Item,” “Quantity,” “Price,” and “Total,” then format them as a table from the “Home” tab.
Apply formulas to automate calculations. In the “Total” column, use =B2*C2 (adjusting for your row numbers) to multiply quantity by price. Add a grand total using =SUM(D2:D10) to sum all totals.
Improve readability with cell formatting. Align text to the left, numbers to the right, and apply currency formatting to price and total columns. Use bold headers for clarity.
Insert a logo for branding. Go to “Insert” → “Pictures” and place your company logo at the top. Resize it appropriately.
Add a signature field for authenticity. Merge a few cells at the bottom and label them “Authorized Signature.” Leave space for a digital or handwritten signature.
Save your template. Click “File” → “Save As” and choose “Excel Template (*.xltx)” to reuse the format without overwriting existing receipts.
Using Formulas to Automate Totals and Calculations
Use Excel formulas to calculate totals automatically, reducing manual work and minimizing errors. Instead of summing values manually, enter =SUM(B2:B10) to total a column of numbers instantly. This updates dynamically as new entries are added.
Calculate Taxes and Discounts
Apply percentage-based calculations with simple formulas. To calculate tax, multiply the subtotal by the tax rate: =B10*0.08 (for 8% tax). For a discount, subtract the discount amount: =B10-B10*0.15 (for 15% off).
Use Conditional Calculations
Automate logic-based calculations with =IF(). For example, apply a discount only if the amount exceeds $100: =IF(B10>100, B10*0.1, 0). Use =ROUND() to avoid long decimals: =ROUND(B10*0.0825,2).
Leverage these formulas to speed up calculations, reduce mistakes, and ensure accurate receipt totals without manual intervention.
Formatting Tips for Professional-Looking Receipts

Use a clear, readable font like Arial or Calibri in 10–12 pt size. Avoid decorative styles that reduce legibility.
- Align text properly. Left-align descriptions and item names, while keeping prices and totals right-aligned for easy scanning.
- Use consistent spacing. Set uniform margins and padding to keep the layout clean. Ensure there’s enough white space between sections.
- Apply bold text strategically. Highlight key details like subtotal, tax, and total amount to make them stand out.
- Include a logical date format. Use YYYY-MM-DD or MM/DD/YYYY to avoid confusion.
- Limit color usage. Stick to black or dark gray for text, with a single accent color if needed.
- Separate sections with subtle lines. Thin borders or light gray dividers improve readability without adding clutter.
- Ensure uniform column widths. Keep numbers aligned under the same column width to prevent misinterpretation.
- Include a summary section. Clearly list subtotal, taxes, discounts, and final amount in a structured way.
Maintain a structured, professional layout by following these guidelines. A well-formatted receipt improves readability and reflects positively on your business.
Adding a Logo and Branding to Your Receipt Template
Insert your company logo at the top of your receipt for immediate brand recognition. Use the “Insert” tab in Excel, select “Pictures”, and upload your logo. Resize and position it within the header to maintain a clean layout.
Using Colors and Fonts for Consistency
Apply your brand colors to text and borders. Select a cell, go to the “Home” tab, and use the “Font Color” and “Fill Color” options. Stick to your brand’s primary colors to enhance recognition. Adjust fonts under the “Font” menu to match your brand style.
Customizing Footer Details
Add a branded footer with contact details, a slogan, or social media links. Merge cells at the bottom, enter your information, and format it with your brand’s colors and font style. This keeps branding consistent across all receipts.
Save your template as an Excel file and a PDF to ensure a uniform appearance when printing or sending receipts digitally.
Printing and Exporting Receipts as PDFs
Use Excel’s built-in features to quickly print or save receipts as PDFs. To export a receipt, go to File > Save As, select PDF from the file format list, and click Save. For batch exports, use VBA macros to automate the process.
Ensure your receipt template fits within standard page dimensions to avoid formatting issues. Use the Print Preview feature to check layout before exporting. Adjust scaling under Page Setup if needed.
| Action | Steps |
|---|---|
| Export a single receipt | File > Save As > Choose PDF > Save |
| Print multiple receipts | Select receipts > File > Print > Adjust settings > Print |
| Automate PDF exports | Use VBA macros to loop through receipts and save each as a PDF |
For bulk exports, enable Excel’s Print to PDF option and select multiple sheets. If using macros, ensure each file gets a unique name to prevent overwriting.
Common Issues and How to Fix Them
One of the most common issues users face when working with receipt templates in Excel is misalignment of columns. When the data doesn’t fit within the cells, it can distort the whole layout. To fix this, adjust the column width by selecting the column(s) and dragging the border to your desired width or double-clicking it to auto-fit.
1. Incorrect Formula Calculations
If your total amounts or taxes aren’t calculating correctly, double-check the formulas. Ensure that the cell references are accurate and the correct operators are used. For instance, use =SUM(A1:A5) for adding up values in a range. If the formula is too complex, consider breaking it down into simpler parts to identify the issue.
2. Formatting Problems with Dates or Numbers
Sometimes, dates or numbers appear in an unexpected format. If a date is displayed as a serial number, highlight the cells and choose the appropriate format. For numbers, select the cells and set the format to currency or the desired style through the “Format Cells” dialog box. This will ensure everything is presented clearly and consistently.
Another common issue is that Excel might not recognize values as numbers. In this case, check for hidden spaces or non-numeric characters that may be causing the issue. You can remove them by using the TRIM() function or manually editing the values.
3. Missing Data Validation
Without data validation, you risk entering incorrect or inconsistent data. To prevent this, set up drop-down lists or specify rules for cells where certain types of data are required. This can be done under the “Data” tab by selecting “Data Validation” and defining criteria such as text length or a list of valid entries.


