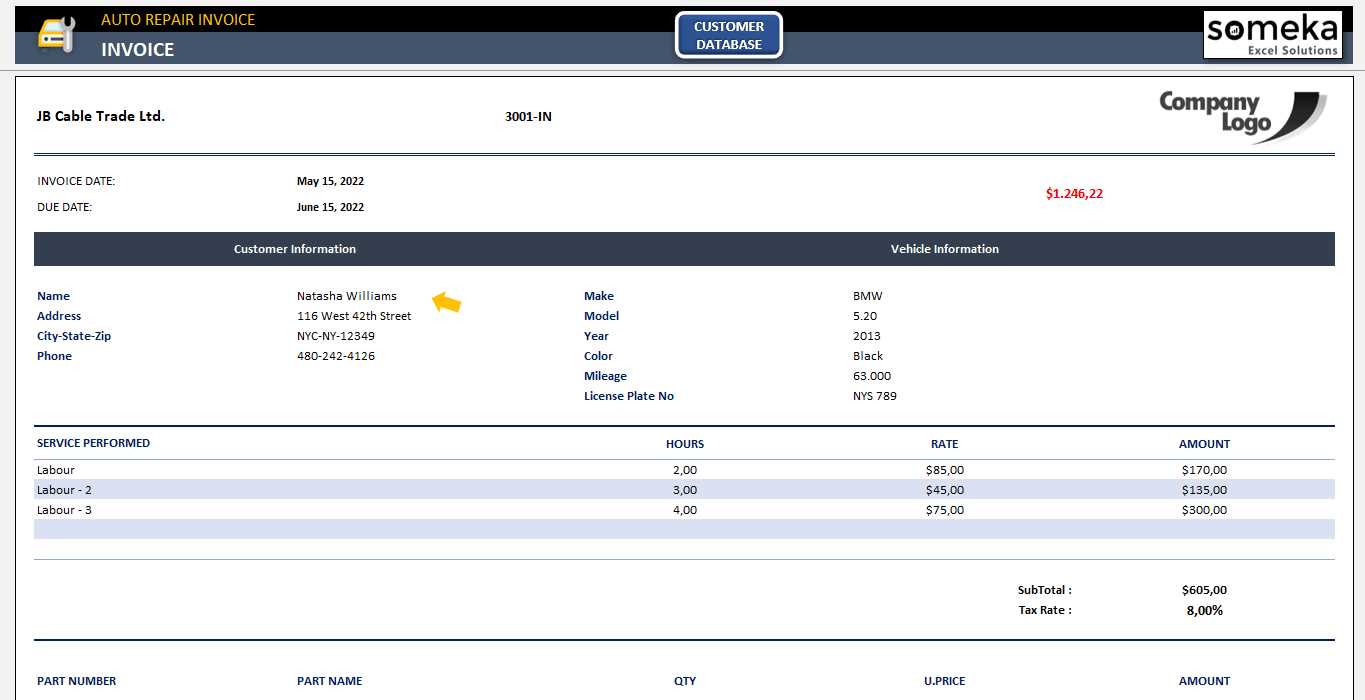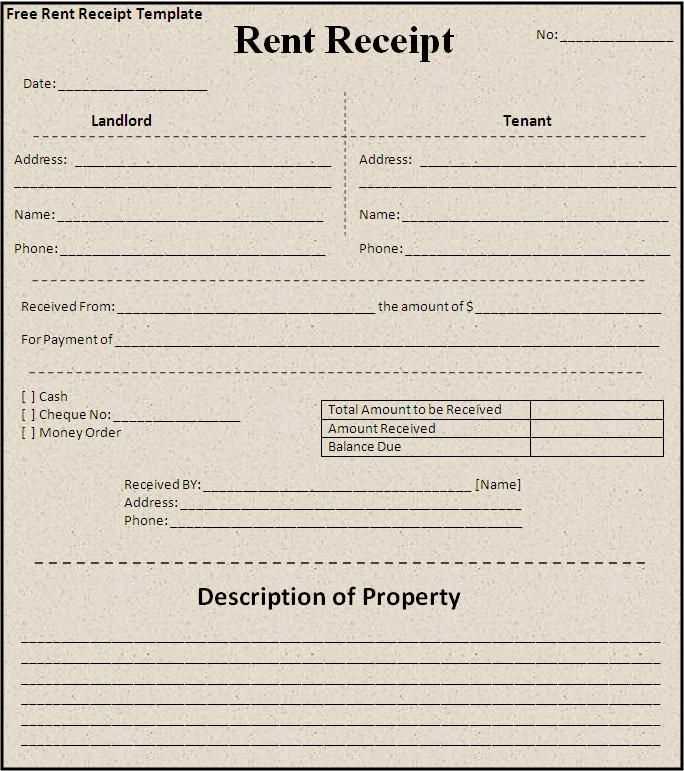
If you’re looking for an easy and practical way to manage receipts, an Excel template can be a real time-saver. Using a pre-designed template allows you to keep track of transactions without the hassle of manual calculations or formatting each time you need a new receipt.
The beauty of Excel templates is their customization options. With just a few adjustments, you can tailor the layout and fields to suit your specific needs, whether it’s for personal expenses or business transactions. You can easily add or remove columns for item descriptions, quantities, prices, and taxes.
A well-organized template should allow you to input key details such as the date of the transaction, payer information, itemized costs, and total amount. It’s also helpful to include space for additional notes or transaction references, which can be useful for record-keeping or future reference.
By utilizing formulas, Excel can automatically calculate totals and taxes, reducing the chances of errors and saving valuable time. Templates can also be saved and reused, ensuring consistency across all your receipts.
Sample Receipt Template Excel
To create a professional receipt, start with an organized layout in Excel. A basic template includes fields for the transaction date, item descriptions, quantities, unit prices, total amount, and payment method. The top section should display your business name, logo (if applicable), and contact information, making it easy for customers to reference. Below that, create columns for each item or service provided, with an additional column for totals. Adding a space for both the recipient’s and your signatures ensures clarity for both parties.
Template Structure
The first row contains headings: Date, Description, Quantity, Unit Price, Total, Payment Method. Below that, each transaction is listed in a new row, with formulas calculating totals for each item. Use Excel’s “SUM” function for calculating the grand total. The bottom section should include a “Paid By” field and space for comments or additional notes, such as delivery instructions or terms and conditions.
Customization Tips
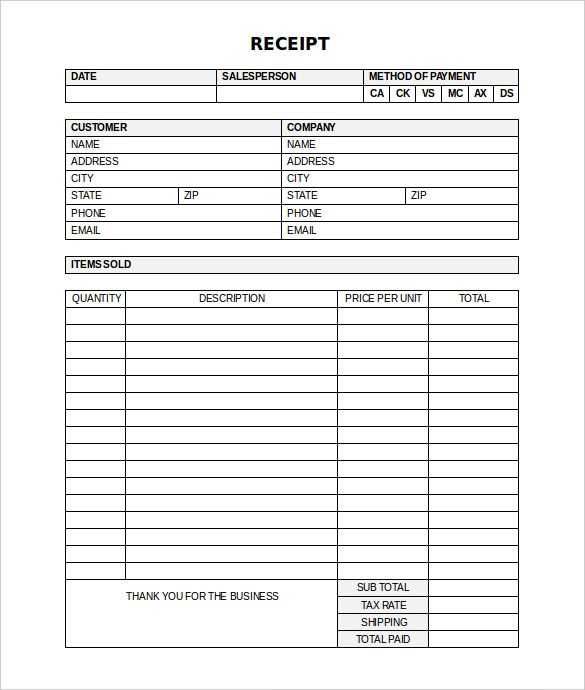
Adjust the template to your needs by adding more fields, like tax rates or discounts. To make it more visually appealing, consider using borders, alternating row colors for readability, and bold fonts for headings. If you regularly issue receipts, save the template as a reusable file, allowing quick updates without having to recreate it every time.
How to Customize an Excel Receipt Template for Your Business
Modify the basic structure to reflect your business’s identity. Start with adding your business name, logo, and contact details at the top of the template. Use bold fonts to make these details stand out, so your customers know exactly where the receipt comes from.
Next, adjust the itemized list section. Each product or service should have a row with columns for the item name, quantity, unit price, and total cost. Ensure these columns align for easy reading, and consider adding formulas to calculate totals automatically as quantities and prices are entered.
- Item Name: Ensure the product or service name is clear and readable.
- Quantity: Include a column for the amount of each item purchased.
- Unit Price: This should be formatted as currency to avoid confusion.
- Total Cost: Use a formula to multiply quantity by unit price and calculate the total cost.
After that, include tax calculations, discounts, or any additional fees. Add rows for tax, shipping, and discounts, and make sure to link them to the totals to reflect any changes dynamically.
- Tax: A percentage-based formula can be applied to calculate the tax automatically.
- Discount: Include a field where you can apply any discount percentage to the total amount.
- Shipping Fees: Add a field to calculate shipping based on customer location or order size.
Finish by including a final total section at the bottom of the template. This should display the total amount due after tax, discounts, and shipping fees have been applied. Use bold or highlighted cells for this total to ensure it is easily noticed.
For a more professional appearance, use consistent colors and borders to organize sections and separate information clearly. Tailor the font size to ensure all elements are readable while maintaining a clean layout.
Lastly, save your customized receipt template as a reusable file to generate receipts quickly for future transactions. Make sure the template is easy to update if you change prices or services.
Step-by-Step Instructions for Adding Payment Methods and Transaction Details
Begin by opening your Excel receipt template and locate the section dedicated to payment information. You can usually find this area near the bottom of the receipt where the total amount is listed.
1. Adding Payment Methods
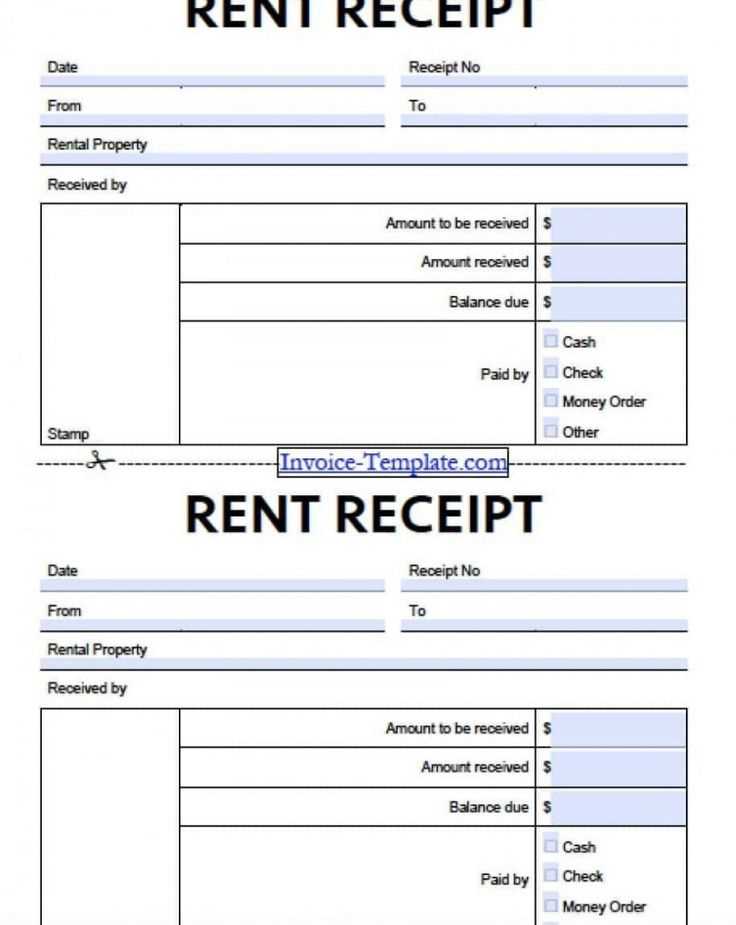
In the first available row, create a new column for “Payment Method.” This column should include options like “Cash,” “Credit Card,” “Debit Card,” or “Bank Transfer.” You can use a drop-down list for easier selection. Highlight the cell, go to the “Data” tab, and select “Data Validation.” Choose “List” from the options and input the payment methods separated by commas.
2. Adding Transaction Details
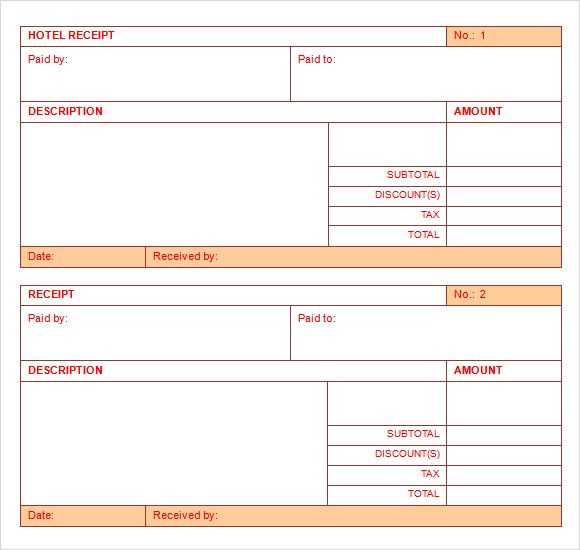
Under the “Transaction Details” section, create columns for “Transaction ID” and “Amount Paid.” These columns will track the unique reference number and the payment amount for each transaction. Ensure that the “Amount Paid” column is formatted to show currency values. To do this, right-click the column, select “Format Cells,” then choose “Currency.”
Once you have added these fields, input the appropriate details for each payment. Ensure consistency by verifying that the correct payment method and transaction ID are listed next to the corresponding amounts. This helps maintain clarity in your records.
3. Additional Tips
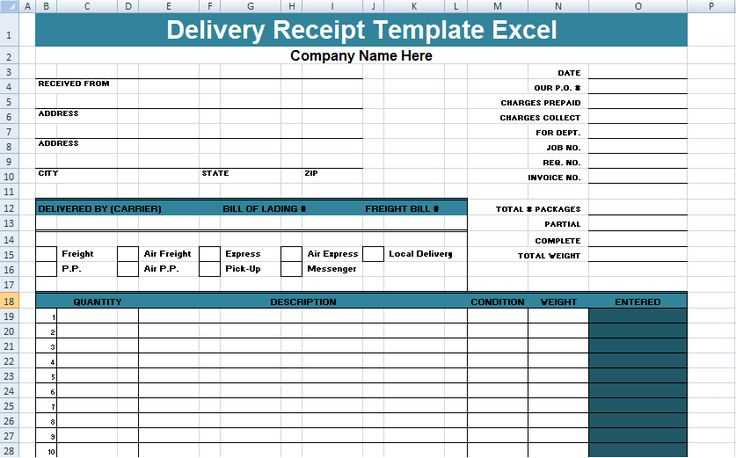
If you process multiple types of payments for a single receipt, consider adding a “Partial Payment” column. This will allow you to record the individual amounts applied to each payment method, giving a more detailed breakdown of the transaction.
By structuring the payment information clearly, your receipts will be more organized and easy to track.
How to Format Your Receipt for Printing or Digital Sharing
Ensure your receipt is easy to read and professional by aligning key details in a clean and organized layout. Adjust the page size to match common printing standards, like A4 or Letter, and keep margins consistent for a polished appearance.
Use Clear and Concise Fonts
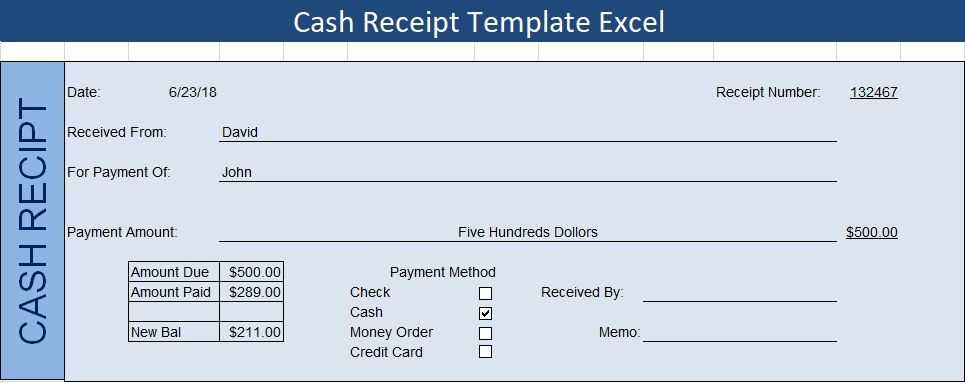
Select a readable font like Arial or Calibri. Keep the font size between 10 and 12 points to ensure legibility on both print and digital formats. Avoid fancy fonts that may clutter the text or cause confusion.
Organize Information Logically
Start with the business name and contact details at the top, followed by the date, transaction number, and itemized list of products or services. Include tax breakdowns and total amounts at the bottom for clarity. Align this information in a way that guides the reader naturally from section to section.
