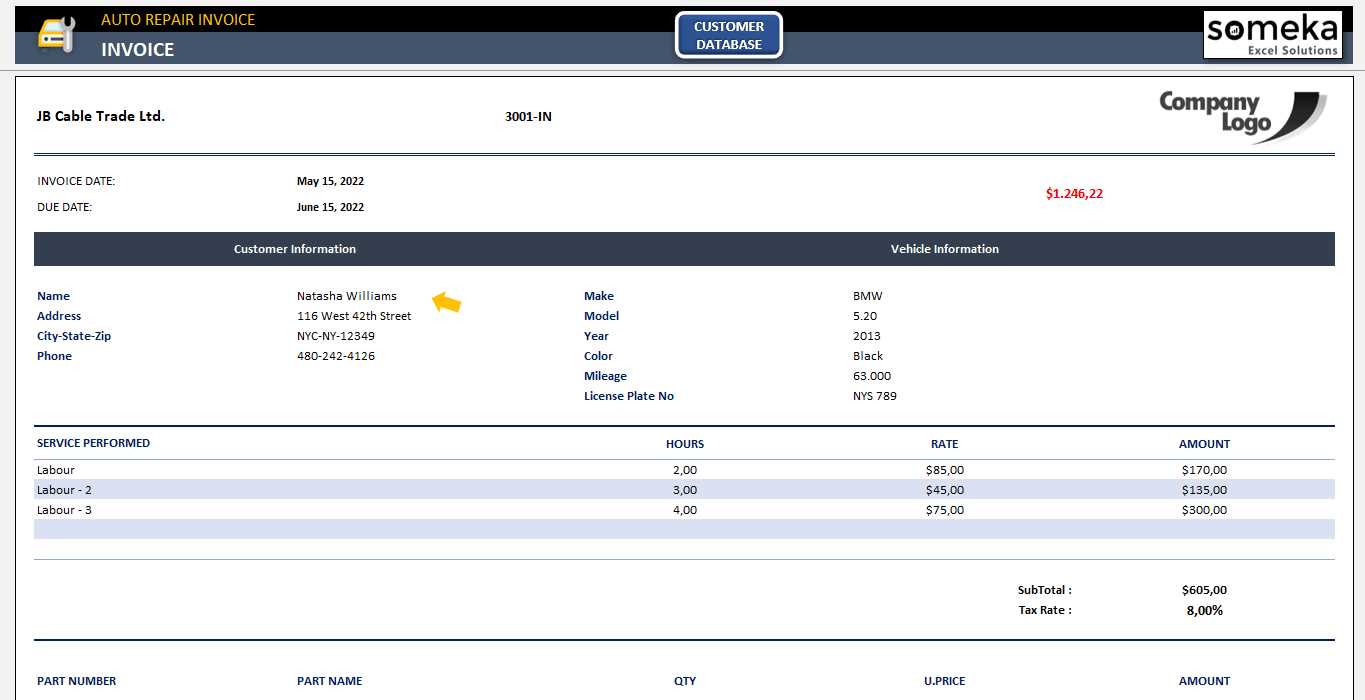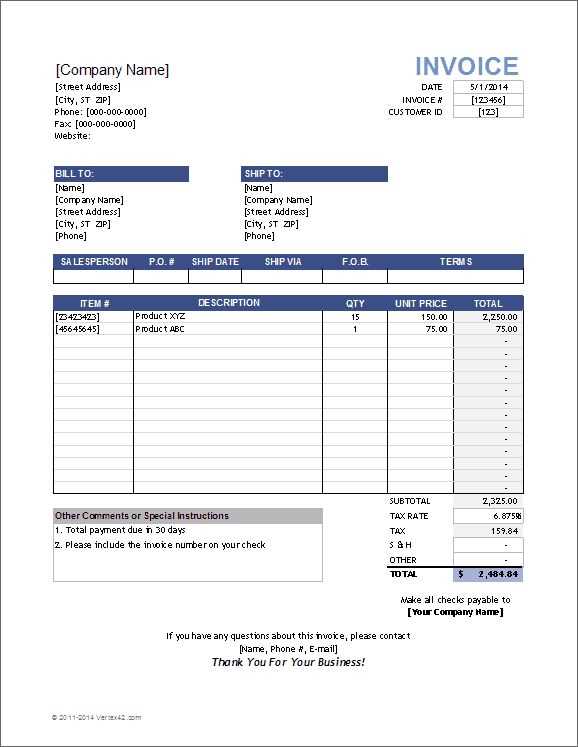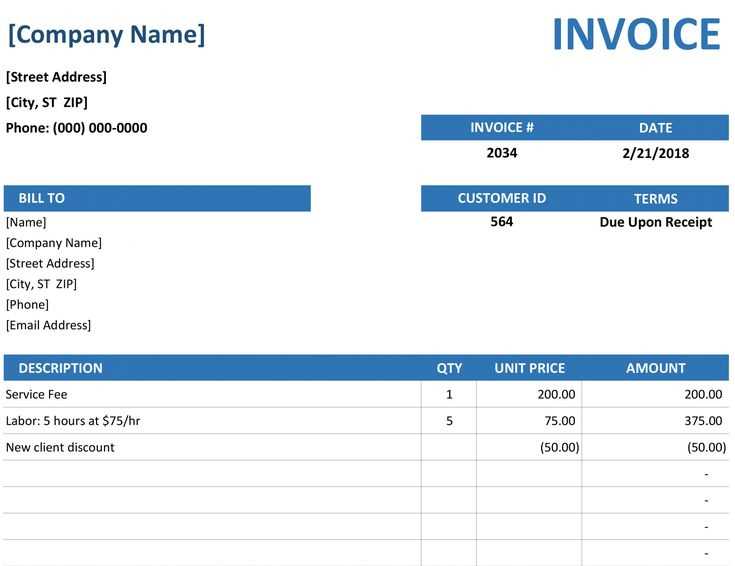
Need a structured and easy-to-use service receipt template in Excel? Download a ready-made template or create one from scratch with simple formulas and formatting tools. A well-designed receipt ensures clarity for both service providers and clients, helping track payments and maintain professional records.
Use Excel’s built-in tables, conditional formatting, and formulas to automate calculations. Include fields for date, service description, amount, and taxes. For automated numbering, apply the ROW function, and for tax calculations, use simple multiplication formulas. Format currency fields properly to avoid errors.
Save the template as an .xlsx or .xlsm file for future use, or export completed receipts as PDFs for easy sharing. For added convenience, integrate dropdown lists for service categories and client names using data validation. This approach reduces manual entry and minimizes mistakes.
Excel offers flexibility to tailor templates for different business needs. Whether you manage a small business or freelance work, a structured receipt template improves accuracy and professionalism while keeping financial records organized.
Service Receipt Template Excel
Use predefined formulas to calculate totals automatically. Set up columns for service descriptions, unit prices, and quantities, then apply the =SUM() function to get the final amount.
Format for readability. Apply bold headers, align text properly, and use conditional formatting to highlight overdue payments.
Include essential details like date, customer name, service description, cost breakdown, and payment method. Add a unique receipt number for tracking.
Make it printable. Adjust margins, enable gridlines, and set print areas to ensure a professional layout when printed or converted to PDF.
Automate with dropdowns. Use data validation to create selection lists for services, payment methods, or tax rates to speed up data entry.
Structuring Key Fields for Clarity

Ensure readability by organizing key fields in a logical order. Place the service date at the top to provide immediate context. Follow with client details, including name, contact information, and billing address.
Itemized Services
Use a structured table with columns for service description, quantity, rate, and total cost. Keep descriptions brief but specific, avoiding unnecessary jargon. Align numbers for easy scanning.
Payment Information
Clearly display the subtotal, tax (if applicable), and total amount due. Highlight the payment due date and accepted payment methods. If offering discounts, list them separately to maintain transparency.
Conclude with a section for terms and conditions, ensuring all policies are clear. A signature line can add an extra layer of confirmation if needed.
Automating Calculations with Formulas
Use Excel formulas to eliminate manual calculations and reduce errors. Start with =SUM() to total amounts in a column, ensuring each transaction is correctly added. Reference specific cell ranges to keep calculations dynamic.
Conditional Totals

Apply =SUMIF() or =SUMIFS() to sum values based on conditions. For example, summing only paid invoices:
=SUMIF(B:B, "Paid", C:C)
Adjust criteria to match different statuses or dates.
Automated Tax and Discounts
Use multiplication to apply taxes or discounts automatically. If tax is 8% and the subtotal is in C2:
=C2*1.08
For discounts, subtract a percentage:
=C2*(1-D2)
where D2 holds the discount rate.
Keep formulas consistent across rows to maintain accuracy throughout the receipt.
Exporting and Printing for Client Use
Save the service receipt as a PDF to ensure a consistent layout across devices. In Excel, go to File > Save As, select PDF, and choose the destination folder. This preserves formatting and prevents accidental edits.
For direct printing, adjust settings for clarity. Click File > Print and check the print preview. Set margins, scale the content to fit one page if necessary, and ensure headers are visible.
- Use landscape orientation for wide tables.
- Enable gridlines if the table structure needs to be visible.
- Select “Fit Sheet on One Page” under scaling options to avoid cut-off data.
To share receipts digitally, attach the PDF to an email or use cloud storage for easy access. If clients require an editable version, provide an Excel file with protected cells to prevent unintentional modifications.

