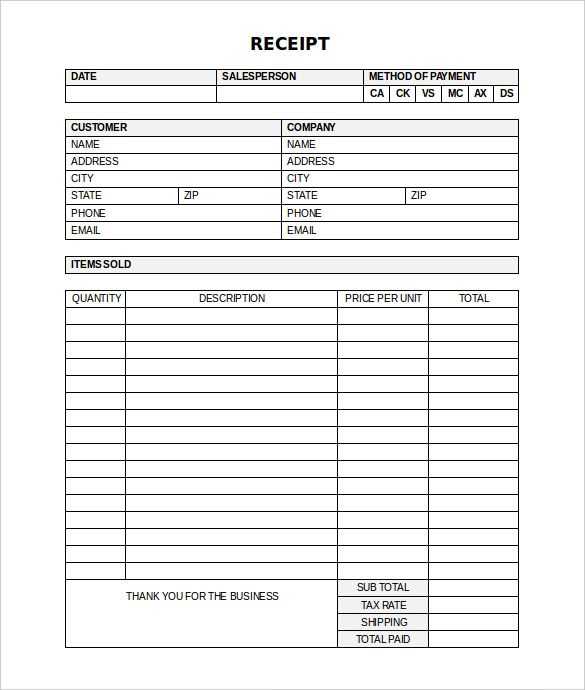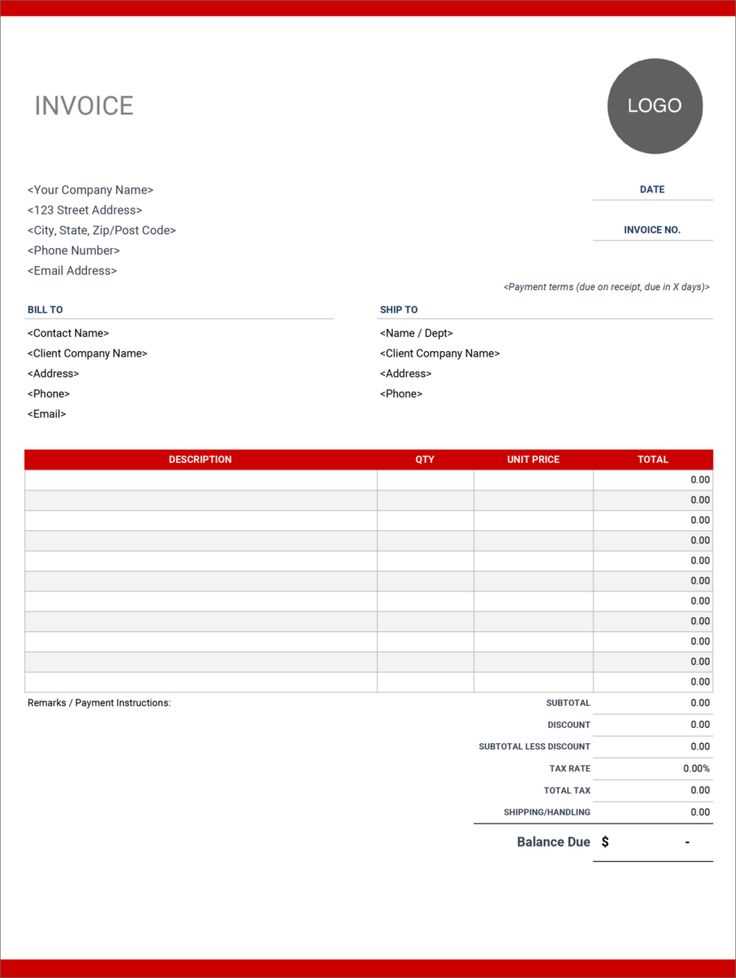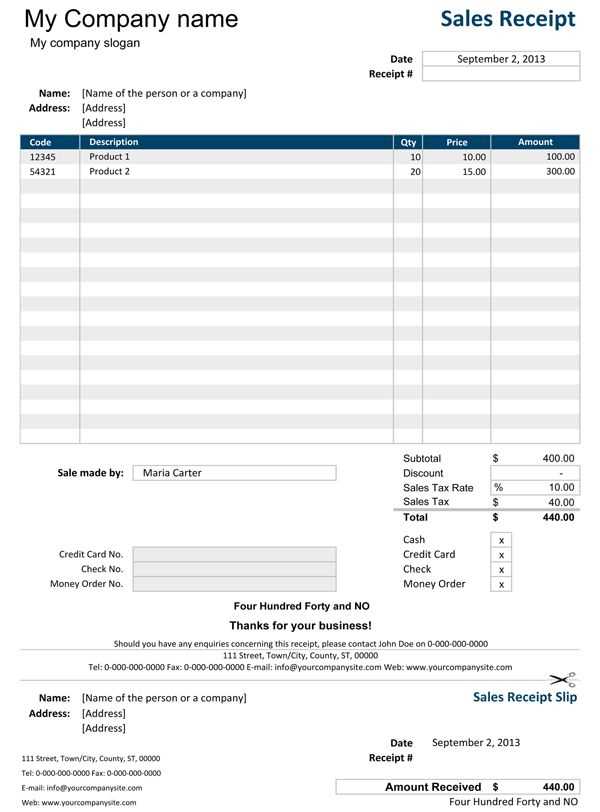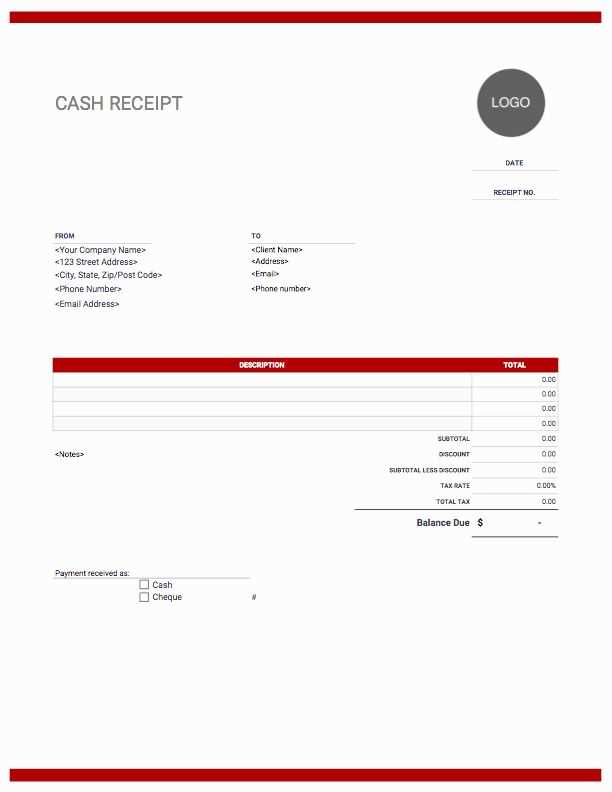
To quickly create professional receipts, download or design a small receipt template in Excel. Start with a clean layout that includes essential details: receipt number, date, item description, quantity, price, and total. Excel’s built-in functions can automate calculations, saving you time and reducing errors.
For enhanced usability, customize your template with drop-down menus for repetitive fields like item names or payment methods. Use conditional formatting to highlight overdue payments or apply a consistent color scheme that matches your brand. These small adjustments can make your receipts both functional and visually appealing.
Don’t forget to optimize the print area within Excel. Keep your template compact by adjusting column widths and row heights to fit standard paper sizes like A4 or letter. By using the “Page Layout” tab, you can ensure that all information appears clearly without unnecessary breaks, making the process smoother for both you and your clients.
Small Receipt Template in Excel
Use Excel to create a simple, reusable small receipt template by focusing on a clean layout and essential data points. Start with a grid structure to organize information efficiently.
Steps to Build a Small Receipt Template
- Set Up Columns: Define columns for receipt number, date, item description, quantity, price, and total amount. Adjust column widths for clarity.
- Add Headers: Insert headers in bold for each column, such as “Item Description” or “Total Price.” Use a contrasting background color to distinguish the header row.
- Use Formulas: Automate calculations by applying the formula
=B2*C2(Quantity x Price) for each row under the “Total Price” column. - Include Summary: At the bottom, use the
=SUM(D2:D10)formula to calculate the total amount.
Optional Enhancements
- Branding: Add your business name and logo at the top of the sheet for a professional look.
- Formatting: Use borders to separate rows and columns, and format currency fields for easy readability.
- Print Optimization: Set print areas and margins to ensure the receipt fits on a single page.
Save the template for future use and protect the formula cells to prevent accidental changes while entering data.
How to Design a Compact Receipt Template in Excel

Set your Excel worksheet to a standard paper size, such as A5 or Letter, by adjusting the page layout under the “Page Layout” tab. Use narrow margins to maximize space without overcrowding the layout.
Choose a clean font like Arial or Calibri at size 10–12 for readability. Add bold formatting to headings such as “Date,” “Item Description,” “Quantity,” “Unit Price,” and “Total” to clearly distinguish sections.
Create a grid structure using borders. Select the range of cells where your receipt will be designed, right-click, and use “Format Cells” to apply light or dotted borders for a professional look. Avoid heavy lines to maintain a compact, minimalist design.
Optimizing Data Entry
Use formulas to automate calculations. For example, in the “Total” column, apply the formula =Quantity*Unit Price. At the bottom of the template, add a sum formula to calculate the total amount, such as =SUM(E2:E10) if your totals are in column E.
Lock cells containing formulas and headings to prevent accidental edits. Go to the “Review” tab, select “Protect Sheet,” and allow editing only for specific input fields like “Item Description” and “Quantity.”
Customizing for Reuse

Insert a company logo or name at the top of the receipt for branding. Use the “Insert” tab to add an image or text box. Save the file as a template (.xltx) to reuse it without overwriting the original layout.
To ensure consistent printing, enable gridlines under the “Page Layout” tab and preview your template using “Print Preview” to confirm alignment. Adjust scaling if needed to fit all elements on one page.
Customizing Layout and Formatting for Small Receipts

Optimize your receipt layout by adjusting the column widths to fit key details such as item descriptions, prices, and totals. Use a table structure in Excel with hidden gridlines for a clean appearance and ensure consistent font sizes, typically between 8pt and 10pt, for readability on small prints. Limit unnecessary elements like excessive borders or logos to save space.
Leverage conditional formatting to highlight totals or discounts, making them stand out without overwhelming the design. For improved alignment, set all numerical values to align right and text to align left. Keep margins narrow, around 0.25 inches, to maximize usable space on small receipt paper sizes, such as 2.25″ or 3″ widths.
Use predefined templates or create your own by setting print areas to match your desired receipt size. Test the layout by printing sample receipts to ensure no information is cut off, and adjust scaling settings if necessary. Save the customized template for consistent formatting across future receipts.
Automating Calculations and Adding Useful Formulas

Use Excel’s built-in functions like =SUM, =AVERAGE, and =IF to streamline repetitive calculations. For instance, apply =SUM in the total column to quickly calculate the sum of item prices.
Integrate conditional formulas like =IF(A2>100,”Discount”,”No Discount”) to automatically flag entries meeting specific criteria, such as offering discounts on purchases exceeding a certain amount. This saves time and reduces manual oversight.
Leverage the Data Validation feature to create dropdown lists for consistent input, minimizing errors when selecting categories like payment methods. Combine this with VLOOKUP or INDEX-MATCH to pull related details automatically, such as customer names tied to invoice numbers.
Use dynamic formulas like =TEXT(A2,”mm/dd/yyyy”) to standardize date formats, ensuring consistency across receipts. Additionally, apply =ROUND to round totals to the nearest cent, maintaining accuracy while avoiding long decimals.
For tracking tax, incorporate a formula like =B2*0.07 in a dedicated column to calculate tax amounts based on subtotal values, and sum them for a clear overview of collected taxes.
These tools not only automate routine tasks but also reduce the likelihood of errors, ensuring smooth receipt management.


