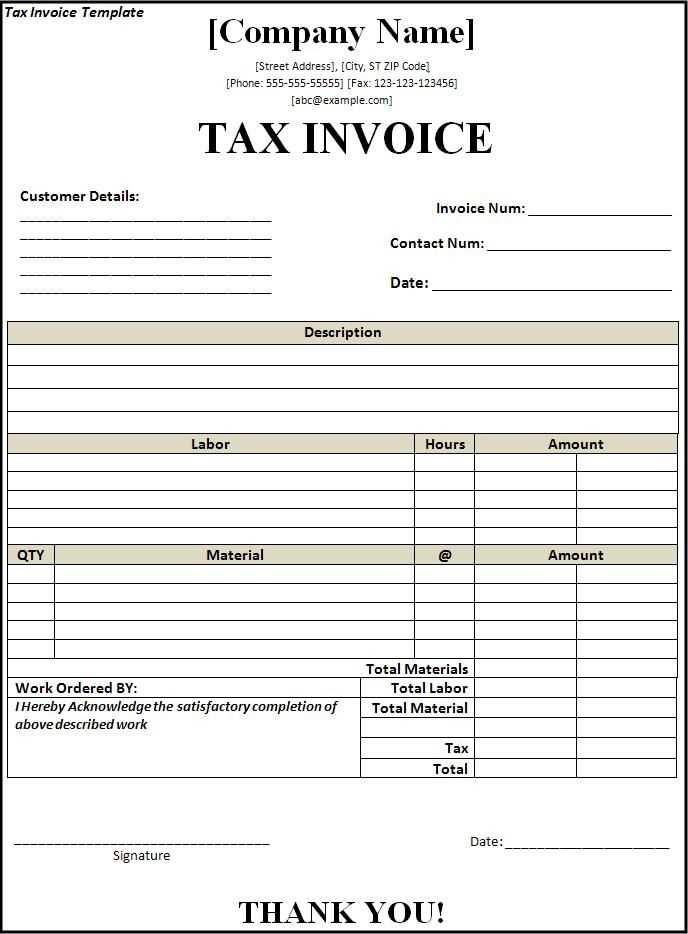
Download a Ready-Made Template
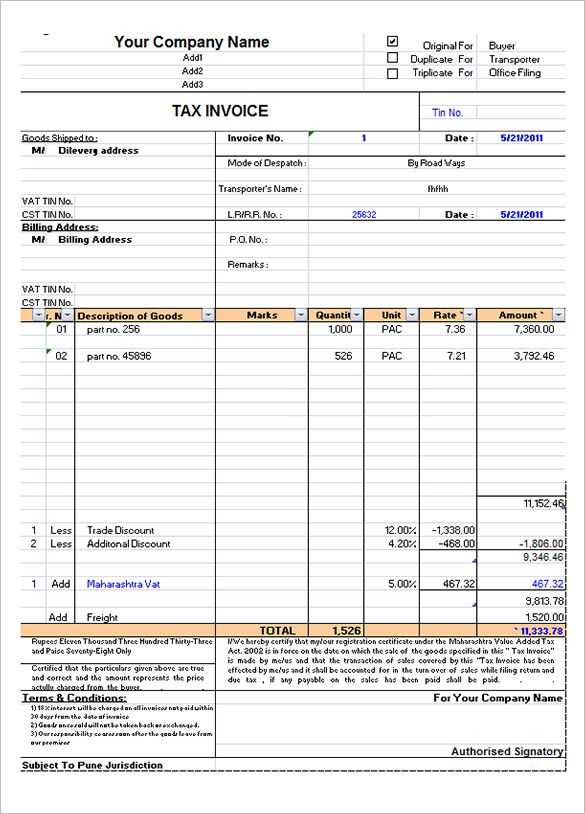
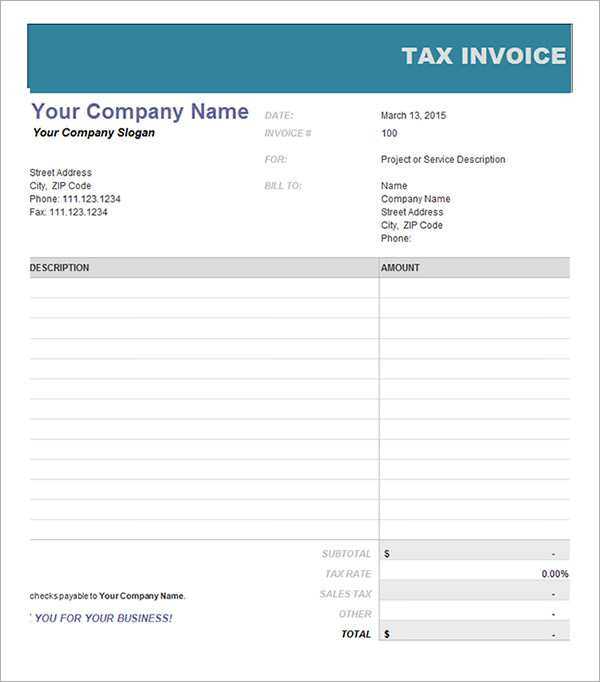
Save time by using a pre-built tax receipt template in Excel. This format ensures accurate calculations and a professional layout. Download a free template, open it in Excel, and fill in the necessary details.
Customize the Template for Your Needs

Modify the template to match your business requirements. Common customizations include:
- Adding a logo: Insert your company’s logo in the header.
- Adjusting tax rates: Update the tax percentage based on your location.
- Changing currency: Ensure the correct currency format is applied.
- Including payment methods: Add fields for cash, credit, or online transactions.
Essential Fields to Include
A complete tax receipt should contain:
- Date of transaction
- Receipt number
- Payer’s details (name and contact information)
- Seller’s details (business name and tax ID)
- Description of goods/services
- Subtotal, tax amount, and total
- Authorized signature
Automate Calculations
Use Excel formulas to minimize errors. Apply the =SUM() function for totals and =A1*B1 for tax calculations. Format currency fields correctly by selecting the appropriate number format in Excel.
Save and Print the Receipt
After filling out the receipt, save it as a PDF for record-keeping. Print a hard copy if needed. Ensure all required signatures are included before sharing the document with the payer.
Tax Receipt Template in Excel: Practical Guide
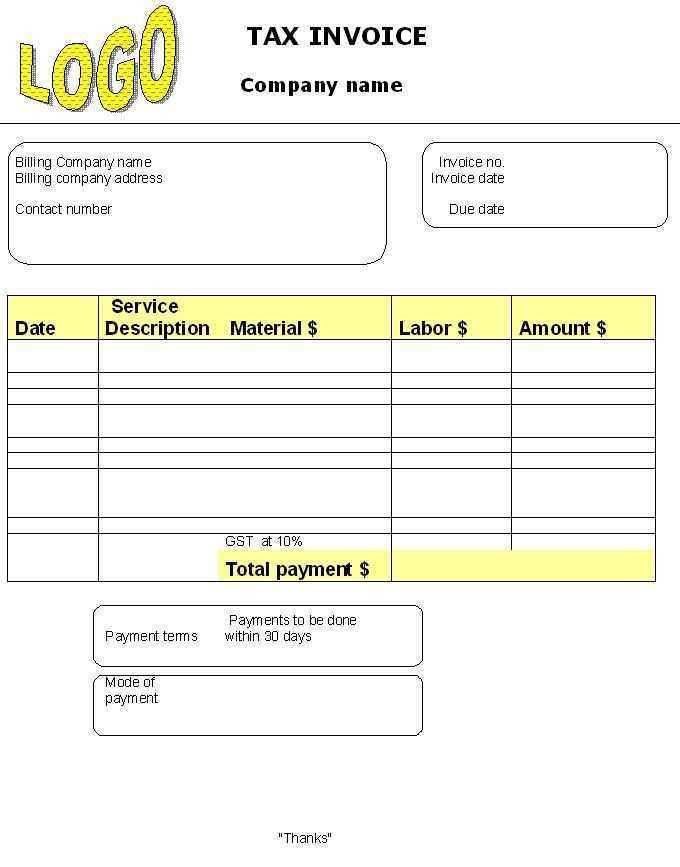
Structuring a Tax Receipt Template in Excel
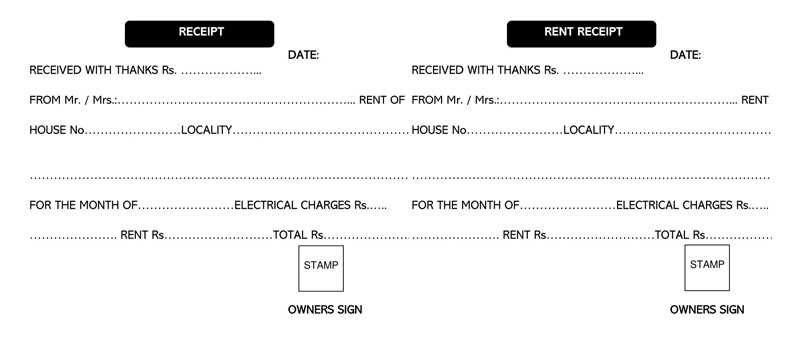
Use separate columns for date, receipt number, payer details, amount, and payment method. Apply data validation to standardize inputs. For example, restrict the date column to a valid format and the amount column to numeric values.
Automating Tax Deduction Calculations in Excel
Use =IF() and =VLOOKUP() to automate deduction calculations based on tax rates. Store rates in a separate sheet, then reference them dynamically. Example:
=VLOOKUP(A2, TaxRates!A:B, 2, FALSE) * B2
For percentage-based deductions, multiply the taxable amount by the applicable rate and round results with =ROUND().
Best Practices for Formatting and Printing Receipts
Set column widths to fit text without truncation. Use conditional formatting for overdue payments by highlighting past-due dates in red. Before printing, set page breaks and enable gridlines for better readability. Use Print Titles to repeat headers on every page.


