Creating a simple and clear receipt template is an excellent way to manage transactions efficiently. This straightforward format provides all the necessary details to ensure both parties have accurate records. You’ll want to include the transaction date, buyer and seller information, item or service descriptions, amounts, and payment methods. Each section must be easy to understand and concise, leaving no room for ambiguity.
Start by including essential fields like the receipt number, date, and seller’s contact information. This ensures that each receipt is traceable and easy to reference in the future. For purchases, list the item name, quantity, price, and total cost. If applicable, include tax details separately to provide clarity on the overall price.
Once the details are entered, make sure to include payment methods. Whether the payment was made by cash, card, or another method, specifying this will avoid confusion. Finally, offer a space for both buyer and seller signatures if needed to confirm the transaction.
Sure! Here’s the revised version:
Ensure the receipt template is simple, clear, and easy to read. Start with the business name and contact information at the top, followed by the receipt date. List the items purchased with a brief description and price. Include taxes and any discounts applied, if relevant. A total amount should be clearly highlighted at the bottom. Leave space for the customer’s signature if required.
For easy customization, design the template with placeholders for data entry. Use a grid layout for better organization, keeping amounts aligned for quick reference. The use of different font sizes can help distinguish sections, making the receipt visually appealing without overwhelming the reader.
Ensure the receipt can be printed on standard paper sizes and is adaptable to different printing devices. The template should also be compatible with various software to make filling it out straightforward for staff members.
Basic Receipt Template: A Practical Guide
Choosing the Right Format for Receipts
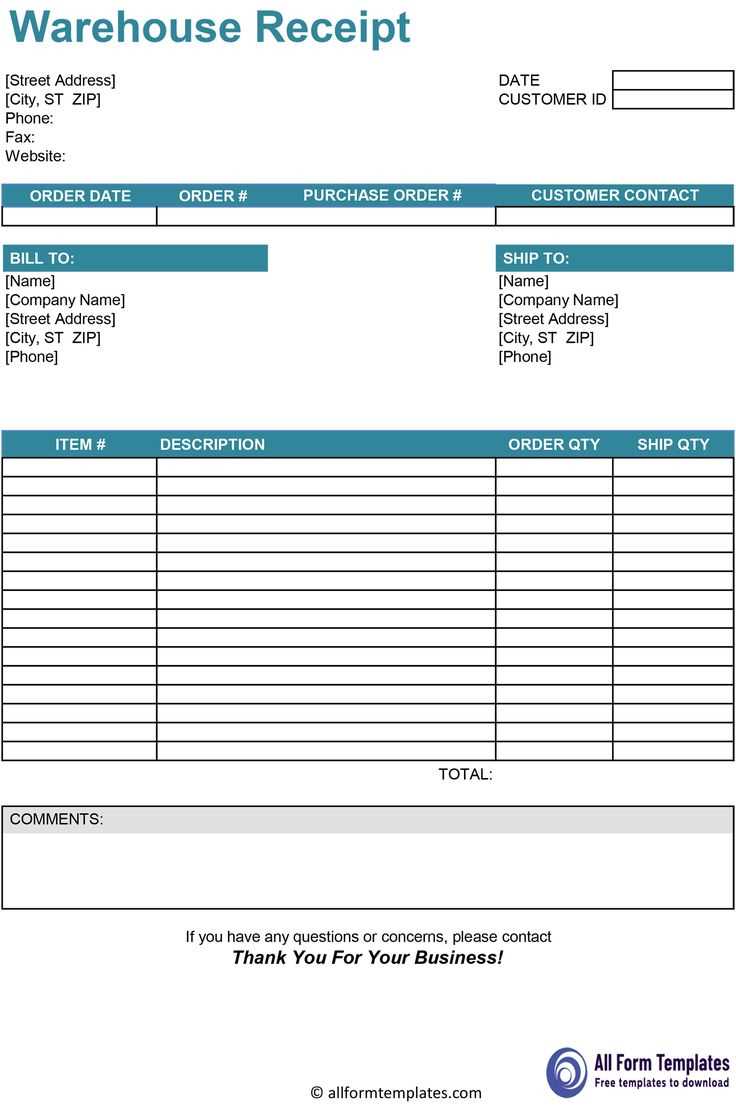
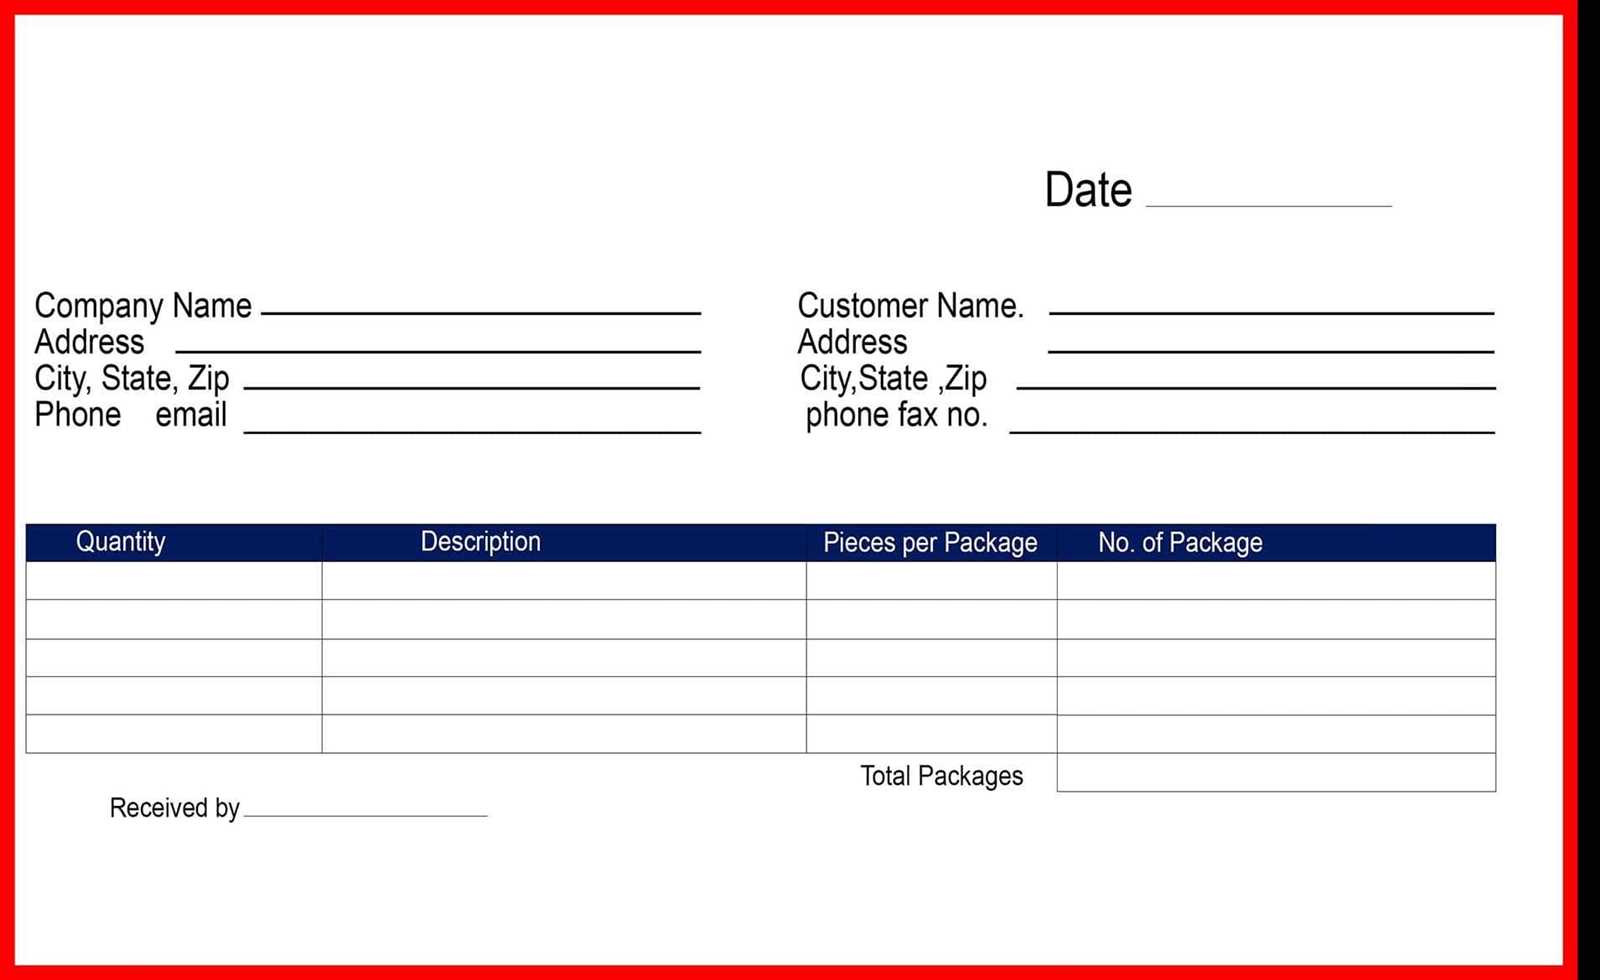
Essential Information to Include in a Receipt
Customizing the Template to Fit Your Needs
Best Practices for Designing a Clear Layout
Common Mistakes to Avoid When Creating Receipts
Printing and Digital Options for Templates

Start by deciding whether the receipt will be printed or stored digitally. The format should reflect the method of use. For a printed receipt, prioritize clarity with structured fields and a clean design. For digital receipts, consider including interactive elements such as hyperlinks or QR codes for easy access to transaction details. Ensure that both formats support clear readability across devices.
Choosing the Right Format

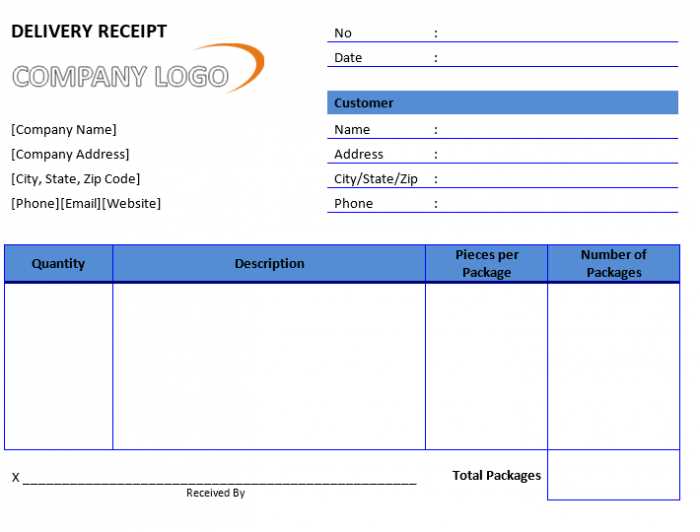
The receipt layout should be simple yet informative. Include sections for the company name, date, transaction details, and total amount. If applicable, add a logo for branding and a contact information section. The font should be legible and consistent throughout the template to avoid confusion. Ensure the size and structure are easy to scan, keeping the most important details at the top.
Customizing the Template

Personalize your receipt template by adding any additional fields required for your business, such as item descriptions, tax information, or customer loyalty points. Make sure the design reflects your brand’s identity, but maintain a professional appearance. A consistent layout will help customers quickly identify the information they need without distraction.
When printing, ensure the template fits standard paper sizes. For digital templates, check compatibility with mobile devices and different file formats. Finally, avoid cluttering the receipt with unnecessary information or decoration, as this can detract from the primary purpose of providing clear proof of transaction.