Use this final check receipt form template to clearly document the completion of a transaction or service. It provides all the necessary fields to ensure both parties acknowledge that the transaction has been fulfilled and the conditions have been met.
Ensure the template includes key details such as service completion date, payment amount, and itemized list of services rendered or goods delivered. These components eliminate any confusion or misunderstandings after the transaction is closed.
Make sure to tailor the template to your specific needs. Add or remove sections depending on your business or industry requirements. For example, if warranties or follow-up services are involved, include those in the receipt for clarity.
This simple yet effective form ensures transparency, protects both parties, and serves as a reference for future inquiries. By having everything written down, you create a clear record of what has been completed and what is due, avoiding any disputes down the line.
Here are improved lines without word repetitions:
Make sure your final check receipt clearly lists all the necessary details to avoid confusion. This includes the transaction date, the amount paid, and any discounts applied. Use precise wording and avoid repeating key terms across different sections.
Clarifying payment details:
Include a breakdown of the amount, detailing individual items or services charged. This makes it easier for customers to understand the costs without needing to ask follow-up questions.
Simplify customer identification:
Instead of repeating the customer’s full name or address, use unique identifiers such as order number or membership ID to prevent redundancy. This also helps ensure that the receipt can be easily cross-referenced with other documents.
- Final Check Receipt Form Template
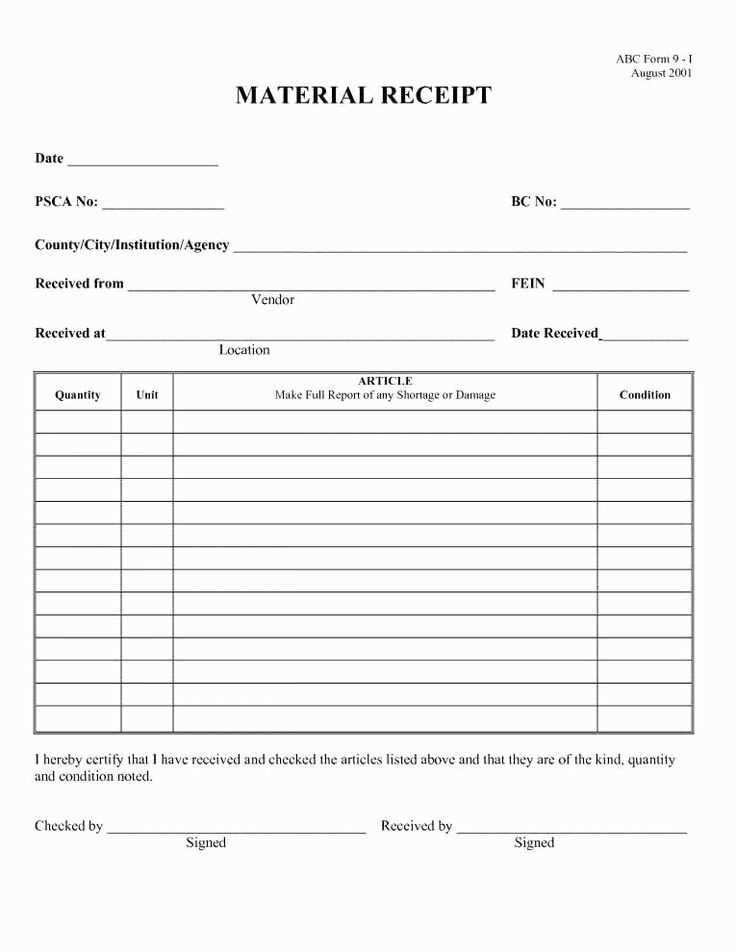
When creating a final check receipt form, clarity and accuracy are key. This template ensures you capture all necessary details for both parties involved, confirming the completion of any transaction or payment process. Below are the core components you should include in the template:
1. Receipt Title
Label the form as a “Final Check Receipt” to make its purpose immediately clear. This title helps distinguish it from other receipt types and sets the correct expectations for the transaction.
2. Date and Time of Transaction

Include the exact date and time the final check was issued. This is critical for reference and any potential follow-up actions, especially in case of disputes.
3. Party Information
Include fields for the names and contact details of both the payer and the recipient. This ensures that there is no confusion about who was involved in the transaction.
4. Amount and Payment Details

List the final amount being paid. Specify whether the payment is made in full or as a partial payment. If applicable, mention the payment method (e.g., check, bank transfer) and any relevant transaction reference numbers.
5. Purpose of Payment
Briefly describe the reason for the final check, whether it’s for a service rendered, outstanding balance, or another reason. This provides transparency and avoids misunderstandings.
6. Signature of Both Parties
Leave space for both parties to sign, confirming that the payment has been received in full. This serves as an acknowledgment of the transaction.
7. Additional Notes

Include a section for any additional notes, such as payment terms or special conditions that were agreed upon. This allows for the inclusion of extra details that may not have been covered elsewhere in the form.
This simple yet thorough template will ensure that all critical details are captured, helping you maintain clear and effective communication in financial transactions.
To create a clear final receipt form, focus on key information like transaction details, payment method, and the parties involved. Ensure the form is easy to read and logically structured. Each section should be clearly defined to avoid confusion during the review process.
Step 1: Include Transaction Details
Start by adding the transaction date and unique receipt number. Include both the seller’s and buyer’s names or business identifiers. This helps track the purchase and provides a reference point for any future communication.
Step 2: List Purchased Items and Services

Clearly list all items or services purchased, including quantities, descriptions, and individual prices. This section provides transparency, preventing any future disputes about what was bought.
Step 3: Indicate the Payment Method
Include a section that specifies the method of payment, whether it’s cash, credit card, bank transfer, or another method. If multiple methods are used, list them accordingly.
Step 4: Add Tax Information
Incorporate any taxes applied to the transaction, including the tax rate and the amount calculated. This ensures full transparency on the final cost.
Step 5: Provide a Total Amount

At the bottom of the receipt, show the total amount, including taxes, any discounts, and final balance due. This section confirms the final price the buyer paid for all products or services.
Step 6: Add Terms and Conditions (Optional)
Consider including a short note about your return policy, warranty, or other important terms related to the purchase. This section prevents confusion later on and clarifies the buyer’s rights and obligations.
Step 7: Space for Signature (Optional)
Leaving space for signatures can be helpful in cases where buyer and seller need to acknowledge the transaction officially.
| Field | Details |
|---|---|
| Receipt Number | A unique identifier for each receipt |
| Transaction Date | The date the transaction took place |
| Seller Information | Name, address, or business ID |
| Buyer Information | Name and contact details |
| Items Purchased | Description, quantity, and price of each item or service |
| Payment Method | Cash, card, bank transfer, etc. |
| Tax Information | Tax rate and amount |
| Total Amount | Final price, including taxes |
| Terms and Conditions | Optional, but helpful for returns or warranties |
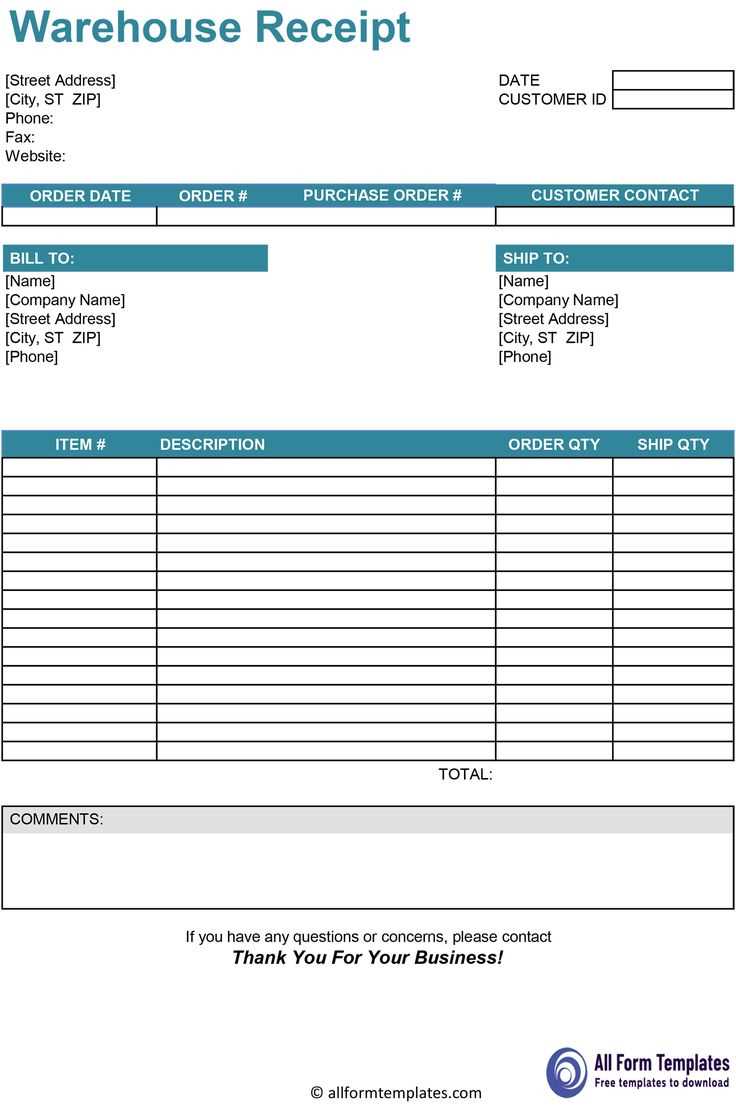
Include the receipt title at the top to clearly label it as a “Final Receipt.” This instantly informs the recipient of the document’s purpose. Below the title, ensure the transaction date is included for clear record-keeping. The date should be specific and formatted consistently, ideally in day-month-year style.
Provide a section for buyer and seller details. The buyer’s name, address, and contact information should be listed, followed by the seller’s details. These should include the business name, address, phone number, and email. This establishes clear identification for both parties involved in the transaction.
List the purchased items or services with a clear breakdown of each. Include a description, quantity, unit price, and total cost per item or service. This section should be easy to read and structured in a table format for clarity. Avoid cluttering this area with unnecessary information.
Specify the total amount paid. This should be prominently displayed at the end of the itemized list. If applicable, break down the taxes, discounts, or additional fees that apply to the total amount, with clear labels indicating each.
Include payment details to show how the transaction was completed. Whether it was via credit card, cash, or other methods, state the payment method and transaction reference number for tracking. If the payment was made through an online system, include any related confirmation number.
Offer a section for return or exchange policies. If the purchase is eligible for returns or exchanges, list the terms and conditions that apply. This helps set clear expectations for the buyer and provides transparency regarding the process.
Conclude with a space for signatures from both the buyer and seller, if required. This can be a simple line for both parties to sign, confirming the transaction details are correct. Having signatures solidifies the receipt as a legally binding document.
Customize the form to match your specific needs. Use clear fields that capture all necessary data without overloading the document with unnecessary sections. Ensure each part is easy to read, with simple instructions on how to fill out the form correctly.
Prioritize Clarity: Label each section in plain language. If any part of the form could be confusing, add concise instructions or examples to guide users. Avoid jargon and keep things straightforward.
Be Precise with Data Entry: Clearly define which fields are mandatory and which are optional. This helps prevent errors and speeds up the completion process. A common mistake is to leave out important details; to avoid this, use checkbox options for items that need confirmation (e.g., payment received, all tasks completed).
Test Before Use: Run through the form in real scenarios before rolling it out. This ensures that all fields work as intended and captures the required information. Any potential issues, such as layout problems or missing fields, can be addressed early on.
Include a Section for Notes: Allow space for extra comments or clarifications. This can be useful for special cases or for any additional context that isn’t covered by the standard fields.
Use Digital Tools for Automation: If using a digital form, leverage tools that auto-populate fields where applicable, or create dropdowns to reduce human error. This can make data collection faster and more accurate.
Review Regularly: Keep track of any changes or updates to the form and review it periodically. This ensures it remains aligned with your evolving processes and continues to collect the most relevant information efficiently.
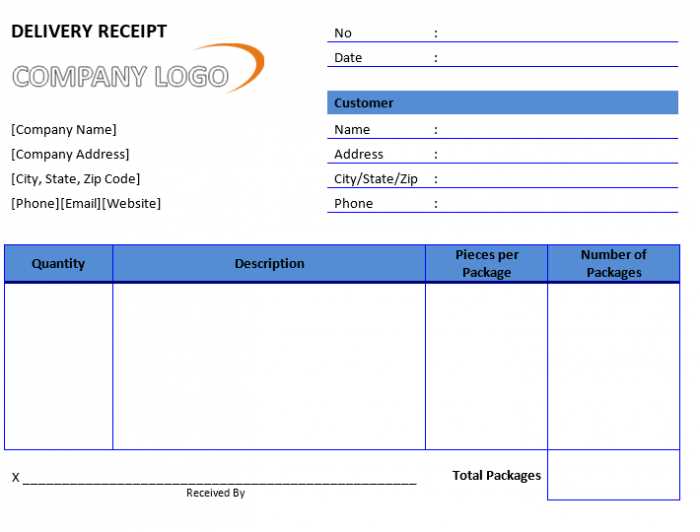
Make sure your final check receipt form includes all the necessary details for smooth transaction tracking. Start by including the date and time of the transaction, the names of involved parties, and any reference numbers. This ensures accuracy and traceability for both the provider and the customer.
Keep the itemized list clear and concise. For each product or service, list the name, quantity, price, and any applicable taxes or discounts. This helps avoid confusion later, especially if questions about the transaction arise.
Next, include the payment method used–whether it’s credit card, cash, or another form–and any payment details like transaction IDs. If applicable, specify if the payment was partial or if the full amount was settled.
Don’t forget to include a space for any additional notes or comments that may be relevant to the transaction. This could cover things like special conditions or instructions agreed upon during the process.
Finally, ensure there is a signature section, either from the client, the provider, or both, to confirm the completion of the transaction. This adds an extra layer of verification and finality.
- Date and time of the transaction
- Names of involved parties
- Itemized list with names, quantities, prices, and taxes
- Payment method and transaction details
- Additional notes or comments
- Signature section