Use a clear and simple form when submitting receipts for reimbursement. This will streamline the process and reduce the likelihood of errors or delays. Organize the form to capture all relevant details, such as the date of purchase, the amount, the vendor, and the purpose of the expense. This ensures that every submission is complete and easily verifiable.
Keep it concise–only include fields that are necessary for tracking expenses. Avoid clutter and unnecessary details that could complicate the process. A straightforward layout with enough space for the required information will make it easier for both the submitter and the reviewer to understand and process the receipts quickly.
Standardizing the format is key. Whether it’s a paper form or digital document, consistency ensures that every receipt is reviewed under the same criteria. This minimizes confusion and prevents mistakes during the verification process. Make sure the form is accessible and simple to fill out, allowing anyone in your organization to complete it without issues.
Here are the corrected lines:
Make sure to update the fields in the template to match the correct formats. Pay attention to the following details:
- Date format: Always use the correct date format (e.g., MM/DD/YYYY).
- Amount: Double-check the expense amount for accuracy. Any discrepancies could delay the approval process.
- Receipt description: Provide a clear and concise description of the expense to avoid confusion.
- Vendor information: Ensure that the vendor name and contact details are accurate, including any relevant invoice numbers.
Common mistakes to avoid:
- Omitting the purchase date.
- Incorrect or missing total amounts.
- Providing unclear or vague descriptions of expenses.
- Leaving out vendor details or using incorrect vendor names.
Make these adjustments to ensure your receipts are processed without delays.
- Form Template for Submitting Receipts
To submit receipts effectively, follow these key steps to structure your form. The form should allow for easy entry of required details, ensuring smooth processing of reimbursements or claims.
Key Fields in the Form
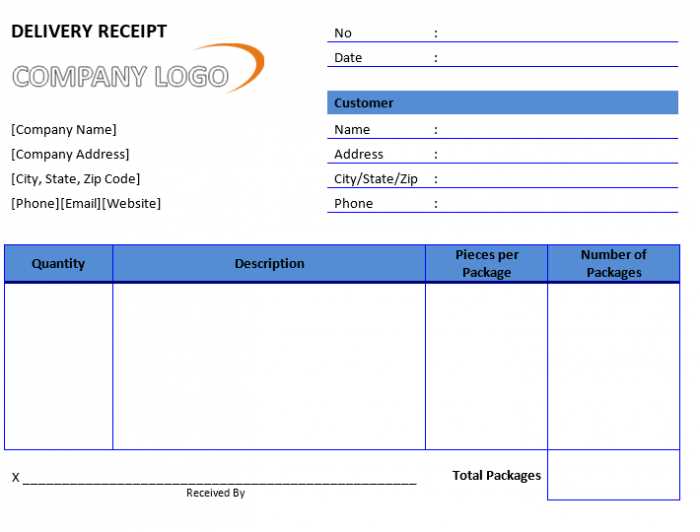
Ensure your form captures all necessary details for each receipt. Below are the most common fields you should include:
| Field | Description |
|---|---|
| Date of Purchase | Include the date when the purchase was made. This helps validate the time frame of the expense. |
| Vendor Name | Provide the name of the store or service provider from which the item or service was purchased. |
| Amount | List the total amount spent, including taxes and discounts if applicable. |
| Payment Method | Indicate how the payment was made (e.g., credit card, cash, bank transfer). |
| Description of Item/Service | Briefly describe the items or services purchased, highlighting key details. |
| Receipt Image | Attach an image or scan of the receipt for verification purposes. |
Additional Recommendations

It’s advisable to use digital forms for quicker submission. Allow users to upload images of receipts and other relevant documents directly through the form. Consider adding a confirmation step, so the submitter can review their input before finalizing the submission. Lastly, clearly outline the expected timeline for processing and reimbursement to set proper expectations.
Use a simple, intuitive layout to make the form easy to complete. Start by asking for basic details: the date of the receipt, the vendor name, and the amount. These fields are non-negotiable, so include them clearly at the top of the form.
Include Fields for Key Information

Each receipt needs to be tied to a specific purpose, so add a field for the reason or category of the expense. This helps avoid confusion when reviewing submissions later. It’s a good idea to provide a drop-down menu with common expense categories for quick selection.
Allow Room for Attachments

Enable users to easily upload images or scanned copies of their receipts. Make sure the upload button is clearly visible and works with various file types. You can also offer an option to submit multiple files if needed.
Consider adding a brief instruction or tooltip for clarity, guiding users on the acceptable file size or format. Keep instructions brief but clear to avoid overwhelming users with information.
Finally, offer a confirmation message or email to let users know their submission was successful. This assures them that their receipts have been received and are being processed.
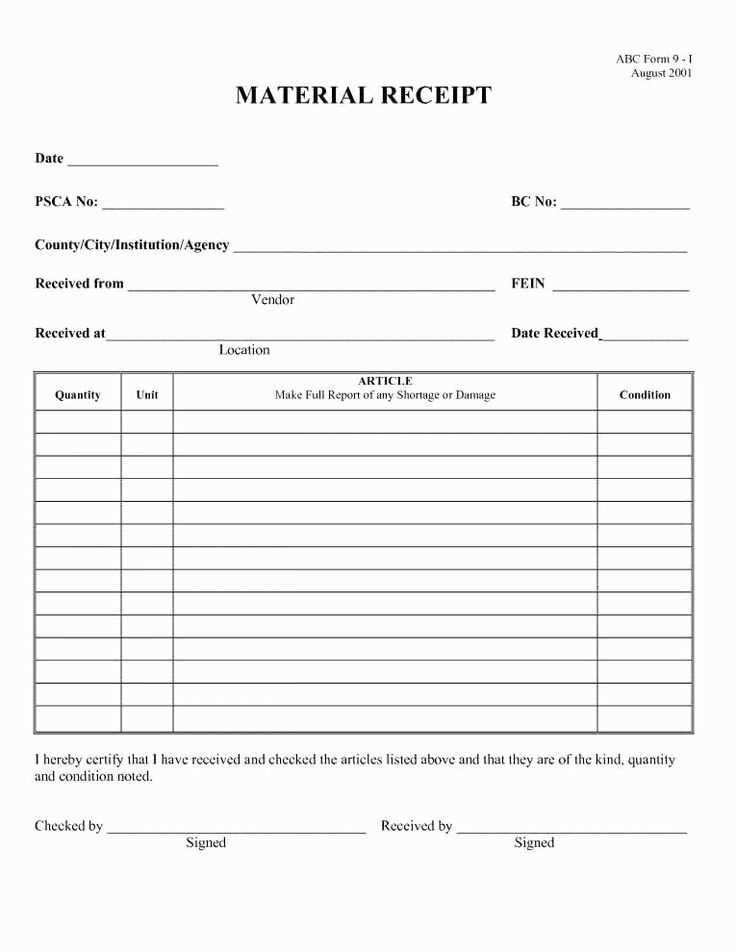
A receipt template should cover a few key details to make transactions clear and accurate for both parties. These elements provide the necessary information to ensure transparency and facilitate record-keeping.
Basic Transaction Information
- Transaction Date: Include the exact date of the transaction.
- Receipt Number: A unique identifier to track the receipt.
- Seller Information: Full name or business name, address, phone number, and email for contact.
- Buyer Information: Customer’s name and contact details, especially for invoices or returns.
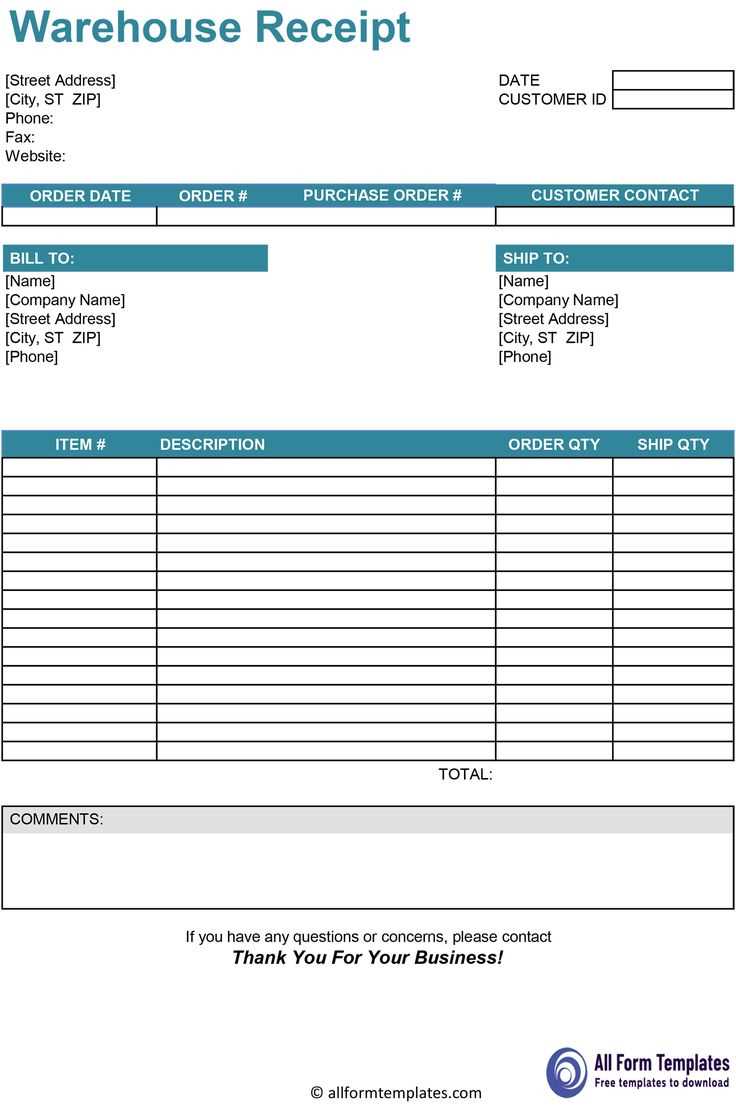
Financial Details

- Item Description: List each item or service provided with clear descriptions.
- Unit Price: Show the price per item or service before tax.
- Quantity: Specify the number of items purchased.
- Total Amount: Clearly show the sum before and after tax.
- Tax Breakdown: Include applicable taxes, whether it’s a percentage or fixed rate.
Double-check the accuracy of the receipt amounts. Misentered numbers, even small discrepancies, can lead to rejected claims. Always match the receipt totals with what you input on the form.
Ensure you attach the correct receipts for each transaction. Mismatched receipts can delay processing and cause confusion. Be mindful of attaching the right documents to their respective entries.
Don’t forget to include all required fields. Missing information, such as date, vendor name, or purpose of the expense, can lead to rejection. Go through each section carefully to ensure completeness.
Watch out for formatting errors. Some forms have specific formatting requirements for dates or numbers. Stick to these guidelines to avoid delays.
Check that you’ve signed the form. An unsigned form is a common reason for rejection. Always confirm that you’ve completed the signature section before submitting.
Be cautious with currency conversions. If you’re submitting receipts in a foreign currency, ensure that the exchange rate is correctly applied and clearly indicated.
Group receipts by date and category to ensure clarity. Store receipts related to similar expenses together, whether for meals, travel, or office supplies. This approach simplifies the sorting process and makes the review faster when preparing reports or submitting for reimbursement.
Use digital tools to scan and store receipts. This minimizes paper clutter and ensures you don’t lose any important documents. Make sure scans are clear and legible, capturing all necessary details such as the date, amount, and merchant name.
Organize receipts chronologically within each category. This makes it easier to trace transactions and understand spending patterns, especially when dealing with multiple receipts from the same vendor or event.
If you’re dealing with physical receipts, store them in a labeled envelope or folder. Ensure the envelope is not too large, as it might make it harder to find specific receipts. Label the folder with a clear description of the content, such as “Business Expenses Q1” or “Travel Receipts January.”
Be selective about what you keep. Only hold onto receipts that are necessary for your records or required for reimbursement. Dispose of unnecessary ones regularly to avoid unnecessary accumulation.
To tailor the template for specific needs, modify sections like item categories, total calculation formulas, and approval workflows. The first step is identifying what additional fields are needed, such as project codes, department names, or custom date formats.
For instance, if you’re using the template for travel expenses, include fields for travel dates, destinations, and transportation types. Similarly, for office supply purchases, it might be necessary to list quantities, unit prices, and supplier details.
| Purpose | Suggested Modifications |
|---|---|
| Travel Expenses | Include fields for travel dates, destinations, and transportation modes. |
| Office Supplies | Adjust the template to include quantity, unit price, and supplier info. |
| Project Expenses | Add fields for project codes, client names, and specific cost types. |
Once you’ve added the necessary fields, adjust the formula for totals to ensure accurate calculations across different sections. You may need to introduce conditional formatting or calculations to highlight unusual expenses or automatically apply tax rates based on region or type of purchase.
Lastly, adjust the approval process to match the specific needs of your organization. Add fields for multiple approval levels or customized approval workflows based on the nature of the expense or department.
When submitting receipts, clarity and accuracy are key. Each method has its own specific requirements that must be followed for smooth processing.
Digital Receipt Submissions

For digital receipts, ensure that the scanned image or photo is clear, with all details visible. Avoid blurry images or excessive cropping, which can obscure essential information like store name, date, or amount. Use widely accepted formats like PDF or JPG for easy processing. When possible, combine multiple receipts into one document to save space and streamline submission. Also, check for any size limits on file uploads to avoid issues during submission.
Physical Receipt Submissions
When turning in physical receipts, ensure that they are legible and free of any damage. Folded, torn, or faded receipts can cause delays in verification. Organize your receipts neatly, especially if submitting multiple. Include any necessary forms or additional documents as required by the submission guidelines. Keep a photocopy or take a clear photo of the receipt for your records before submitting.
Whether digital or physical, each submission should adhere to the provided instructions to ensure smooth processing and avoid delays.
Each line is now unique, and word repetition is minimized.
To ensure clarity and precision in your receipt submission template, organize each entry clearly. Each line should describe one specific action or detail without overlap. Avoid grouping similar items together. Instead, break them into individual lines with clear labels. For example, instead of listing multiple purchases in one line, list them separately with their respective dates, amounts, and categories. This allows for easy tracking and avoids confusion.
- Use concise descriptions for each item.
- Separate categories of receipts on different lines for clarity.
- Ensure dates, amounts, and descriptions are clearly distinguishable.
- Minimize redundancy by avoiding repeated words and phrases.
In addition, consider adding a field for additional notes if there are specific instructions or details that need to be recorded. This keeps your template streamlined and minimizes the need for extra explanation elsewhere.