To create a formal receipt, ensure it includes the most important details to confirm the transaction. Start with clear identification of the issuing business or individual, such as a name, address, and contact information. This step guarantees the recipient knows who issued the receipt and how to reach them if needed.
Next, specify the date of the transaction and the total amount paid. Make sure this figure matches what was agreed upon, as it verifies the payment was completed correctly. Include a description of the goods or services provided, breaking down each item if necessary to avoid confusion later on.
Additionally, include a unique reference number for the receipt. This acts as a tracking number for both parties and helps keep organized records for future reference. Lastly, ensure there is a section for the payment method used, whether cash, credit, or another form, to complete the receipt and provide a clear, detailed summary of the transaction.
Here is the revised version:
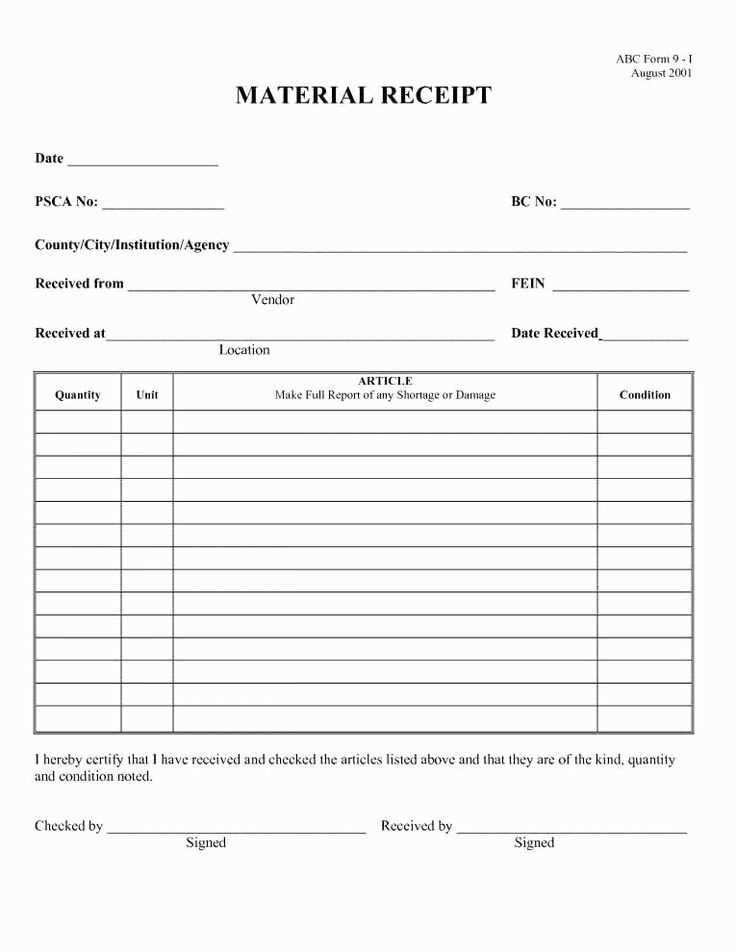
The formal receipt format should be clear and easy to read. Ensure the following details are included:
- Business Information: Include the name, address, and contact details of the company providing the receipt.
- Receipt Number: A unique identifier for the receipt to help with record-keeping.
- Date of Transaction: The exact date when the transaction took place.
- Purchased Items/Services: List all items or services purchased, including quantity, price, and description.
- Total Amount: Show the total price clearly, including any taxes or additional fees.
- Payment Method: Indicate how the payment was made (e.g., credit card, cash, online transfer).
- Signatures: If necessary, leave space for signatures from both the customer and the service provider.
Formatting Guidelines:

Make sure the receipt is visually organized. Use a simple, legible font and ensure that there is enough space between each section for easy scanning. You can include a company logo or other branding elements but avoid cluttering the document.
Final Checks:

Before finalizing the receipt, double-check all amounts, dates, and details for accuracy. Any mistake could create confusion or legal issues in the future.
- Formal Receipt Format Template
A formal receipt should include key information in a clear and structured manner. Here’s a recommended template you can use:
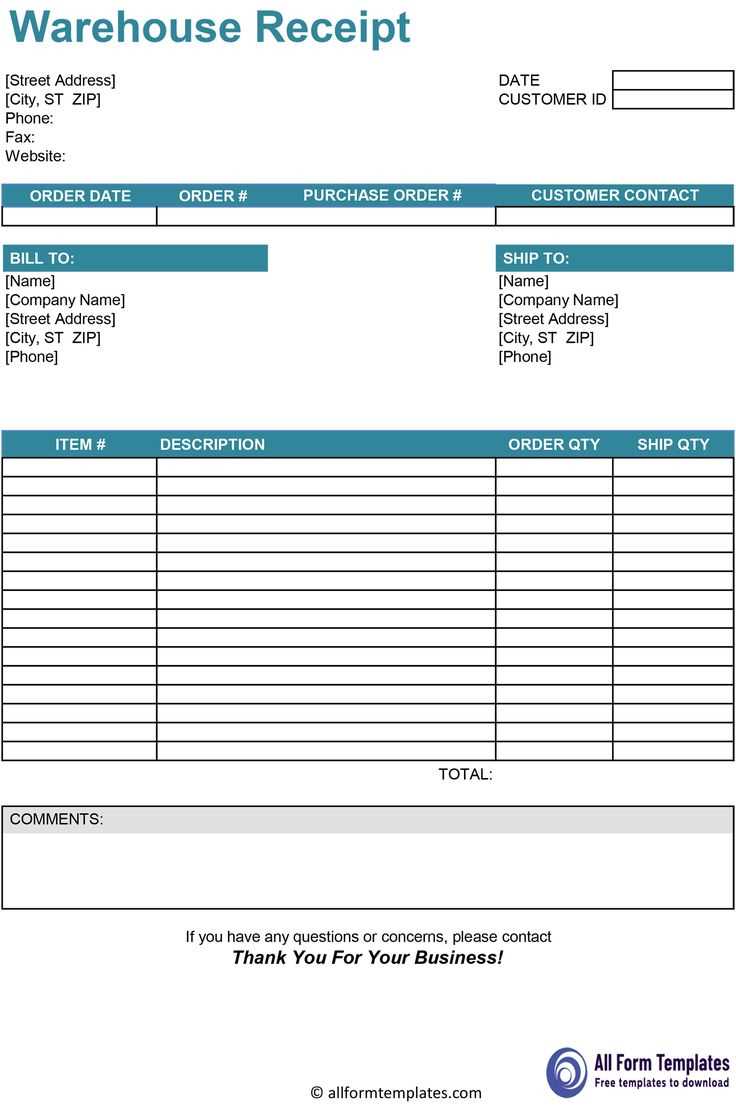
| Section | Details |
|---|---|
| Receipt Title | “Receipt” or “Payment Receipt” centered at the top. |
| Date | Include the date the transaction occurred. |
| Receipt Number | Unique number for record keeping. |
| Seller’s Information | Name, address, phone number, and email address. |
| Buyer’s Information | Include the name and address of the buyer if applicable. |
| Item Description | Clearly describe the goods or services purchased, including quantity and unit price. |
| Amount Paid | Include the total amount paid, including taxes or discounts. |
| Payment Method | Specify the method used (e.g., cash, credit card, online payment). |
| Signature | Include a space for the signature of the seller and buyer, if necessary. |
Following this format ensures all necessary information is recorded for both parties, helping with clear documentation and future references. Adjust sections based on specific requirements or local legal obligations if needed.
Begin by placing your business name, address, and contact details at the top of the invoice. Make sure these details are clear and visible to the recipient.
Next, add the invoice number. This unique identifier will help you track your invoices for record-keeping and future reference. Include the date the invoice is issued and, if applicable, the due date for payment.
Include the recipient’s name, company name (if applicable), and contact information. Double-check that this information is accurate to ensure proper delivery and communication.
List the products or services provided. For each item, include a description, quantity, rate, and total amount. This ensures transparency and avoids any confusion.
Apply any discounts or taxes to the total amount if necessary. Clearly state any tax rates applied, and show the final amount due, making it easy for the recipient to understand the breakdown of charges.
Specify payment instructions, including your preferred payment method, bank account details, or online payment links. This step simplifies the process for the recipient and reduces the chance of delays.
Finally, include a thank you note or a polite reminder about payment. This adds a personal touch and encourages timely processing of the invoice.
Include your business name, address, phone number, and email at the top of the bill. This ensures that your contact information is easily accessible to your clients. Similarly, add the client’s details–name, address, and contact information–so there is no confusion about who the bill is for.
List the items or services provided, along with their quantities and individual prices. This breakdown helps both parties verify the charges and prevents disputes. Provide a subtotal for all items or services before taxes and additional fees.
Include applicable taxes clearly, specifying the tax rate and amount. Separate these charges from the subtotal to avoid any misunderstandings. A unique invoice number will help track the transaction and keep your records organized. Also, include the date the bill was issued and the payment due date to ensure timely payment.
Clearly state the accepted payment methods, such as credit card, bank transfer, or online payment options. Provide necessary details for each method, such as bank account information or payment links. Additionally, outline any late fees or penalties if payment is not received by the due date.
Begin by clearly defining the purpose of your template. Tailor the structure and design to meet the specific needs of your business or clients. Focus on simplicity while maintaining a professional look to ensure readability.
Consider adjusting fonts and colors to reflect your brand’s identity. Choose readable fonts and complementary colors that align with your company’s visual style. Make sure the design elements are consistent across all sections of the receipt.
Incorporate clear, labeled sections. For instance, include distinct areas for item descriptions, pricing, taxes, and total amounts. This helps both the sender and receiver easily understand the document.
Leave space for customization, such as adding a logo, special notes, or personalized fields. Ensure these additions do not clutter the template but enhance the overall user experience.
Regularly test your template with different inputs to ensure it functions across various platforms and devices. This helps identify potential issues with formatting or alignment that may arise when used in different environments.

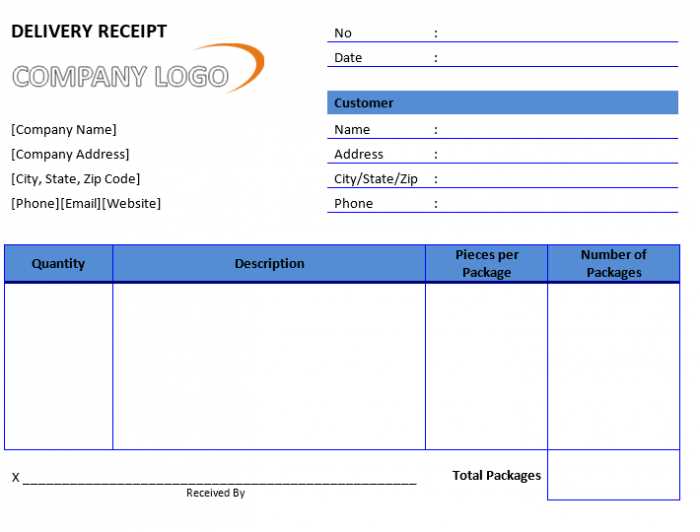
To create a clear and organized formal receipt, structure the details logically. Start by listing the transaction’s date, followed by the recipient’s name and address. Include itemized descriptions for each product or service provided, with corresponding quantities and prices. Conclude with the total amount, payment method, and a thank you note if applicable.
- Date: Ensure the date of the transaction is clear and prominently displayed at the top.
- Recipient’s Information: Include full name, address, and contact details for future reference.
- Itemized List: For each item, include a brief description, quantity, and price per unit. This ensures clarity and transparency.
- Total Amount: Clearly display the sum of all items. Break down any applicable taxes or discounts.
- Payment Method: Specify the payment type (e.g., cash, card, bank transfer).
- Thank You Note: If appropriate, add a brief message expressing gratitude for the business.
Organizing the receipt with these sections enhances readability and ensures both parties can refer to the document easily when needed.