Use this template to create a clear and concise receipt acknowledgement form. This form serves as proof that a recipient has received goods, services, or payments. It’s crucial for tracking transactions and ensuring accountability in both personal and business settings.
Customize the template to include specific details such as the date of receipt, description of the items or services received, the name of the recipient, and any other relevant information. A well-structured form prevents misunderstandings and offers clarity for both parties involved in the transaction.
Ensure that the recipient signs and dates the form at the time of acknowledgment. This provides legal assurance and prevents disputes. It’s also useful for record-keeping, especially for tax and auditing purposes.
Here is the revised version based on your suggestions:
Make sure the receipt acknowledgement form includes all necessary information for both parties involved. Clear details about the date of receipt, the type of document or item received, and the name of the recipient should be specified. Include fields for the recipient’s signature and the signature of the person confirming the receipt, as well as the date.
Key Sections to Include:
| Field | Description |
|---|---|
| Date of Receipt | Ensure the form clearly records the date the document/item was received. |
| Recipient’s Name | Include a space for the recipient’s full name to confirm who received the item. |
| Item Description | List what was received (e.g., document, package, or equipment) and its specifics if necessary. |
| Recipient’s Signature | A signature field for the recipient confirms they have received the item. |
| Confirmation Signature | Space for the person who is confirming the receipt on behalf of the sender. |
| Additional Notes | Leave room for any other relevant notes or remarks. |
Additional Considerations:

Double-check that all fields are appropriately filled out before finalizing the document. Use clear and simple language in the form to avoid confusion and ensure all parties understand the content. If necessary, add a section for tracking numbers or specific instructions relevant to the transaction.
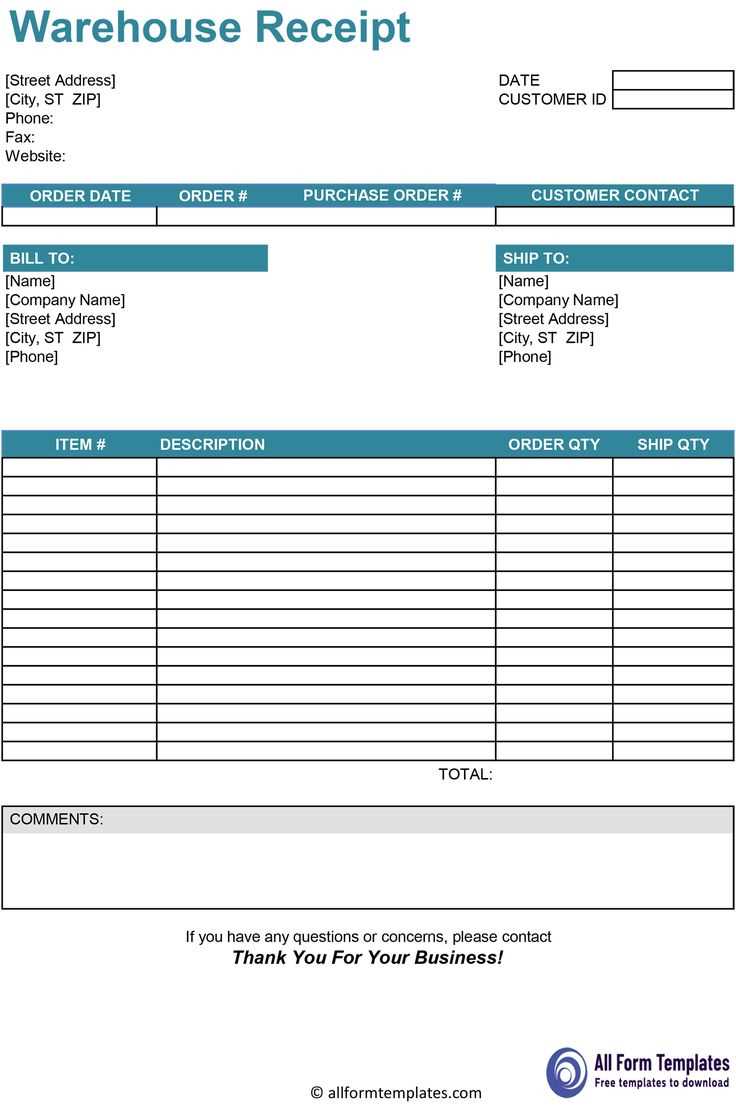
- Receipt Acknowledgement Form Template
To create a straightforward receipt acknowledgement form, include the following sections:
- Form Title: Clearly label the document as “Receipt Acknowledgement Form” to avoid confusion.
- Parties’ Information: Include the names and contact details of both the giver and receiver of the item or payment.
- Item or Service Details: Include specific details about what was received, such as quantity, condition, and any other relevant descriptions.
- Date of Transaction: Always add the transaction date for clarity and record-keeping purposes.
- Signature Lines: Provide spaces for both parties to sign and date the document, confirming the receipt of the item or service.
- Additional Notes: Allow space for any extra information such as specific instructions or terms.
Sample Template:
- Receipt Acknowledgement Form
- Giver’s Name: John Doe
- Receiver’s Name: Sarah Lee
- Items Received: 5 desktop computers, brand new
- Transaction Date: February 12, 2025
- Giver’s Signature: ____________________
- Receiver’s Signature: ____________________
- Additional Notes: Items inspected and confirmed in working condition.
Modify the template based on your needs, ensuring both parties sign and understand the terms of the transaction before finalizing the form.
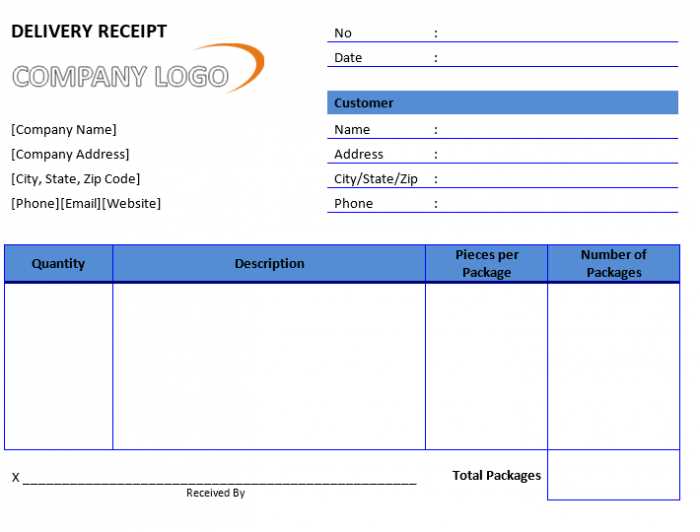
Include your business name, logo, and contact details at the top of the receipt acknowledgement to make it personalized. This helps recipients recognize the form as official and related to your business. Ensure that the formatting is clean and professional to maintain a trustworthy appearance.
Tailor the Acknowledgement Content
Customize the message based on the type of transaction. For example, if it’s a purchase, mention the item, price, and transaction ID. If it’s a donation, include the donation amount, date, and any tax-deductible information. Be clear about what the acknowledgement is confirming–whether it’s a payment, donation, or service rendered. Providing this specific information helps avoid confusion for your clients.
Adjust the Date and Signature Sections
Customize the form to allow space for the transaction date and signature. The date helps both parties keep accurate records, while the signature confirms that both sides agree to the terms. Adjust the layout of these fields for easy access and visibility. Consider adding a checkbox or a brief note to confirm the transaction details are correct before the form is signed.
Start with the name of the recipient and the date the receipt is issued. These are key for tracking and confirming the transaction. Follow with a description of the goods or services received. This can be brief, but should clearly identify the items or services provided. Add a quantity and price for each item, along with the total amount paid. Include the payment method–whether it’s cash, check, credit card, or another option. Mention the transaction number or reference code, especially for future inquiries. If there’s a return or refund policy, briefly state it on the form. Lastly, provide a signature line for both parties, confirming the receipt of goods or services. This creates a clear, verifiable record of the transaction.
Ensure all fields are filled out correctly. Leaving any section incomplete or unclear can cause confusion for both the issuer and the recipient. Double-check for missing information like the date, amount, or description of the transaction.
1. Incorrect or Inconsistent Formatting
Follow a consistent format for dates, amounts, and other details. For instance, using different date formats (MM/DD/YYYY vs. DD/MM/YYYY) can lead to misinterpretation. Always stick to a clear, uniform style for all entries.
2. Not Providing Sufficient Details
Be specific about the nature of the transaction. Vague descriptions like “payment” or “purchase” don’t provide enough clarity. Mention the exact product or service, including any relevant identifiers (e.g., invoice numbers or order IDs), to avoid ambiguity.
Another common error is neglecting to include the method of payment. Clearly state whether the transaction was made by cash, credit card, or other means, to ensure transparency.
3. Failing to Sign or Date the Form
Missing a signature or the date of issuance can render a receipt incomplete or invalid. Both the recipient and the issuer should sign and date the form. This helps confirm the transaction took place and provides proof if needed later.
4. Using an Outdated Template
Using an old or outdated template can lead to missed fields or incorrect information. Always update your receipt template to reflect the latest legal or regulatory requirements, if applicable, and ensure it matches your business needs.
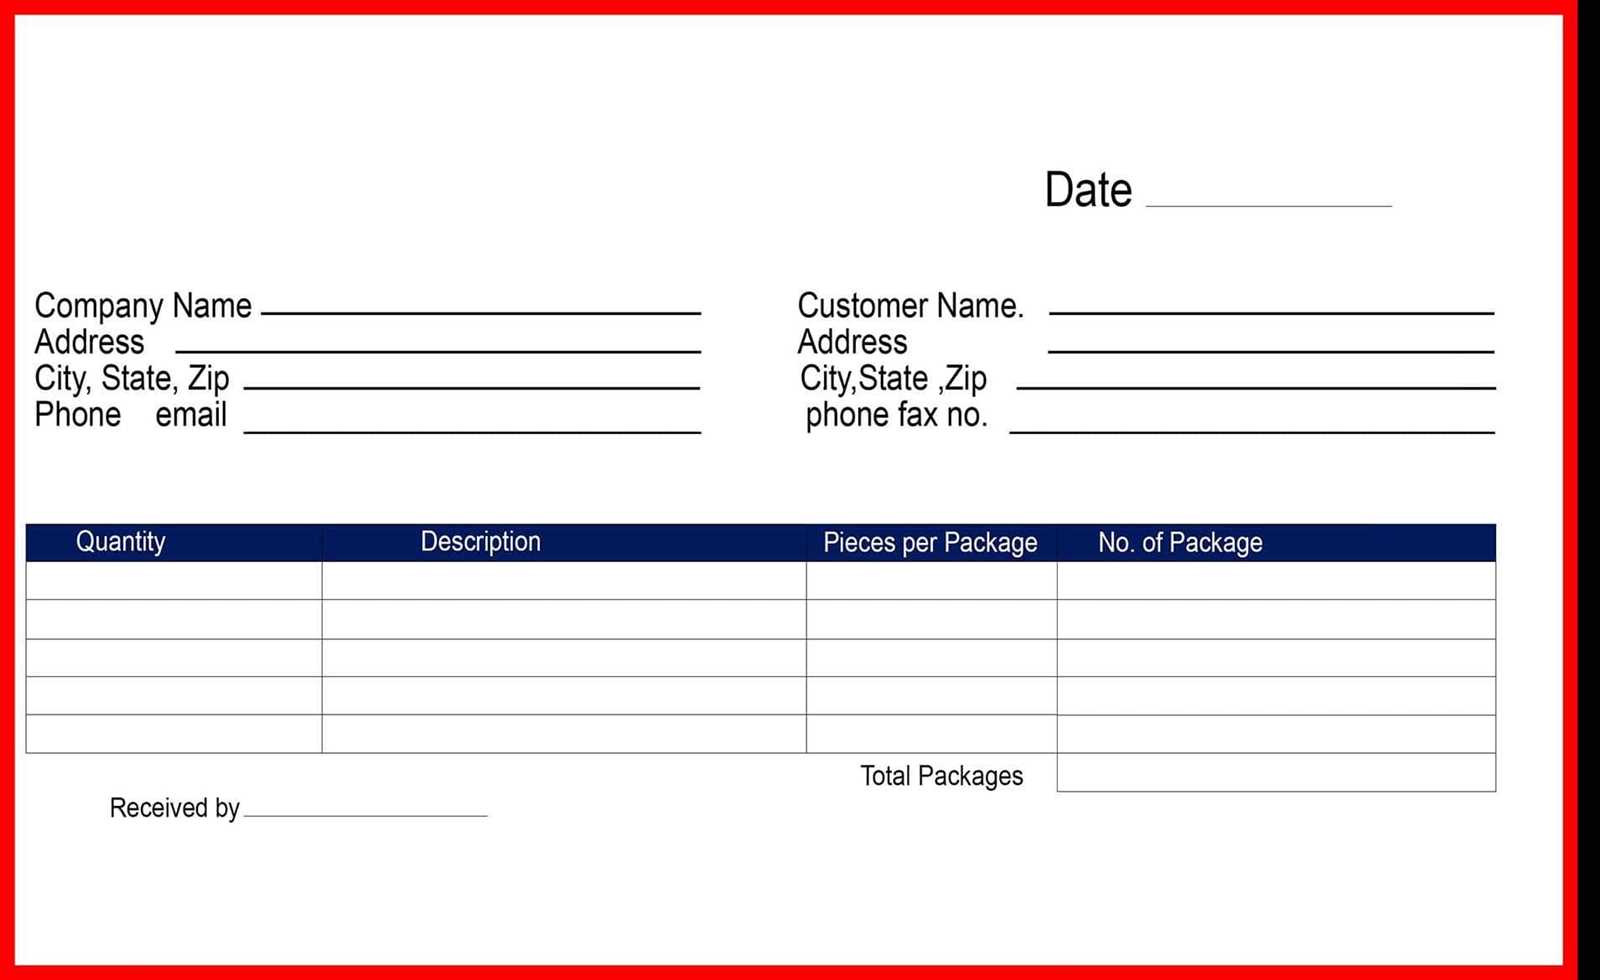
Make sure to include a clear and concise heading at the top of the receipt acknowledgement form to help recipients easily identify its purpose. Using a simple title like “Receipt Acknowledgement” or “Acknowledgment of Receipt” can clarify the document’s intent right away.
Key Sections to Include

Structure the form with sections that capture necessary details. Start with the recipient’s name, followed by the date of receipt. Include space for a signature, as this confirms the acknowledgment. If applicable, add specific details about the item or document being received. Clear lines for each piece of information will ensure the form is easy to complete.
Additional Tips

Place instructions where they’re easy to find, especially if the form requires specific actions. Use bullet points or numbered lists to guide the user through the steps for filling out the form. Make sure there’s enough space for the recipient to add any extra notes or comments if needed.
Finally, keep the language simple and straightforward. Avoid overly technical terms or complicated phrasing to ensure the form is accessible to everyone who needs to use it.