A well-structured receipt and release form is key to ensuring smooth transactions and clear documentation for both parties involved. The template should outline specific details such as the item or service being provided, the agreed-upon payment, and the signatures of the involved parties. This form serves as proof of receipt and the release of any further obligations once terms are fulfilled.
Include sections for date of transaction, party details, and a concise description of what was exchanged. Clear labeling of responsibilities and amounts helps avoid confusion later on. Be sure to incorporate space for both parties to sign and date, confirming their understanding and acceptance of the terms.
By using a standard template, you create consistency in documenting these exchanges. Adjustments can be made as needed, but a reliable foundation helps maintain professional interactions and provides a simple way to track all relevant information. Always review the form before use to ensure accuracy and completeness.
Receipt and Release Form Template
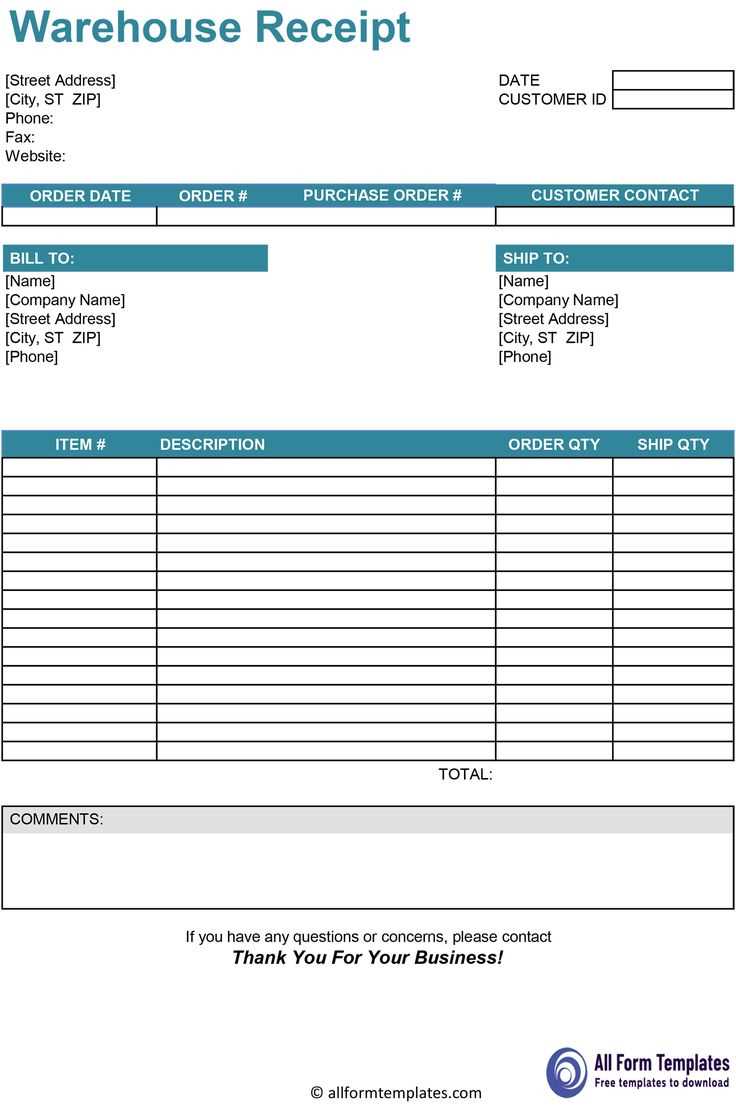
A receipt and release form is crucial for confirming the transfer of goods, services, or property. It serves as proof that the recipient acknowledges receipt of the item and releases the provider from further liability. To ensure clarity and avoid disputes, make sure the template includes the following components:
Key Information

Clearly state the names and contact details of both parties involved. This should include the recipient and the provider. Specify the date of transaction and a description of the item or service exchanged. A well-detailed description prevents confusion about what exactly was handed over.
Terms and Conditions
The document should outline the terms of the release, including any conditions attached to the transaction. For instance, specify if the item is in working order, whether a warranty applies, or if any maintenance is needed. Include a clause that acknowledges the recipient understands and accepts these terms upon signing.
Ensure both parties sign and date the form to indicate agreement. This not only confirms the transaction but also helps protect both parties from any future claims.
Understanding the Basic Structure of a Form
The core components of a form include fields for user input, labels, and buttons. Start with clear labels that indicate the type of information expected, ensuring they align with the fields they correspond to. Each input field should be appropriately sized for the data type, such as a short text box for names or a larger area for comments.
Group related fields together for clarity. For example, contact information should be in one section, while payment details go in another. This makes the form easy to follow and complete. Consider using visual cues like bold labels or different background shades to separate sections.
Buttons for submitting or clearing the form must be placed logically, typically at the bottom. Use clear, action-driven text like “Submit” or “Clear,” so users understand their function. Avoid ambiguous terms that could cause confusion.
Finally, incorporate validation methods to ensure accuracy before submission. Inform users of errors promptly, with specific instructions on how to fix them. A well-structured form ensures a smooth experience and accurate data collection.
Key Elements to Include in the Template
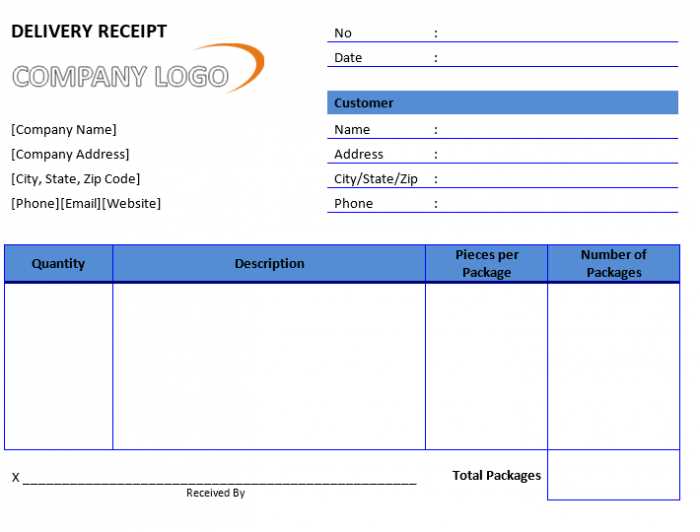
A receipt and release form template should clearly capture necessary transaction details. Begin with the full names of the parties involved–both the sender and the receiver. This ensures identification and clarity from the start.
Transaction Date and Details
Include the exact date of the transaction and a concise description of the items or services exchanged. This serves as a record for future reference and prevents misunderstandings.
Signature and Acknowledgment
Both parties should sign the document to confirm the accuracy of the details and the completion of the transaction. Space for printed names under the signatures helps further authenticate the agreement.
Customizing the Template for Specific Needs
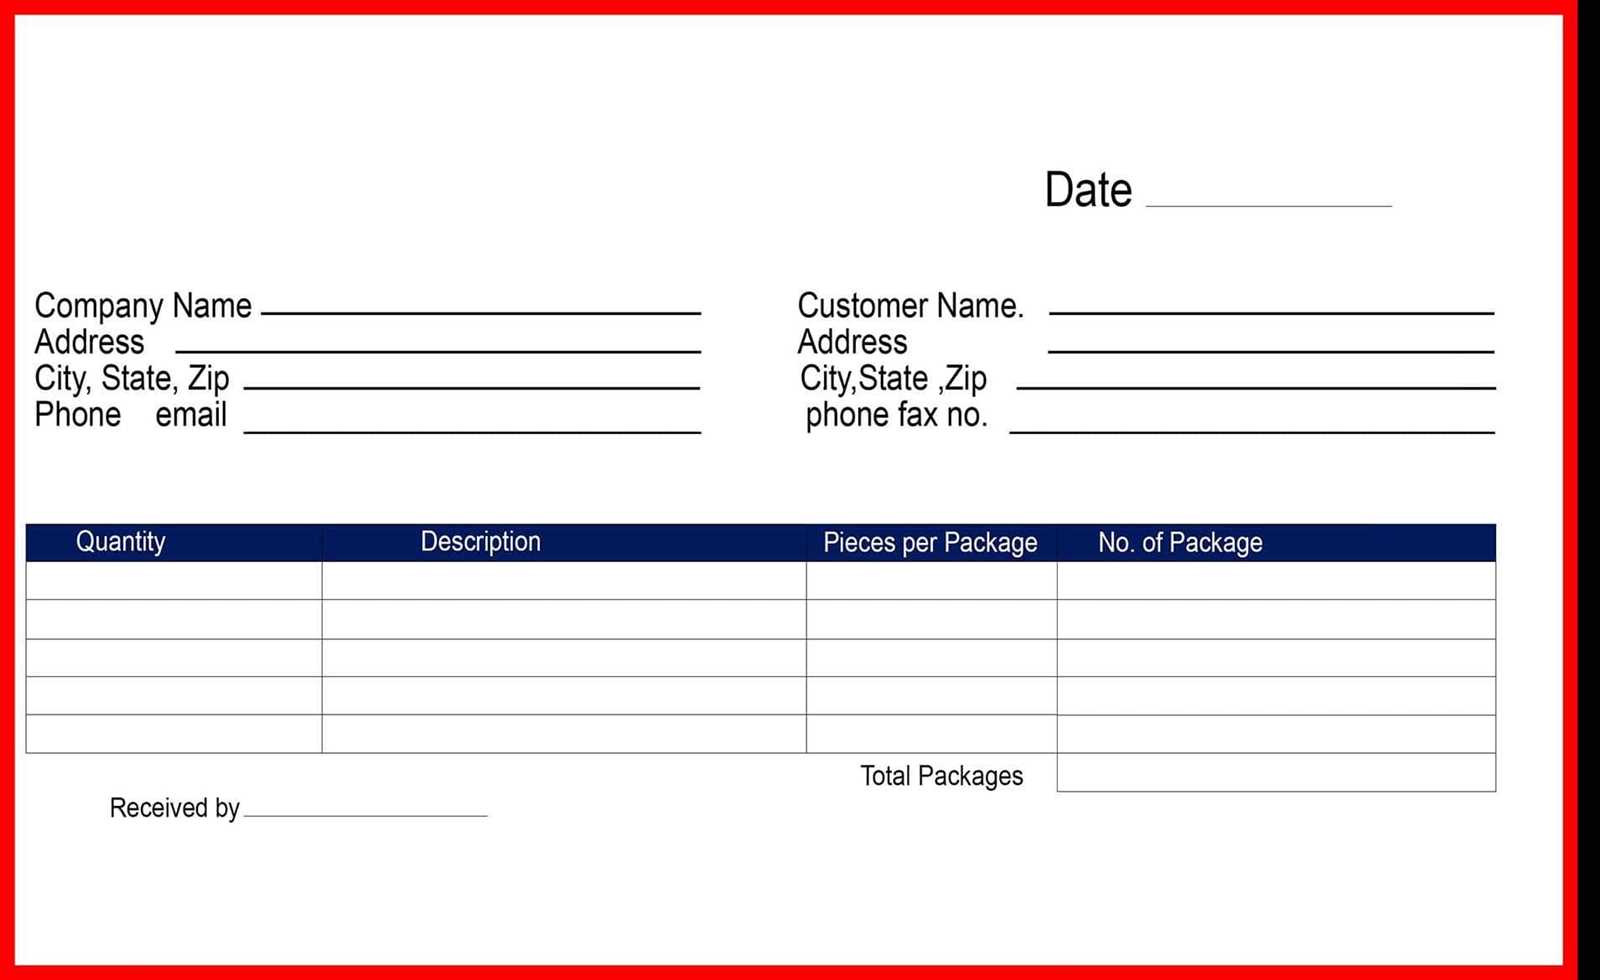
Adjust the template to match the particular details of your transactions. Begin by modifying the header section to reflect your business or personal information, such as name, logo, and contact details. This ensures that the receipt looks professional and is easily identifiable.
Personalize Fields for Different Transactions
Customize the fields to suit various types of exchanges. If you deal with products, add item names, quantities, and prices. For service-based transactions, you might include service descriptions, hourly rates, or project milestones. Tailoring these fields will improve clarity and relevance for both parties involved.
Consider Legal or Tax Requirements
If applicable, include any legal or tax-related information. Add sections for VAT or other taxes that are specific to your location. This helps meet local regulations and ensures that both the sender and receiver have a clear understanding of financial obligations.
Finally, adjust the template layout to ensure it is easy to read and logically organized. Arrange the sections so the most important details stand out, and ensure there’s enough space for any additional notes or special terms. Customization is about making the document work for you and your needs, so feel free to adapt as needed.
Common Mistakes to Avoid When Designing
Focus on simplicity. Complex designs with too many elements can confuse users. Keep layouts clean and ensure each element serves a purpose. Cluttered pages increase cognitive load, making it harder for users to navigate.
1. Ignoring User Needs
Design without considering the user’s experience often leads to frustration. Understand the goals of the end user and build a design that helps them accomplish those goals quickly and intuitively. Testing with real users helps identify issues early.
2. Lack of Consistency
Inconsistent design elements disrupt the user’s flow. Use a uniform color scheme, typography, and spacing throughout the design. Consistency builds familiarity and trust, making navigation smoother.
3. Overcomplicating Navigation
Navigation should be intuitive and easy to follow. Don’t hide important elements behind layers of menus or obscure icons. Organize information logically and make it easily accessible from any page.
4. Poor Font Choices
Typography directly affects readability. Avoid using multiple fonts or overly decorative styles. Choose legible fonts, and maintain proper hierarchy with headings, subheadings, and body text to guide the reader.
5. Forgetting Mobile Compatibility
Designs that look great on a desktop may not translate well to mobile devices. Test your design on various screen sizes and make necessary adjustments to ensure a smooth user experience across all devices.
6. Ignoring Accessibility
Make your designs accessible to all users, including those with disabilities. Ensure sufficient contrast, alt text for images, and keyboard navigability. Accessibility is not just a requirement but improves the experience for everyone.
7. Slow Loading Times
Overloaded images or unoptimized code can lead to slow load times, frustrating users. Compress images, minify CSS and JavaScript, and prioritize essential elements to improve performance.
8. Skipping Feedback Mechanisms
Provide users with feedback during interactions. Whether it’s a form submission or button click, visible cues help users feel confident in their actions. Feedback can prevent confusion and reduce errors.
9. Relying Too Heavily on Trends
While following trends might seem appealing, it can result in short-lived designs. Focus on timeless principles such as usability and clarity. Trends fade, but solid design principles remain effective over time.
10. Overlooking Testing

Always test your design before launching. Gather feedback, make necessary adjustments, and ensure everything works as expected. Skipping this step can lead to overlooked problems that hurt the user experience.
How to Ensure Legal Compliance in Forms

To meet legal requirements, ensure that the form includes clear language regarding consent, data protection, and relevant rights. Always use unambiguous statements that specify the purpose of collecting any information, who will have access to it, and how it will be used. Make users aware of their rights to opt out or withdraw consent at any time.
Incorporate necessary clauses that align with current privacy regulations such as GDPR or CCPA, depending on your jurisdiction. Include a field where users can explicitly agree to these terms. Avoid pre-checked boxes that assume consent; instead, ensure users take deliberate action.
Regularly review your forms for any outdated legal references and update them in accordance with any legal changes or new precedents. Consult with a legal expert to confirm that your forms are compliant with both local and international laws where applicable.
| Key Legal Aspects | Required Action |
|---|---|
| Consent | Include a checkbox for users to opt in and clearly state what they are consenting to. |
| Data Protection | State how user data will be protected, stored, and disposed of, following applicable regulations. |
| Right to Withdraw | Clearly inform users that they can revoke consent at any time and explain the process. |
| Data Access | Inform users about their rights to access or correct the data provided. |
Include a legal review clause that specifies when and how forms will be revised. This step will help prevent non-compliance due to overlooked updates.
Best Practices for Distributing and Storing Forms
Ensure forms are easily accessible by using a central distribution platform like a cloud storage service or company website. Provide clear instructions for accessing and submitting the forms to avoid confusion.
- Organize forms in folders by category or purpose for quick retrieval.
- Label each form clearly with a descriptive name to avoid mistakes.
- Implement access controls to protect sensitive information and prevent unauthorized use.
Use secure methods for storing physical forms. Store them in locked cabinets or designated secure areas. For digital forms, ensure encryption is enabled to protect data during storage and transfer.
- Regularly back up digital forms to prevent data loss.
- Set expiration dates for certain forms to ensure they remain relevant and are not outdated.
Provide easy access to users while keeping security at the forefront. Always ensure there is a simple process for retrieving and storing forms, with consistent protocols in place for regular checks and updates.