Creating a structured receipt format ensures clarity and consistency in transactions. A well-organized template helps both businesses and customers track purchases, enhancing record-keeping and simplifying the reimbursement process.
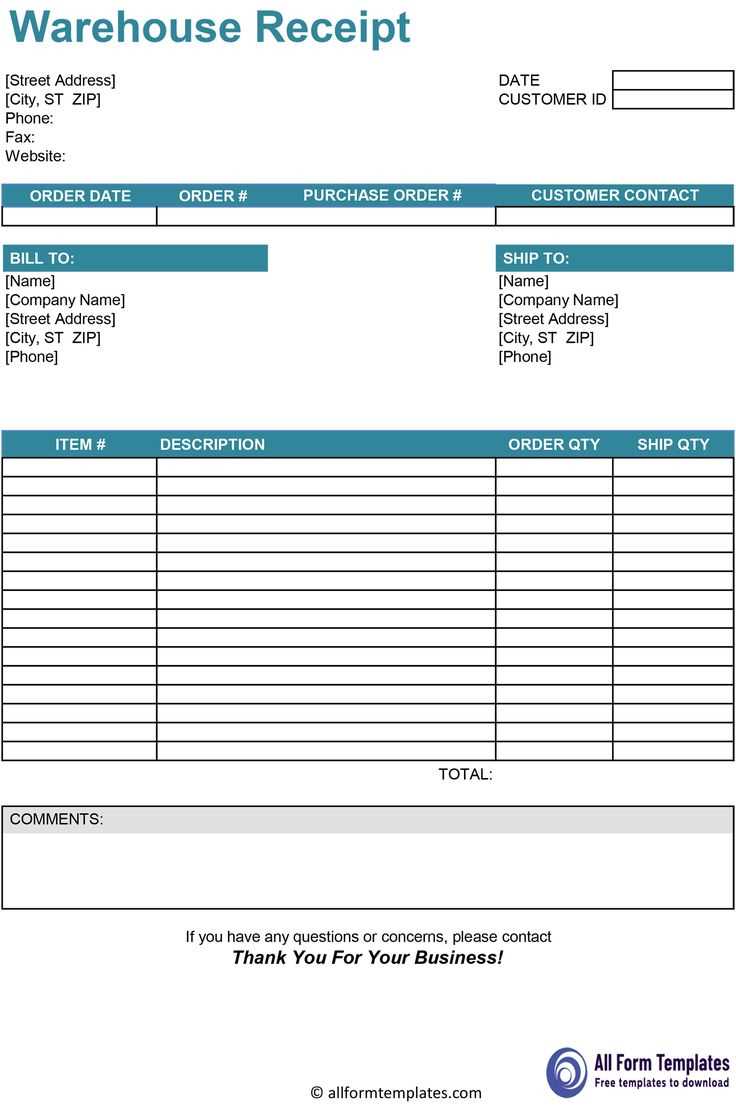
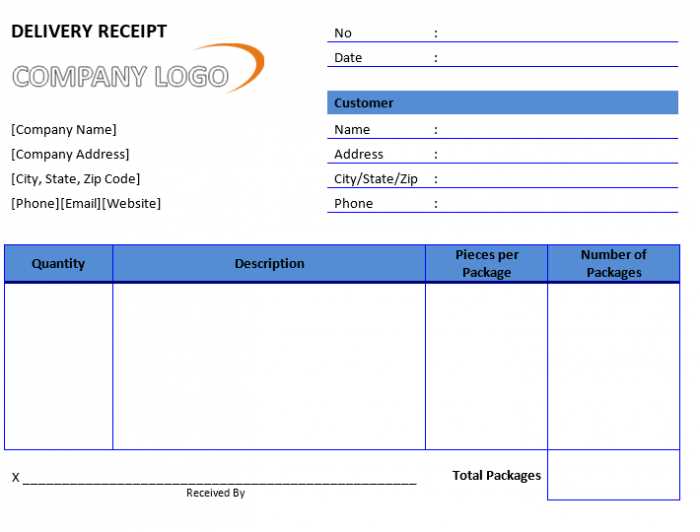
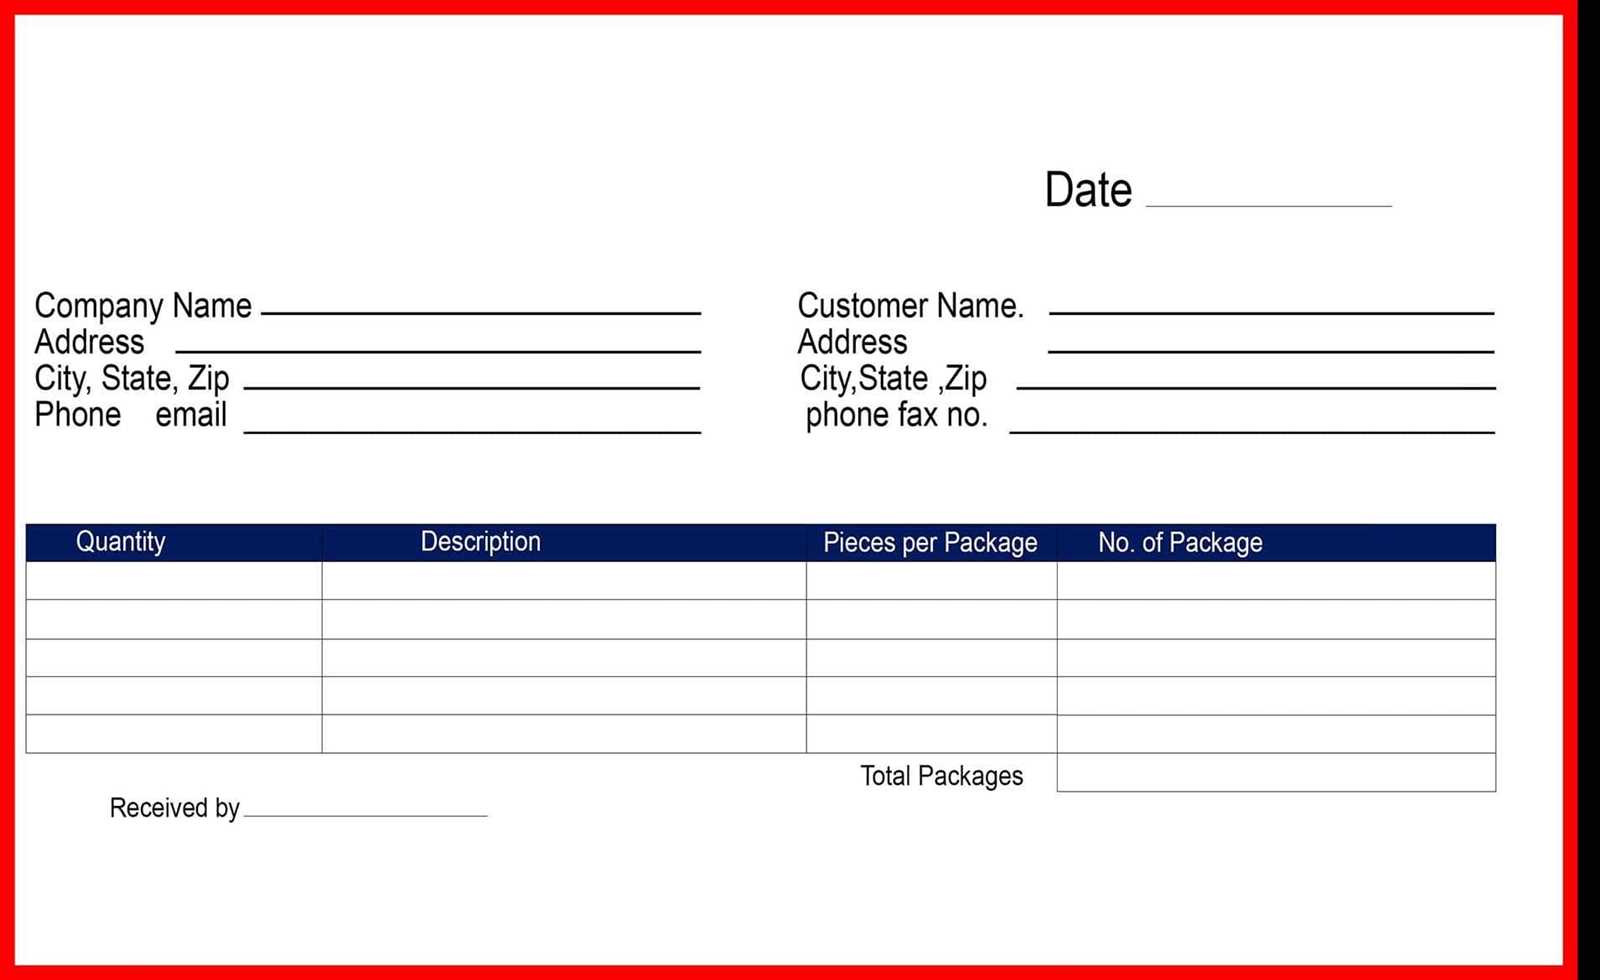
Start with the basics: Include the company name, address, and contact information at the top. This serves as the header, providing the recipient with immediate details about the seller.
Next, list the transaction details: Add the date, receipt number, and payment method. These elements provide essential context and help with future references in case of returns or disputes.
Finally, present the itemized list: Specify the description of the items or services purchased, along with their prices, quantities, and applicable taxes. This section ensures transparency and helps prevent confusion for both parties.
Here are the revised lines with reduced repetition:
To improve the clarity and flow of your receipt format, it’s important to avoid unnecessary repetition of phrases. Instead of repeating “thank you for your purchase” in multiple places, focus on delivering the message once clearly and elegantly. This helps make the document cleaner and more concise, without losing any key information.
Improve item descriptions

Instead of using generic terms like “item” or “product” repeatedly, be specific about what’s being purchased. For example, use the actual product name or category to ensure customers easily understand what they’re being charged for. This approach reduces redundancy and enhances the readability of the receipt.
Streamline payment details

Instead of listing the payment method multiple times, keep it clear and precise. If the payment method has already been mentioned, there’s no need to repeat it unless absolutely necessary. This minimizes repetition while maintaining transparency in the transaction details.
Receipt Format Template
How to Create a Basic Receipt Layout
Customizing Templates for Different Business Types
Including Legal and Tax Details in Your Receipt Format
Best Practices for Organizing Layouts
Ensuring Digital Compatibility with Your Template
How to Add Branding Elements to Your Layout
Start by structuring your receipt layout to ensure clear information flow. Place your business name, address, and contact details at the top, followed by the receipt number and date. This basic structure serves as a foundation for customization.
Customizing for Different Business Types

Adjust the layout based on your industry needs. For retail businesses, include product descriptions, quantities, and prices. Service-based businesses might focus on labor charges and any applicable service fees. Make sure the layout accommodates the specifics of your transactions, whether it’s itemized or service-focused.
Including Legal and Tax Details

Incorporate tax identification numbers, applicable tax rates, and any legal disclaimers based on your region’s requirements. Always include a section for tax calculations and the final total, ensuring it’s easy to read and accurate.
Organizing the Layout should follow a clear hierarchy. Use headings to separate sections such as “Items Purchased,” “Subtotal,” and “Total Amount Due.” This helps customers easily review the receipt.
For digital compatibility, ensure your template works across different devices and software. Opt for simple fonts and avoid overly complex formatting that might not display correctly on mobile devices or in email formats.
Add branding elements like logos, color schemes, and taglines in a subtle manner. This enhances the visual appeal without overwhelming the content. Place these elements in header or footer sections for consistency across all receipts.