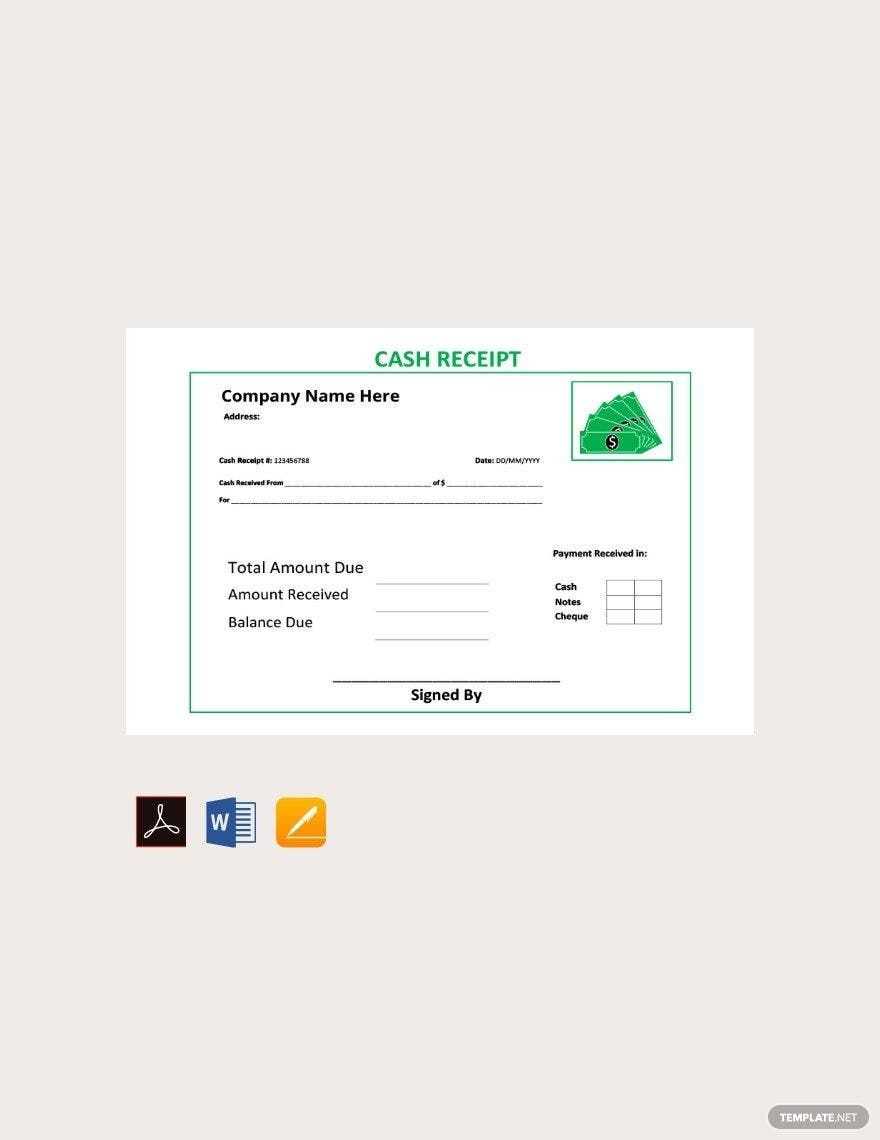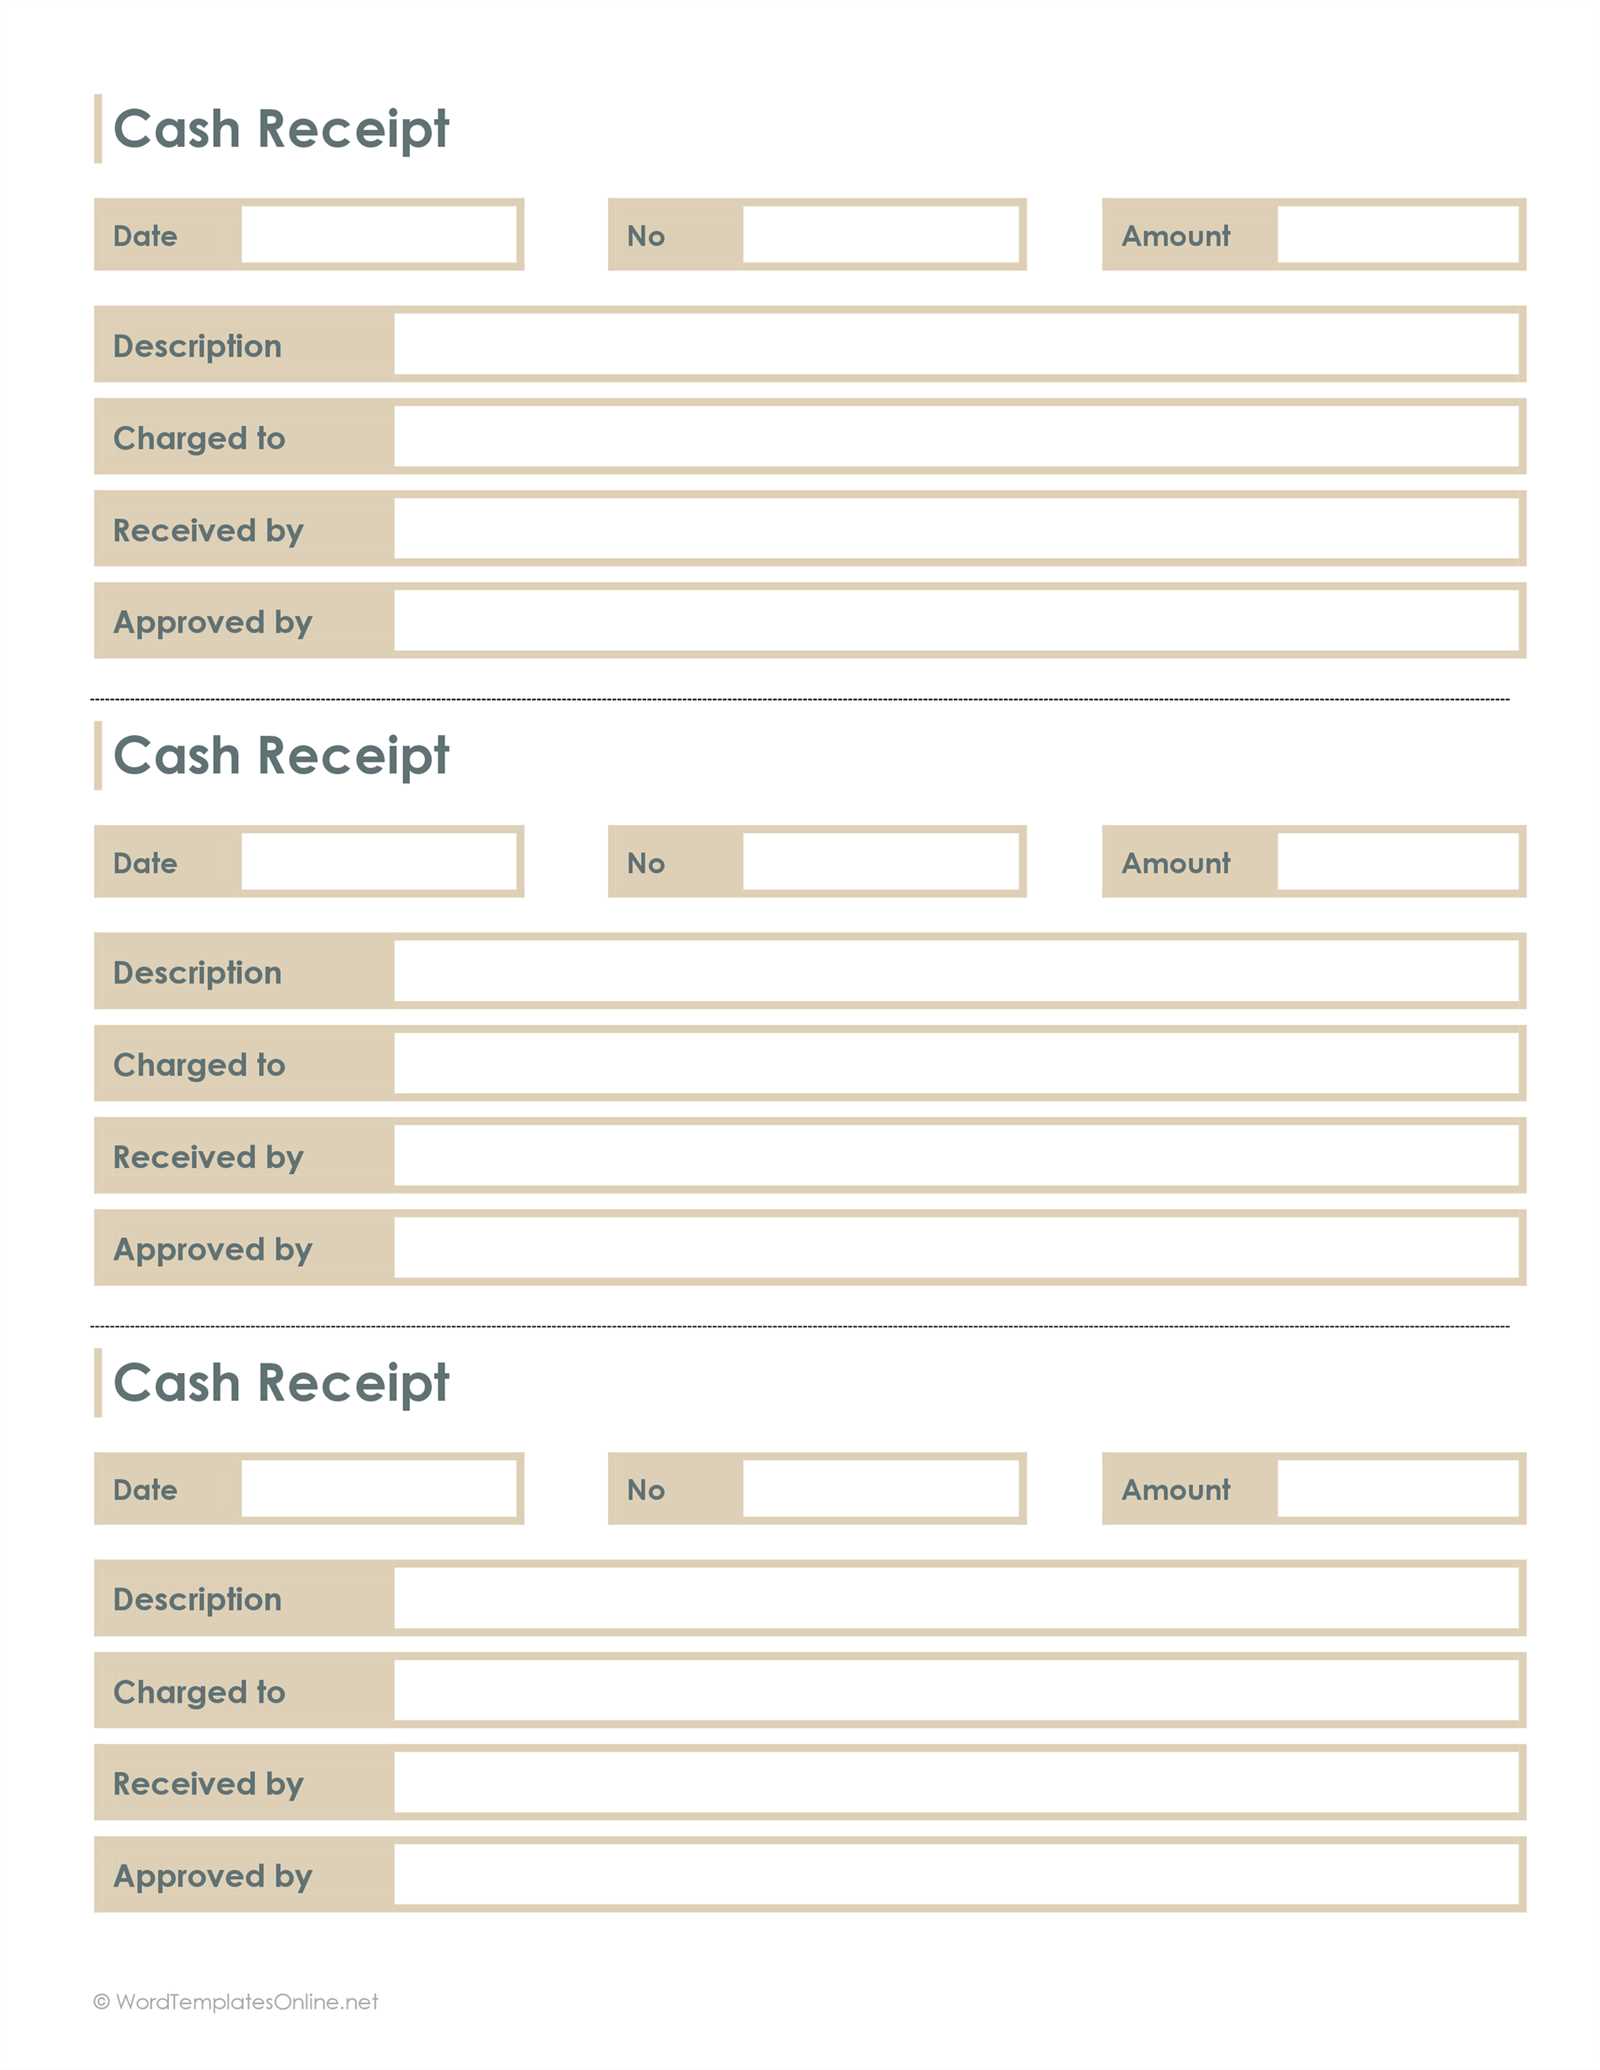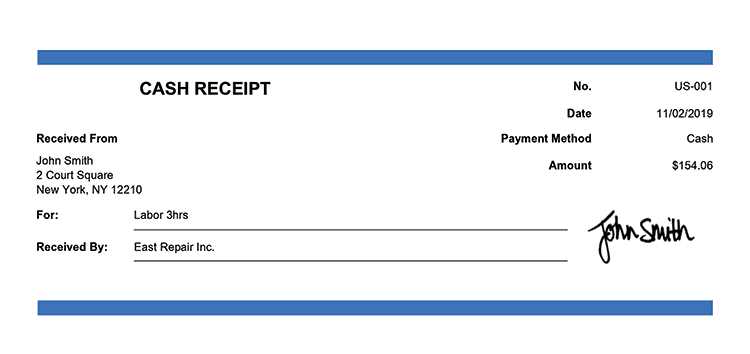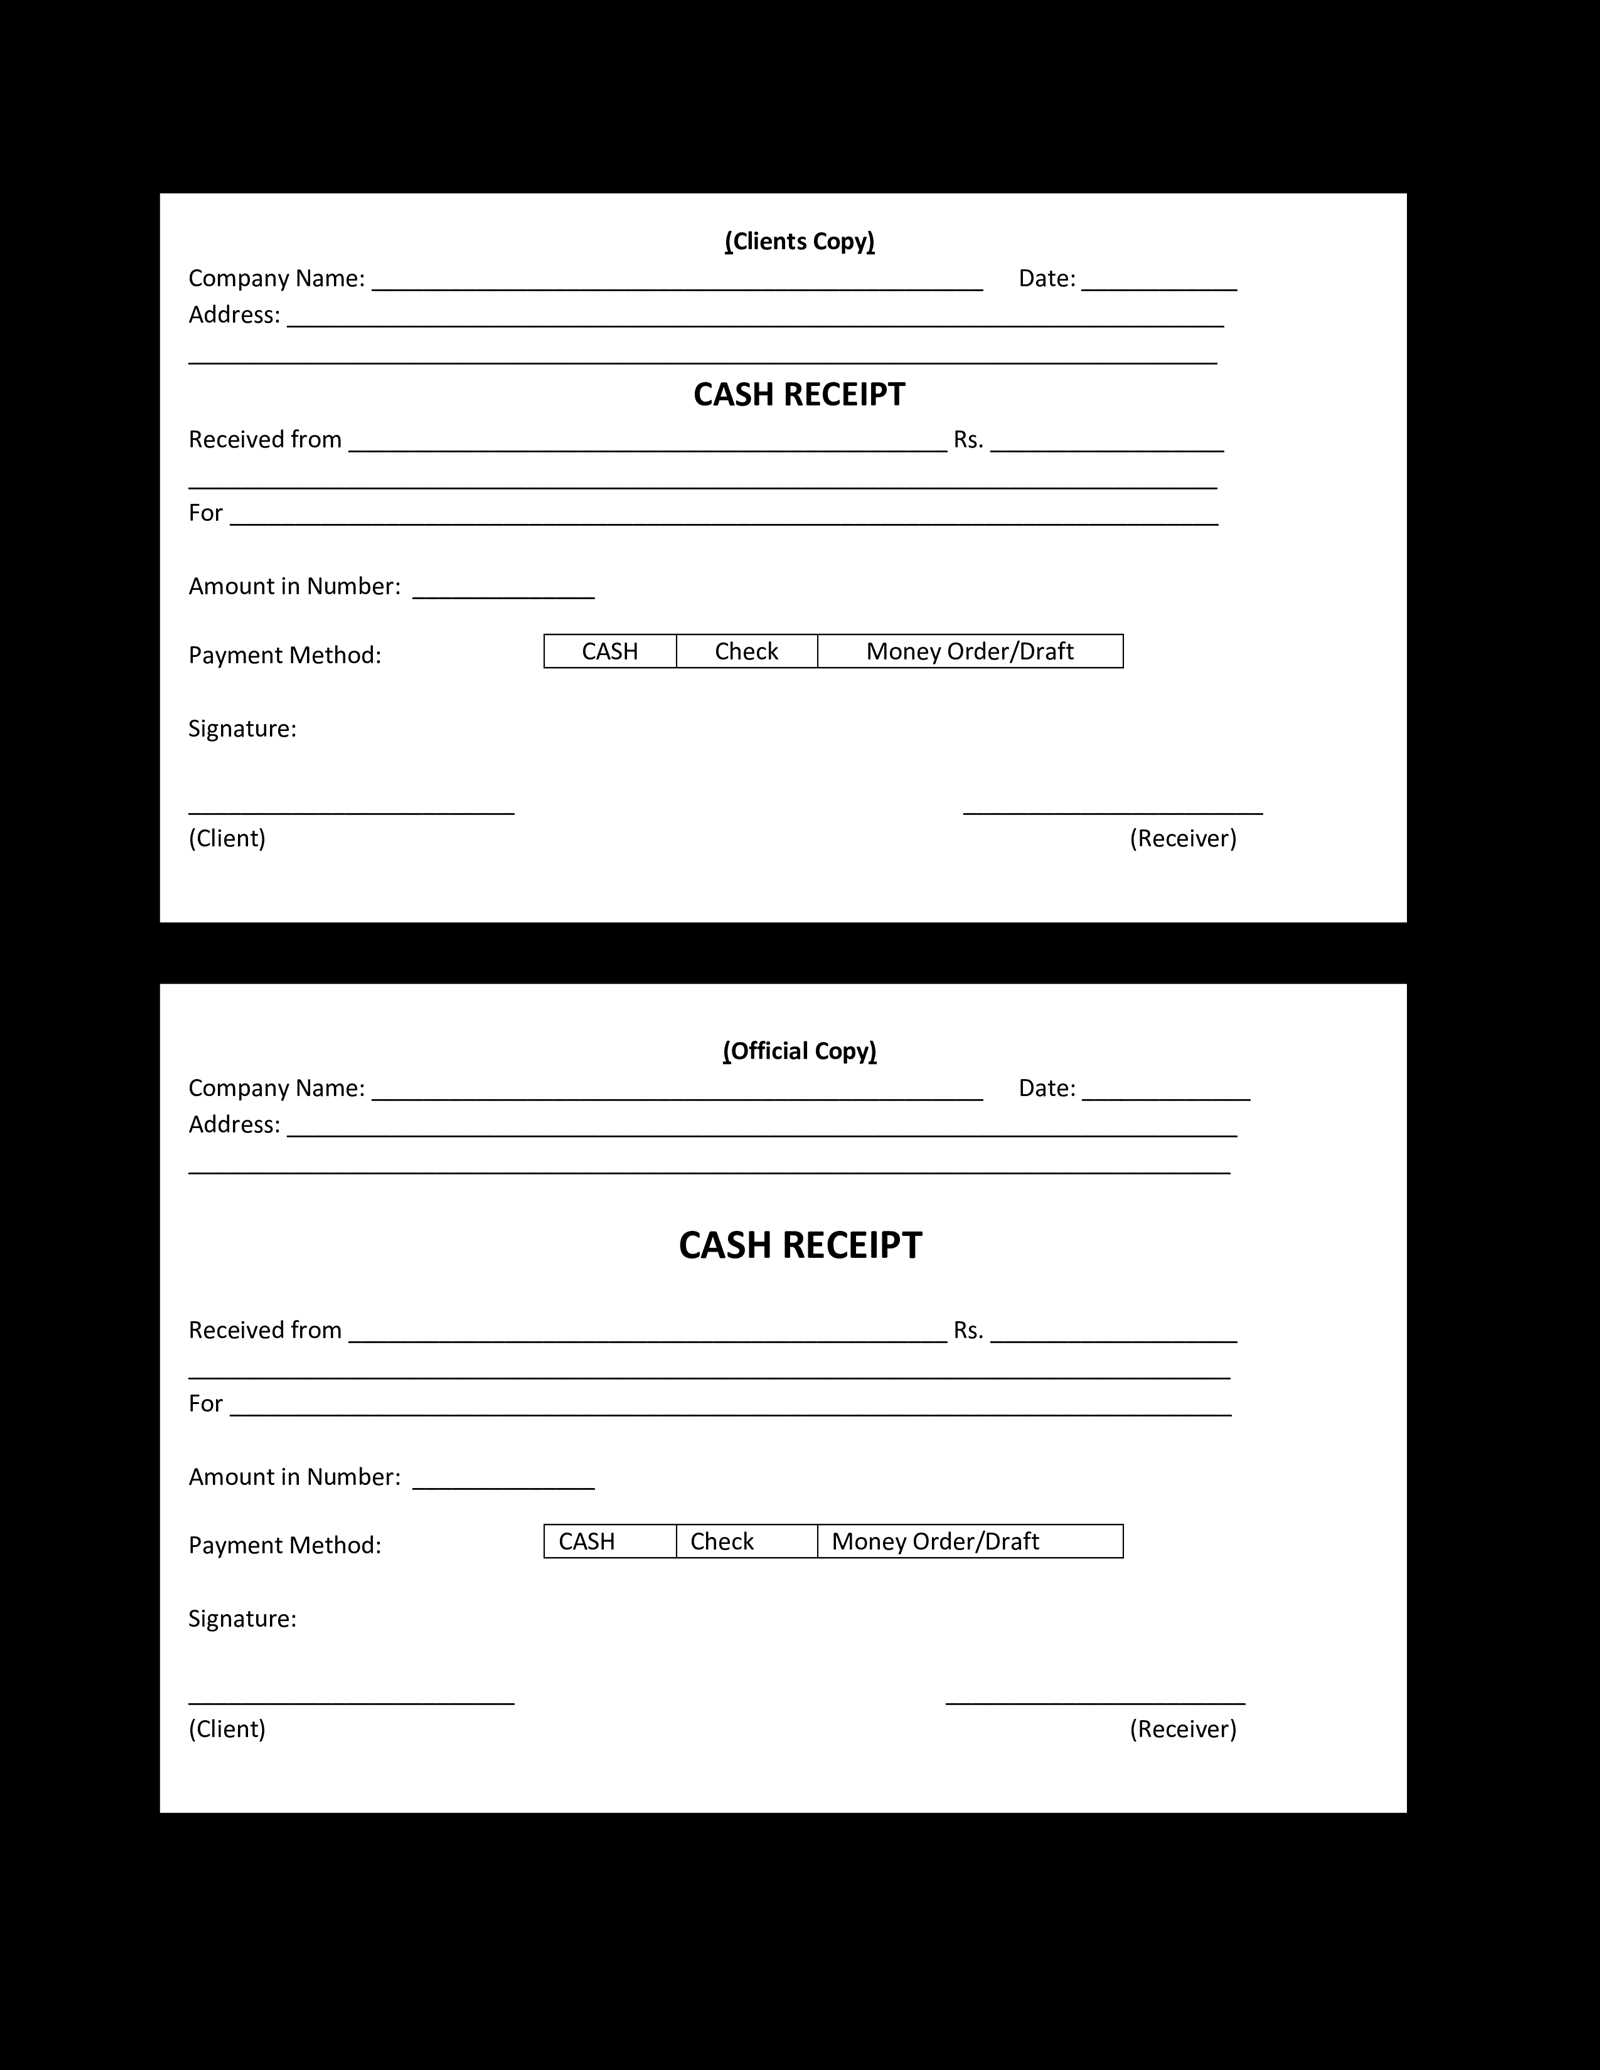
Need a quick and professional cash receipt template? Download a ready-made format for Microsoft Word, customize it in minutes, and print it instantly. Whether you’re a small business owner, freelancer, or managing personal transactions, a structured receipt ensures clear records and smooth accounting.
Why use a pre-designed template? It saves time, maintains consistency, and prevents errors. Instead of creating a receipt from scratch, simply enter transaction details like date, amount, and payer’s name. The template handles formatting, so every receipt looks polished and easy to read.
Microsoft Word makes customization effortless. Adjust fonts, add your logo, or modify fields to suit your needs. Need digital records? Save completed receipts as PDFs or share them via email. With this template, staying organized is simple and hassle-free.
Free Cash Receipt Template for Microsoft Word
Download a ready-to-use cash receipt template in Microsoft Word format and customize it to fit your needs. Open the file, update the business name, address, and contact details, then save it as a reusable template.
Ensure every receipt includes the date, receipt number, payer’s name, payment amount, and payment method. Use bold or underlined text for key details to improve readability. If applicable, add tax breakdowns and notes for additional clarity.
After filling out the details, save a copy for your records. Print it directly or export it as a PDF for digital sharing. This approach keeps transactions organized and ensures clear documentation.
How to Customize Fonts and Layout in a Cash Receipt Template

Open your template in Microsoft Word and switch to the “Home” tab. Select the text you want to modify, then choose a new font, size, or color from the toolbar. For consistent styling, use the “Styles” panel to update headings and body text across the entire document.
Adjusting the Layout
Go to the “Layout” tab to modify margins, spacing, and alignment. Use the “Columns” tool if you want to create sections, and the “Tables” tool to refine structured elements. Adjust row height and column width by dragging the borders for better readability.
Enhancing Readability

Ensure key details like payment amount and date stand out by using bold or larger fonts. Use alignment tools to position elements properly, and apply borders or shading to highlight specific sections. Test the layout by printing a sample to verify clarity.
Adding Automated Calculations for Tax and Total Amount
Use Microsoft Word’s formula feature to automate tax and total calculations in your receipt template. This reduces manual entry errors and ensures accuracy.
- Insert a Table: Place item descriptions, prices, and a row for tax and total.
- Enable Calculations: Click inside a cell where you want the total, then go to Layout > Formula.
- Sum Item Prices: In the formula box, type
=SUM(ABOVE)to total the column above. - Calculate Tax: If tax is 10%, enter
=SUM(ABOVE)*0.10in the tax cell. - Compute Grand Total: In the total amount cell, use
=SUM(ABOVE)again to include tax.
Update calculations by selecting the field and pressing F9. This ensures changes in item prices reflect in the total automatically.
Best Ways to Store and Share Digital Receipts

Use Cloud Storage Services. Save receipts in Google Drive, Dropbox, OneDrive, or another cloud platform. Create folders by month or category for quick access. Set up automatic backups to prevent data loss.
Convert to PDF for Easy Sharing. Scan paper receipts or save digital ones as PDFs. This format ensures compatibility across devices and prevents accidental edits. Use a mobile scanner app like Adobe Scan or Microsoft Lens for clear and organized files.
Email Receipts to Yourself. Forward digital receipts to a dedicated email address. Use filters and labels to categorize them automatically. This method provides instant access from any device without additional apps.
Use Receipt Management Apps. Apps like Expensify, Smart Receipts, and Shoeboxed store and categorize receipts efficiently. Many offer OCR scanning to extract data, making expense tracking easier.
Protect Sensitive Information. Store receipts in password-protected folders or encrypted drives. When sharing, use secure links instead of attachments. For business records, restrict access to authorized users only.


