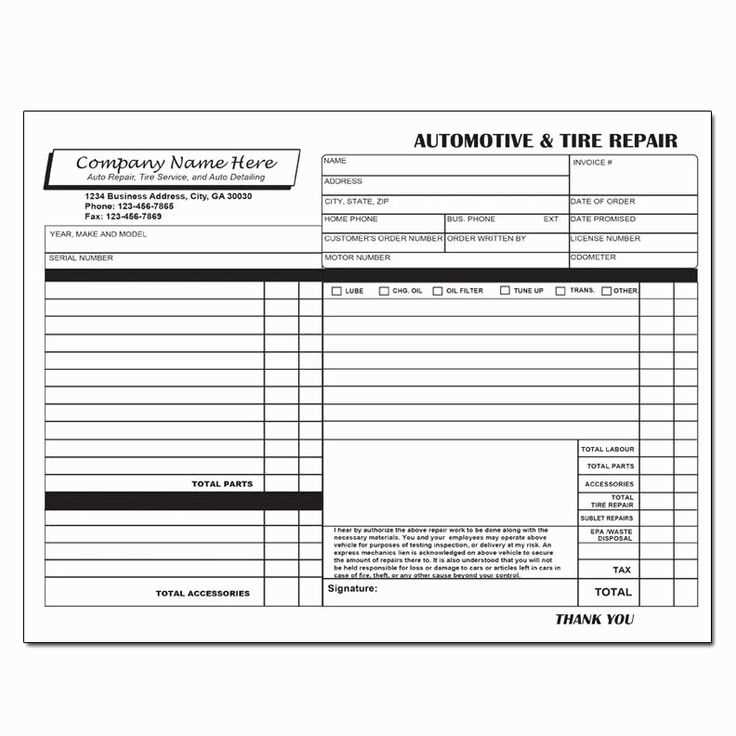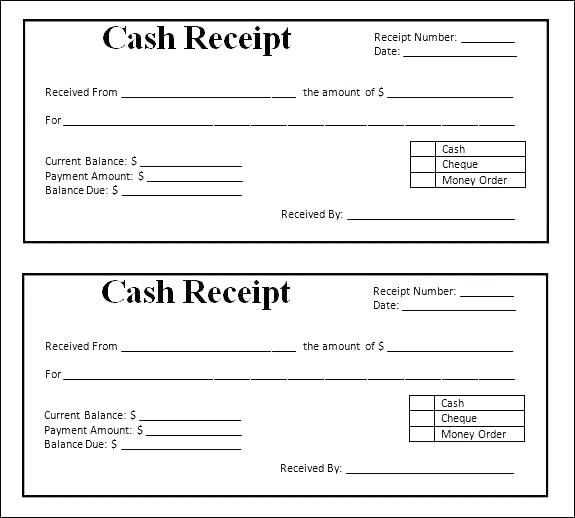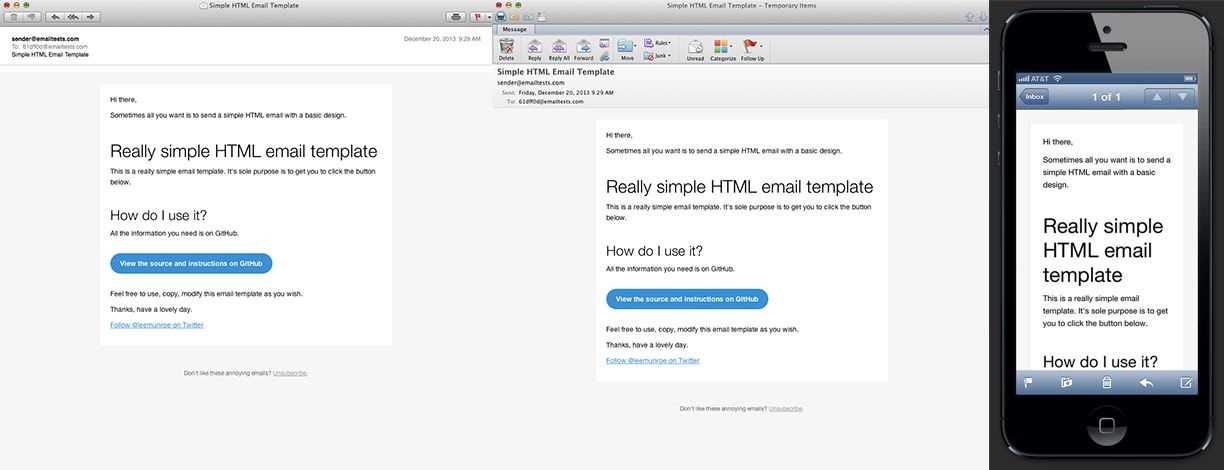
If you’re looking to streamline your email communication, using a free HTML email template for receipts is a smart choice. These templates are designed to look professional while saving you time and effort in creating custom emails from scratch. With responsive designs and clean layouts, they ensure that your receipts display perfectly across various devices and email clients.
Why choose HTML email templates? A well-designed template simplifies the process of sending receipts, reducing the need for manual adjustments each time. It also helps maintain consistency, making your business look organized and trustworthy. HTML emails support a wide range of customizations, so you can easily adapt them to fit your brand’s style.
Customizing your template is straightforward. Many free templates offer easy-to-edit sections for transaction details, customer information, and product lists. Make sure the template you choose is flexible enough to include any specific details you want to highlight, such as discounts or promotional offers. Simple modifications can make the template uniquely yours.
Detailed Guide on Free HTML Email Template Receipt
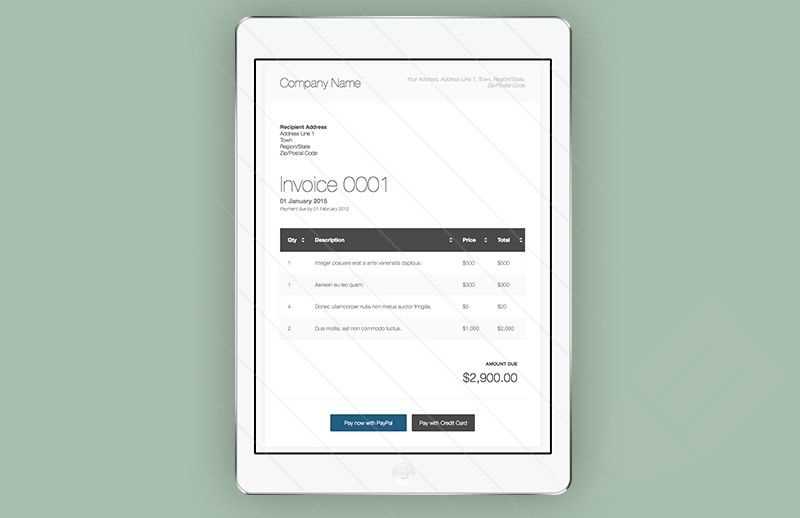
To create a simple yet visually appealing HTML email receipt, start with a clean structure. Use tables for layout as they ensure compatibility across different email clients. A basic template consists of a header, main content section, and footer. Each of these sections should be wrapped in <table> tags to maintain the format.
Layout and Structure
Design the header to include your brand’s logo or name, along with the email subject or receipt number. Place the header content inside a <td> element within the <table> tag to keep it organized. The main content area will show purchase details like item names, prices, and quantities. Use a nested table inside the main section for easy alignment of these data points. Finally, the footer can include contact details, company address, or links to customer support.
Styling Tips
For styling, use inline CSS to ensure compatibility with most email clients. Set simple styles like font size, text alignment, and colors directly inside each <td> element. Avoid background images or complex CSS rules, as many email clients do not support them. Keep the layout responsive by using percentages for widths rather than fixed pixel sizes, ensuring the receipt looks good on various screen sizes.
How to Customize Free HTML Email Templates for Receipts
Adjust the colors and fonts to match your brand’s style. Modify the CSS to change text colors, background colors, and button styles. Use web-safe fonts like Arial, Helvetica, or Google Fonts to ensure compatibility across different devices.
Next, update the logo and other images. Replace the placeholder images with your company’s logo or any relevant visuals. Make sure the images are optimized for quick loading and responsive across various screen sizes.
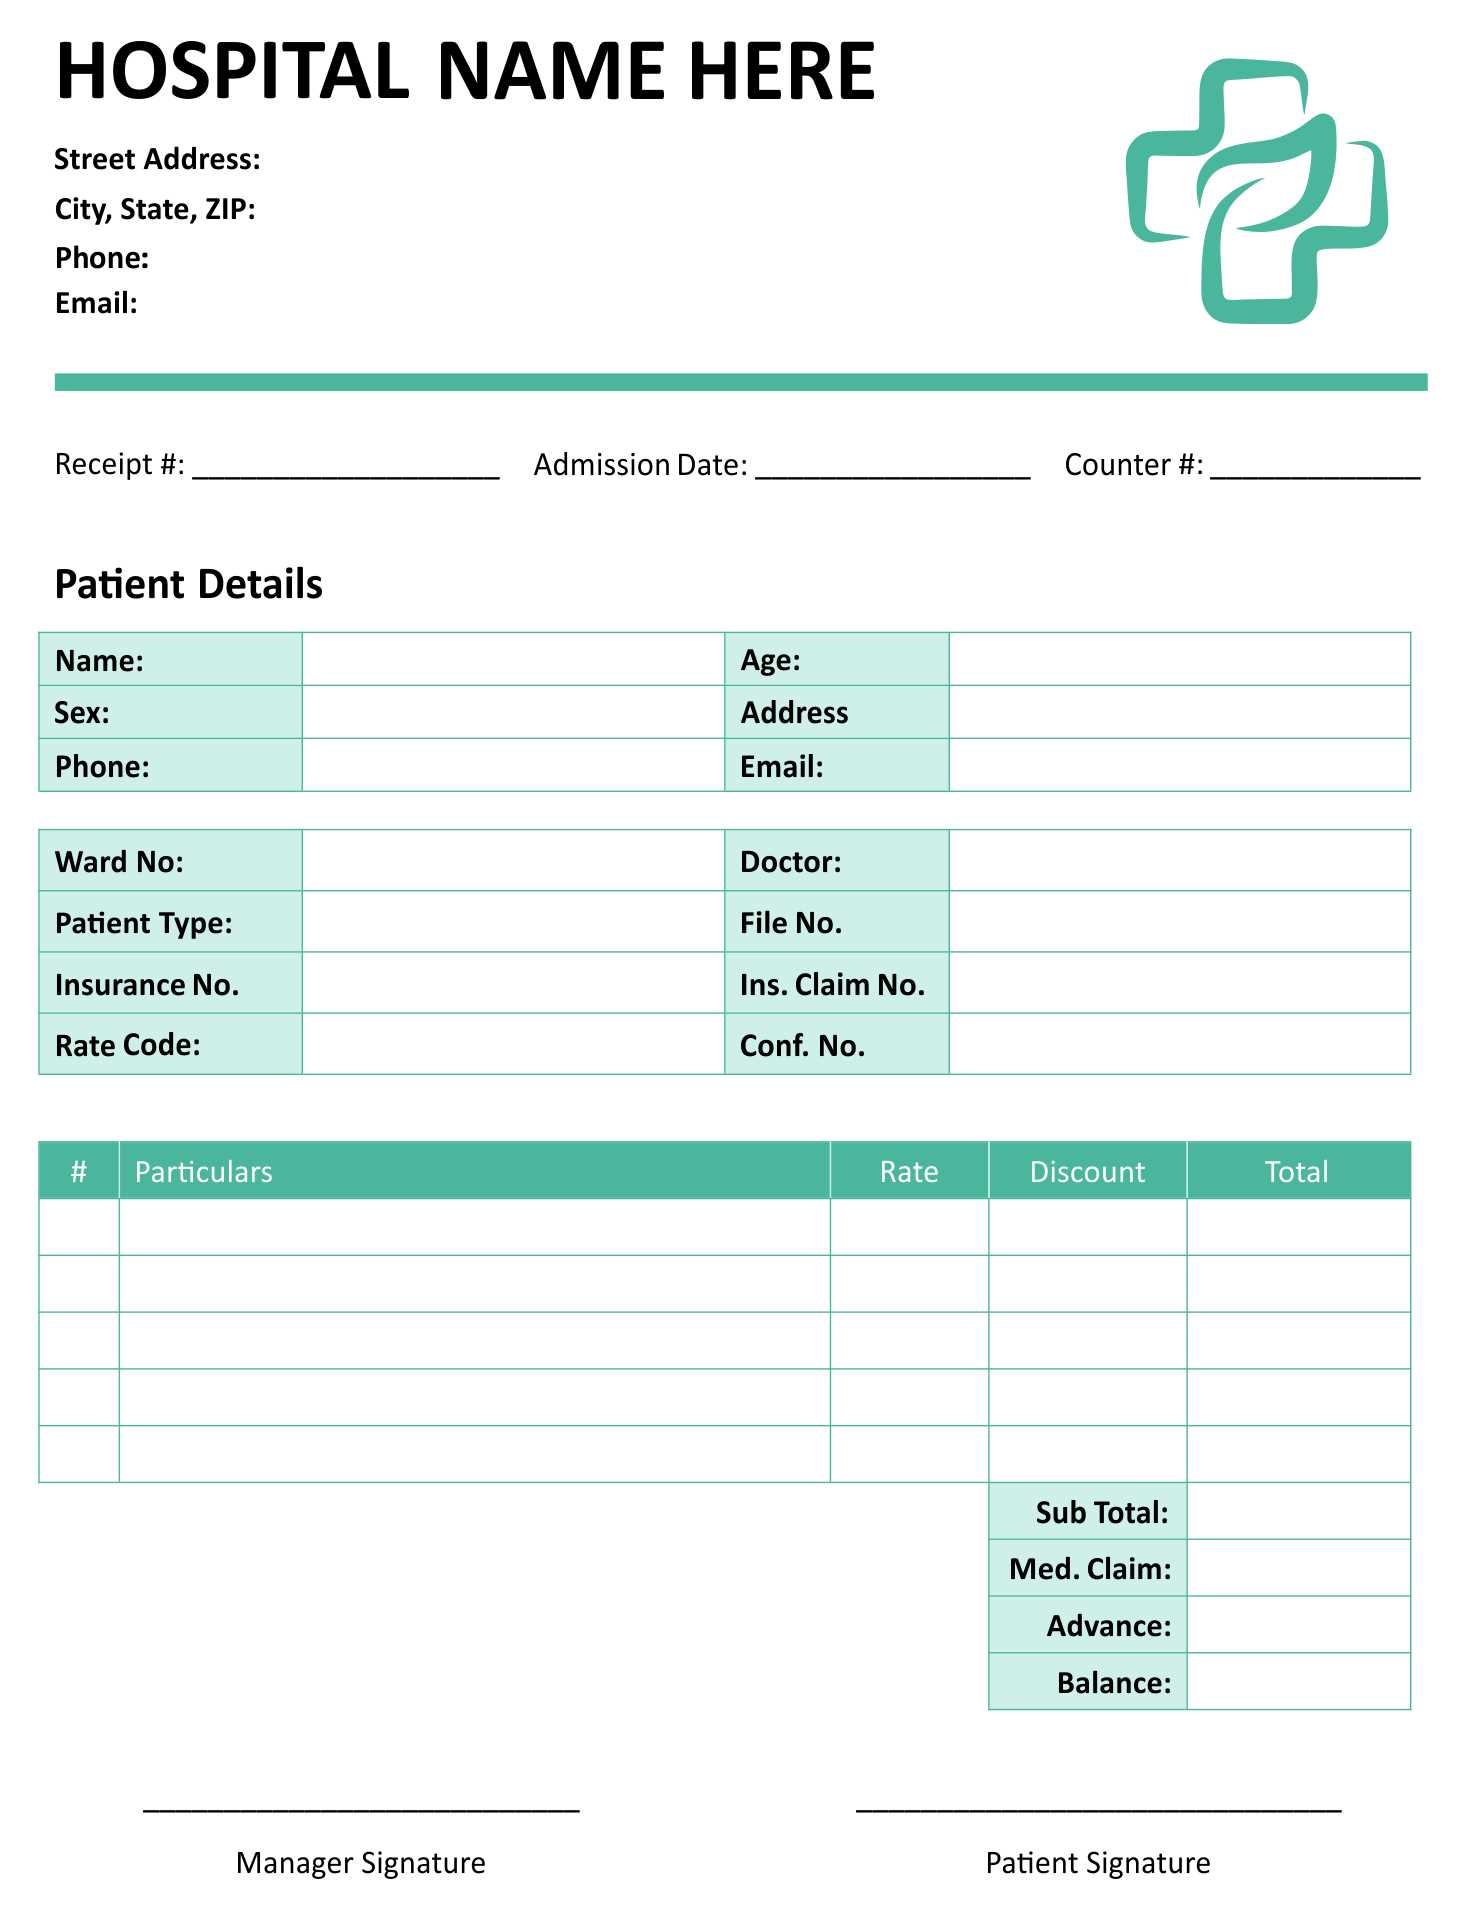
Customize the content sections for your receipt. Ensure that the customer’s details, such as name, purchase date, and items, are clearly displayed. Use tables to format the information neatly, allowing easy readability. Include the purchase details like product name, price, and total amount in separate columns.
To enhance clarity, break down the information into simple, digestible sections. Consider using bold or italic text for headings and key information like order numbers or dates. Use spacing to separate the sections and avoid clutter.
- Ensure that all links (e.g., support or order tracking) are clearly visible.
- Test the template in multiple email clients to confirm that the formatting remains intact.
- Consider adding a personalized message to the customer at the bottom of the receipt, such as a thank-you note or a discount code for future purchases.
Review the mobile responsiveness of the template. Test it on different devices to ensure that the layout adjusts appropriately for both desktop and mobile views.
Lastly, ensure that all dynamic elements, like prices or customer names, are linked to a system that auto-fills them for each specific receipt. This ensures accuracy and saves time.
Steps to Integrate Receipt Templates with Your Payment System
First, choose an HTML receipt template that matches your branding. Select a clean, responsive design that fits your product or service. Ensure the template can accommodate all necessary transaction details like customer name, order summary, payment method, and total amount.
1. Customize the Template
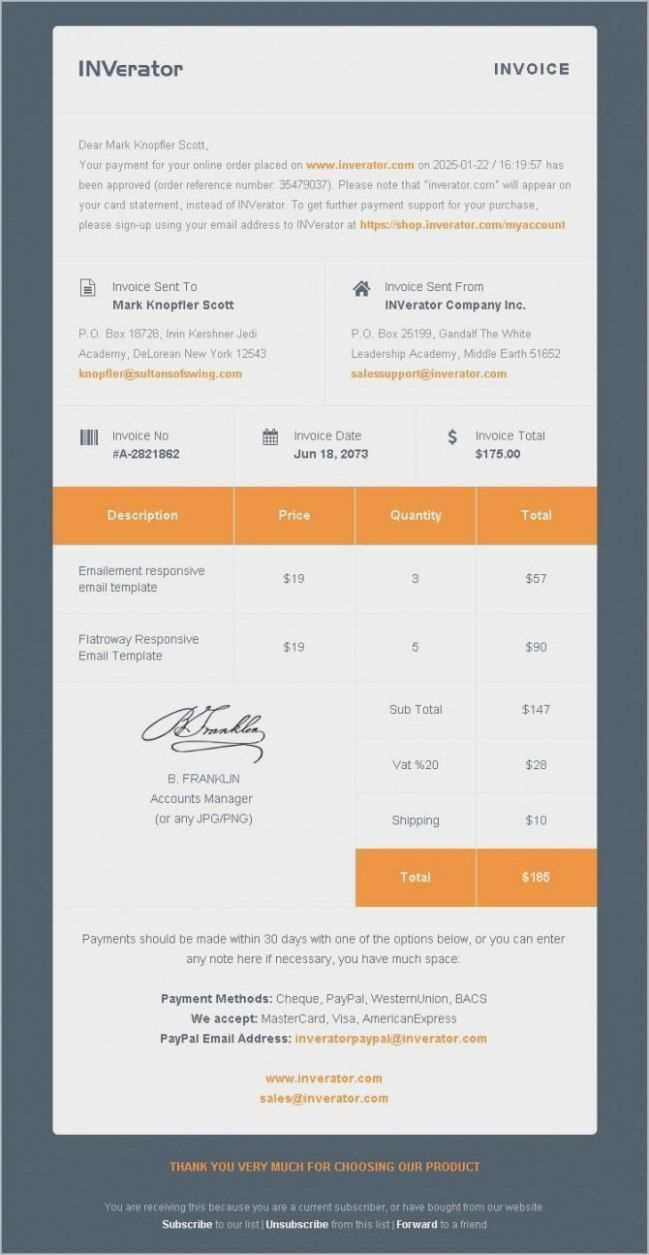
Update the template with your company logo, color scheme, and relevant information. Add placeholders for dynamic elements such as the customer’s name, transaction ID, and payment date. This ensures each receipt is tailored to the specific transaction.
2. Set Up Integration with Your Payment System
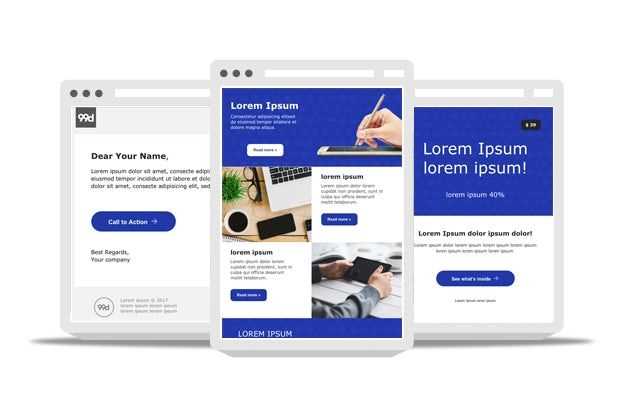
Connect your payment gateway API to your receipt template. This step allows you to pull real-time transaction data such as amounts, payment methods, and order details. You’ll need to reference the API documentation provided by your payment processor for precise instructions.
Map the required fields in the template to the data from your payment system. For example, the “total amount” in the receipt template should pull from the transaction’s payment data. This will automate the process, eliminating manual entry and ensuring accurate information on each receipt.
3. Test the Integration
Once integrated, run several test transactions to ensure that the receipt template pulls the correct data and displays it properly. Check for any formatting errors or missing information. Make adjustments as needed to ensure all details are presented correctly on the receipt.
With successful testing, your receipts will be automatically generated and sent to customers after each payment, offering a seamless experience that is both professional and efficient.
Common Troubleshooting Tips for HTML Email Templates in Receipts
Check for broken links or missing images. Ensure that all URLs for images and links are correct and lead to accessible locations. Use absolute URLs instead of relative paths to avoid issues when rendering the email in different environments.
Validate HTML Code
Incorrect HTML tags can cause display problems. Run the code through an HTML validator to catch any structural issues that may affect rendering. Pay attention to unclosed tags or misplaced elements, which could break the layout.
Test Email Rendering Across Clients
Different email clients (like Gmail, Outlook, and Apple Mail) render HTML emails differently. Test the template in multiple environments to identify any inconsistencies. Use inline CSS for better compatibility across clients, as some do not fully support external or embedded stylesheets.
Optimize for Mobile Devices. Ensure the template is responsive. Test the email on different screen sizes to confirm it adapts well. Use media queries to adjust the layout for smaller screens, making sure text remains legible and images are appropriately sized.
Address font issues by specifying web-safe fonts. If custom fonts are required, consider using fallback options. Some email clients do not support custom web fonts, so fallback fonts are necessary to maintain consistency.
Keep an eye on load times. Compress large images to ensure faster loading times, especially for mobile users. Tools like TinyPNG or ImageOptim can help reduce image file sizes without losing quality.
