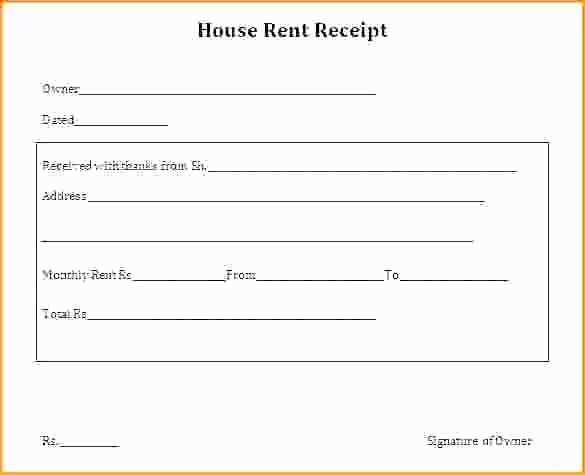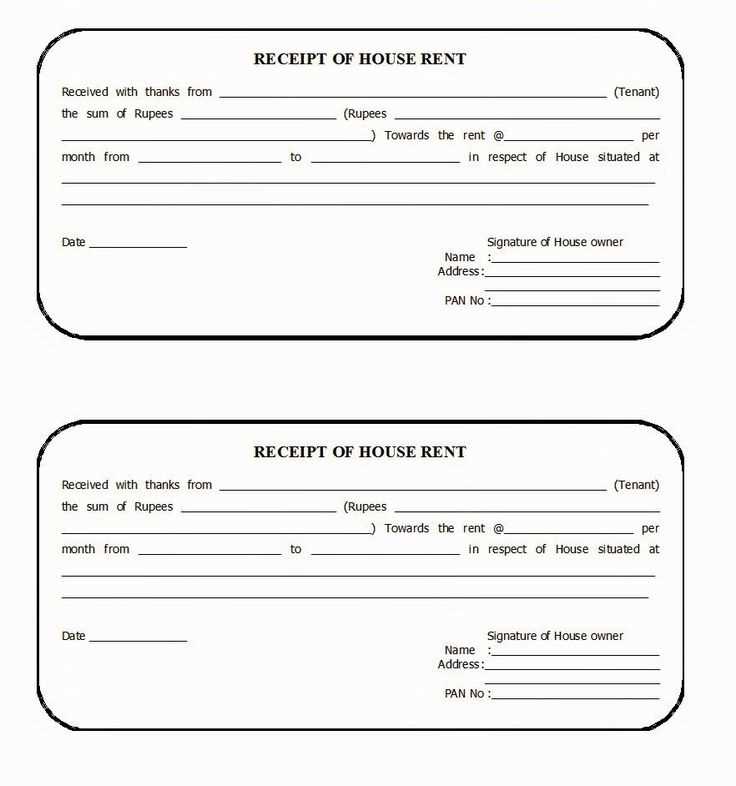
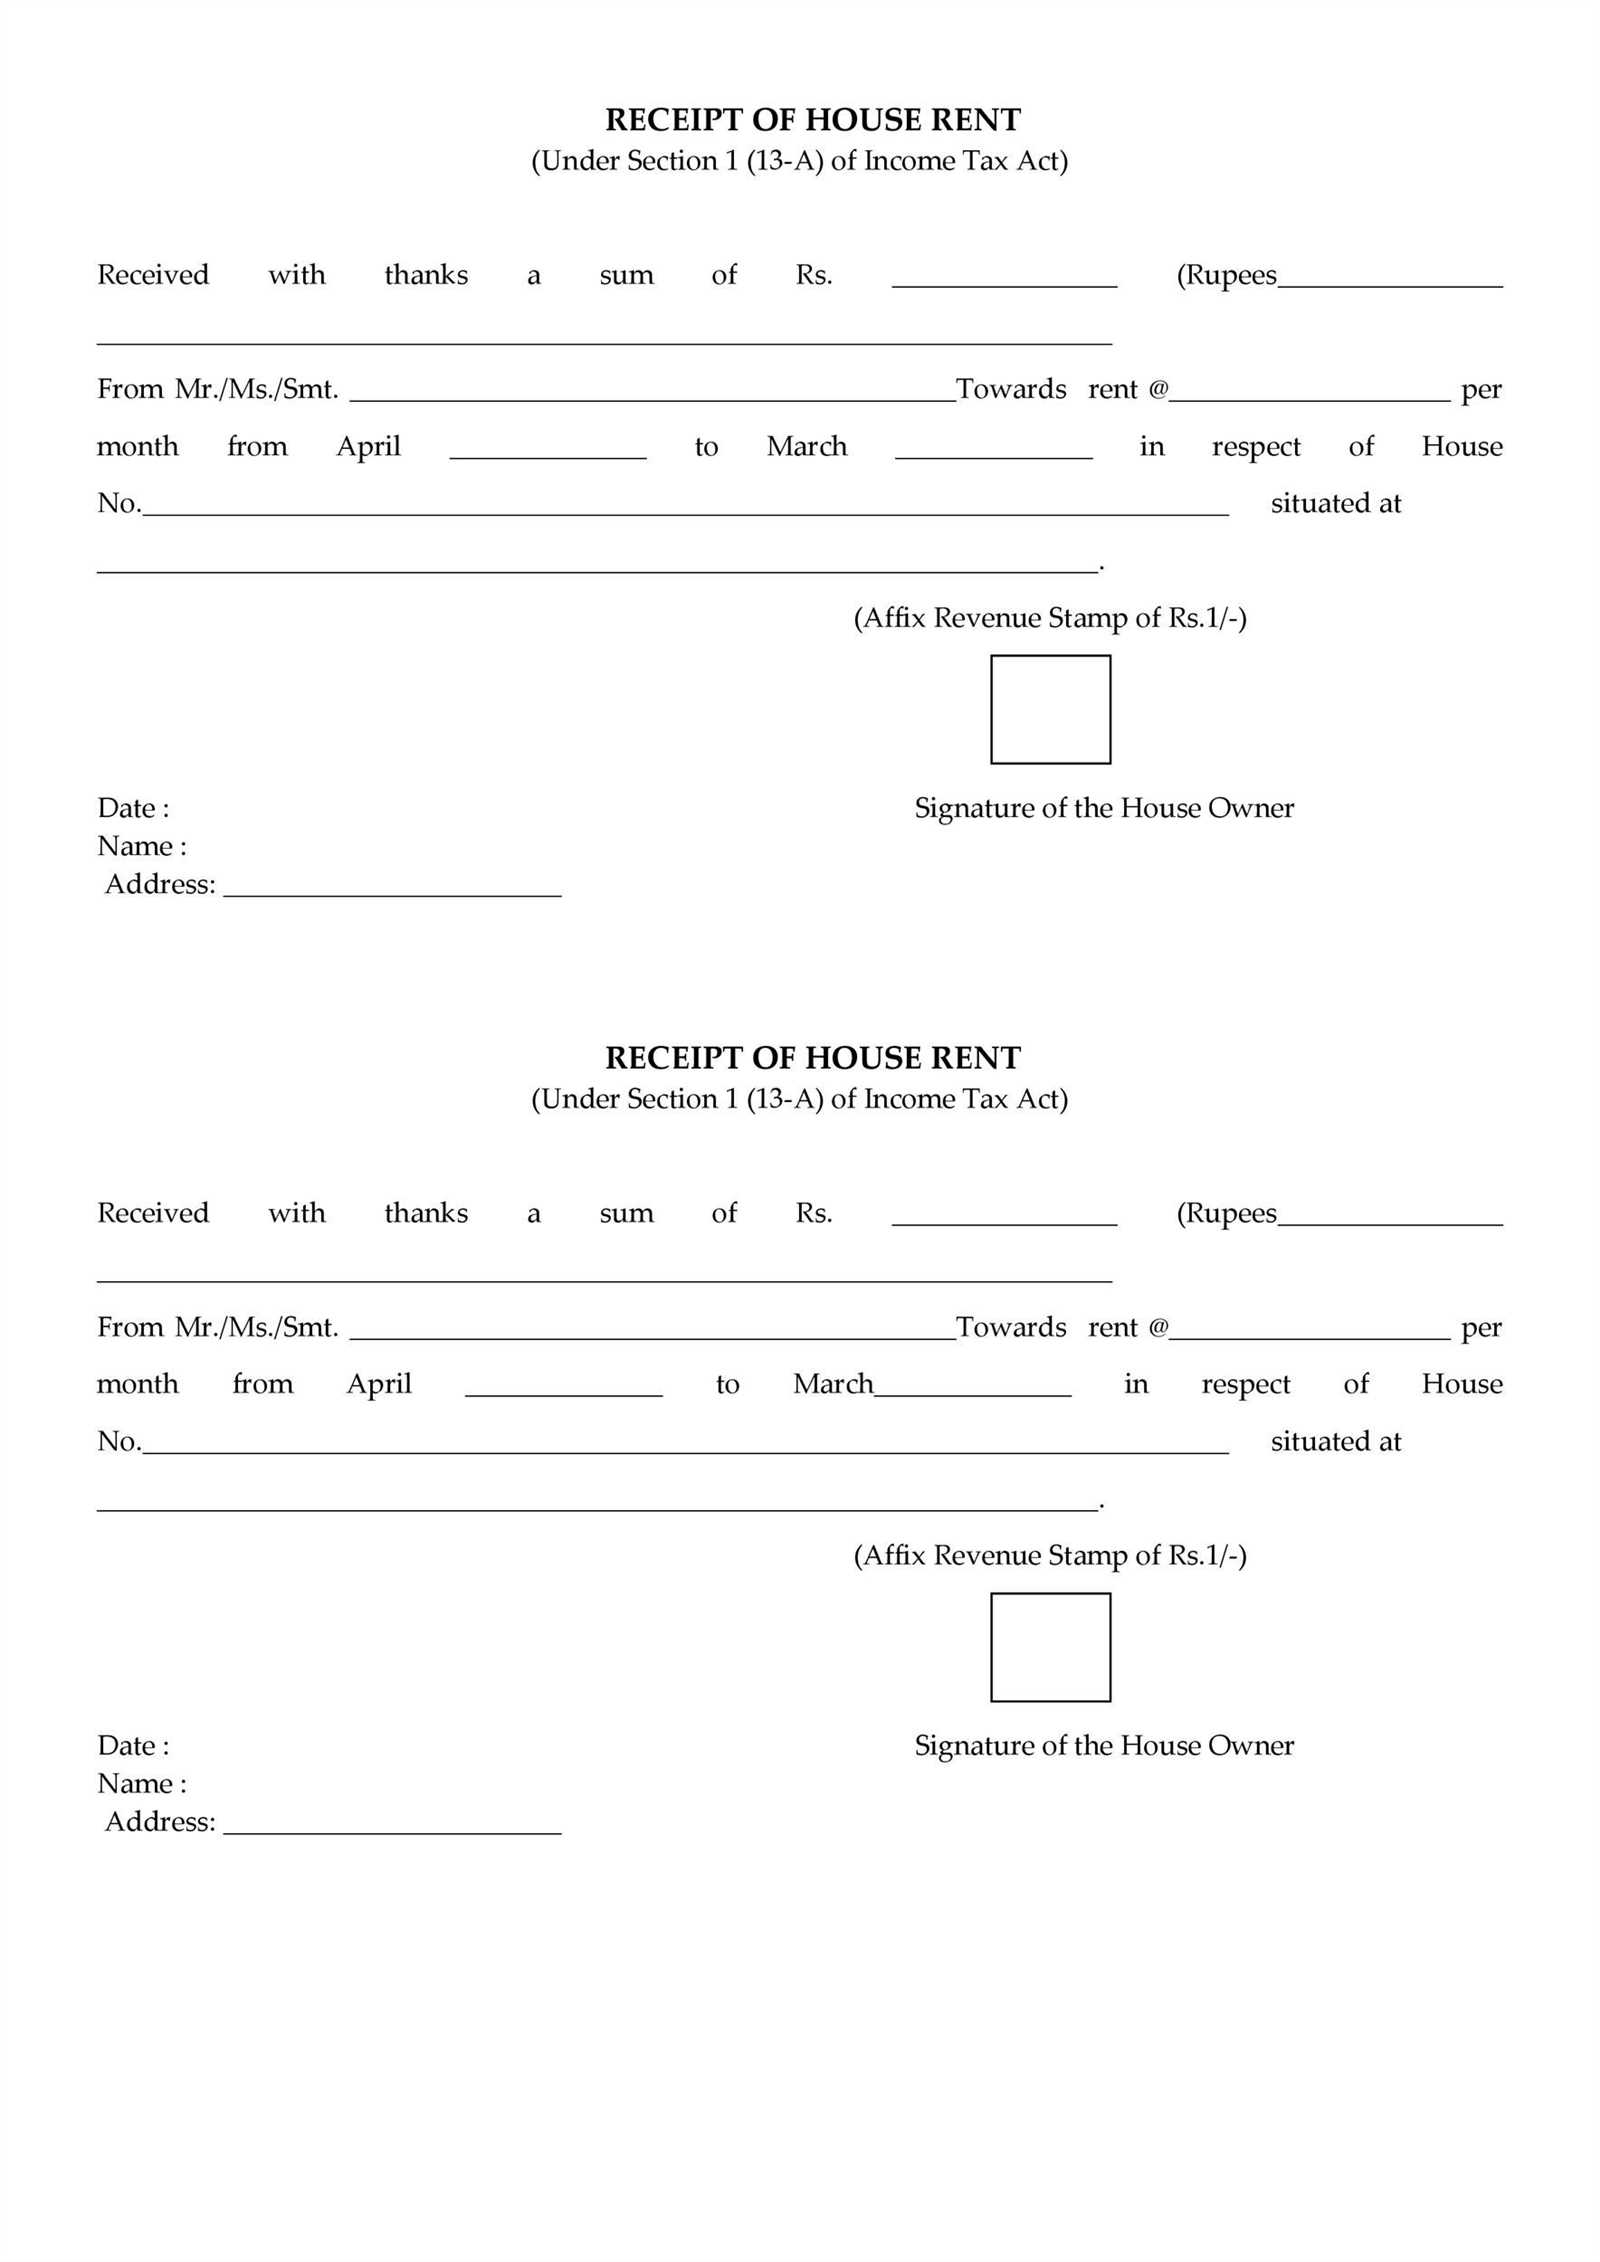
Using a free rent receipt template simplifies the process of documenting rental payments, ensuring both tenants and landlords have a clear record. A well-organized template can save time, reduce errors, and make accounting more straightforward.
Choose a template that includes key details like the tenant’s name, the rental amount, the payment date, and the landlord’s contact information. Including a section for payment method and any additional notes helps provide complete documentation for both parties.
By utilizing a free template, you eliminate the need to create a new receipt from scratch each time, making rent collection smoother and more consistent. Simply fill in the necessary information and print or email the receipt as needed.
Here’s the revised version:
To create a clean and professional rent receipt, follow these steps:
- Start with the title: Clearly label the document as a “Rent Receipt” at the top.
- Include tenant and landlord details: Write the full name of both the tenant and the landlord along with their contact information.
- State the rental period: Clearly mention the dates for which the rent is being paid, such as “Rent for the period of January 1st to January 31st, 2025.”
- Amount paid: Specify the exact amount of rent received, using both numbers and words (e.g., $1,000 – one thousand dollars).
- Payment method: Indicate how the payment was made (e.g., cash, bank transfer, check).
- Receipt date: Include the date when the payment was made and when the receipt was issued.
- Signature: Leave space for the landlord’s signature as proof of receipt.
By following these guidelines, you ensure that the receipt is clear, complete, and legally binding.
- Free Rent Receipt Template Guide
Use the following elements when creating a rent receipt:
| Field | Description |
|---|---|
| Receipt Number | Include a unique identifier for each receipt for better tracking. |
| Tenant Name | List the tenant’s full name as it appears in the lease agreement. |
| Landlord Name | Include the name or company representing the landlord. |
| Amount Paid | Clearly state the amount of rent paid for the period specified. |
| Payment Date | Record the exact date when the rent payment was made. |
| Rental Period | Specify the rental period the payment applies to (e.g., January 2025). |
| Payment Method | Indicate whether the payment was made by check, cash, or another method. |
| Landlord Signature | Provide space for the landlord’s signature to authenticate the receipt. |
Make sure the receipt is clear and includes all required details. A well-structured rent receipt template will help both tenants and landlords keep accurate records for future reference or tax purposes.
Begin by including the name of the landlord and tenant at the top of the receipt. This ensures both parties are clearly identified. Include the address of the rental property to specify the location associated with the payment.
Clearly state the rent amount paid. Specify the currency and exact amount to avoid any confusion. Mention the payment method, whether it’s cash, check, or bank transfer. It’s also helpful to note the date the payment was made.
Include the rental period covered by the payment. For example, “Rent for the month of February 2025.” This provides clarity on the time frame for which the payment is applicable.
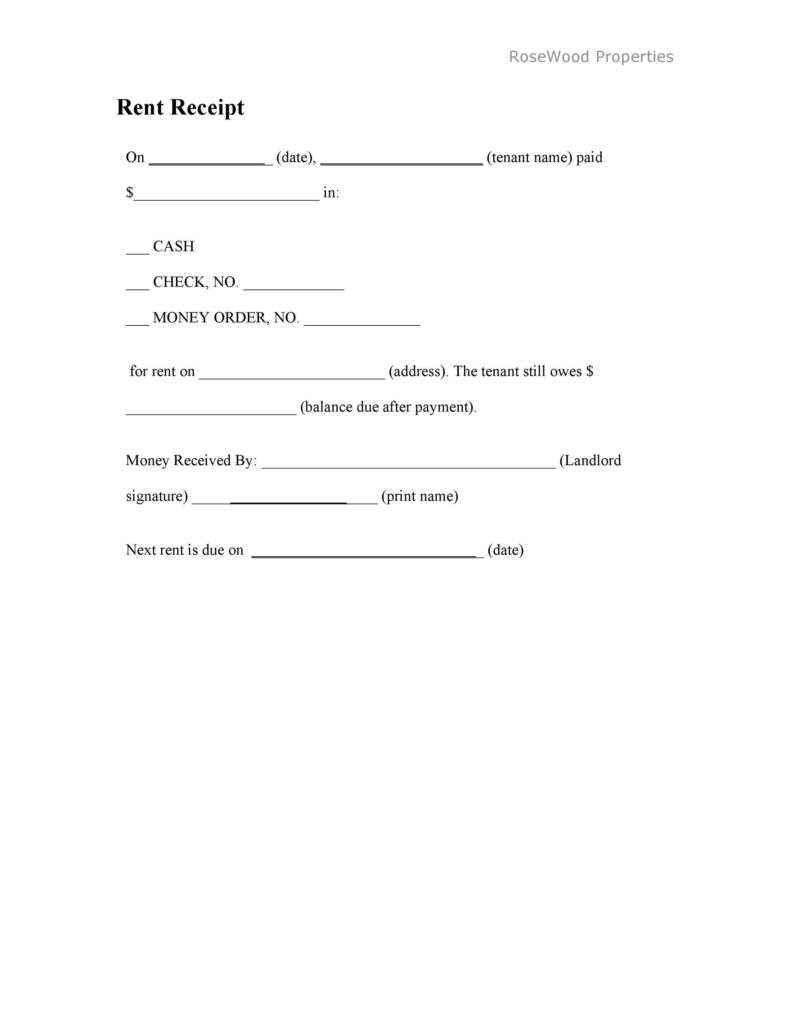
Lastly, add a statement confirming that the payment has been received. You can include something like, “Received with thanks,” followed by the landlord’s signature or a digital confirmation if applicable.
Adjust your receipt template based on the payment method used to ensure clarity and accuracy. For cash payments, include a field for the exact amount received and the change given, if any. This helps avoid confusion and provides a complete record of the transaction. For card payments, include the type of card used, the last four digits, and authorization number. This adds transparency, making the receipt helpful in case of disputes. For online payments, incorporate transaction IDs and the payment processor’s details. Ensure that the date and time are displayed prominently for all payment types, as these details can serve as a point of reference for future inquiries or accounting purposes.
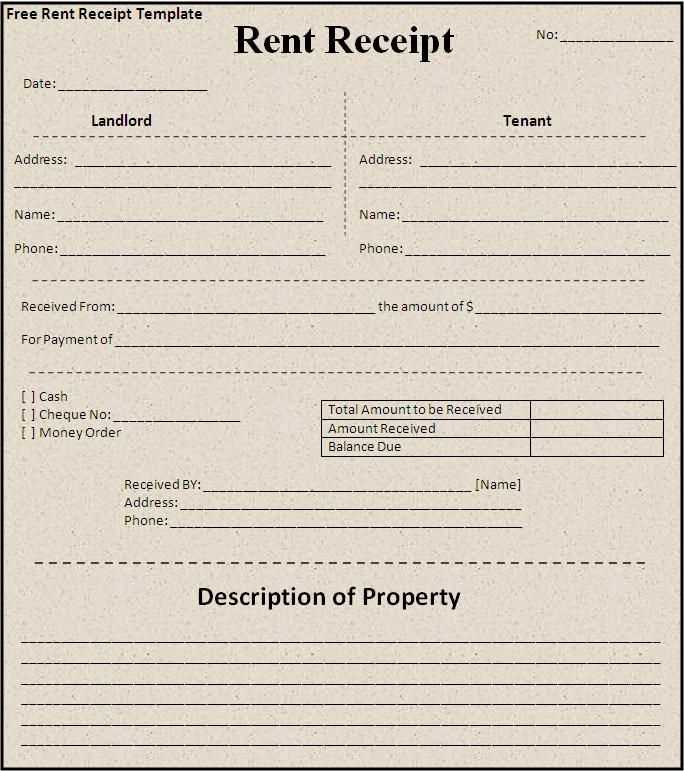
For checks, add a section for the check number and bank details. This allows for easy tracking and verification. When using mobile payment systems like Apple Pay or Google Wallet, ensure that the receipt reflects the payment processor and provides a confirmation number for reference.
Customize your template further to include logos or specific information related to the payment platform. This adds a professional touch and reassures customers that their payment method is processed securely. Adapt the font size and spacing based on the method used to keep the receipt clear and easy to read. Keep it simple but include all relevant details to maintain the integrity of each transaction.
Ensure that your rent receipt includes the following key legal details to make it valid and protect both parties involved:
- Landlord’s Full Name and Contact Information: Clearly list the landlord’s legal name, address, and phone number or email. This helps identify the person issuing the receipt.
- Tenant’s Full Name: Include the tenant’s full name as per the rental agreement. This confirms the individual responsible for the rent payment.
- Rental Property Address: Mention the full address of the rental property for clarity, ensuring the receipt is tied to a specific location.
- Amount Paid: Specify the exact amount of rent paid, including any additional charges (e.g., utilities, parking). Breakdown details help avoid disputes.
- Payment Date: Indicate the date the rent was paid to avoid confusion about payment periods and ensure timely documentation.
- Payment Method: Include whether the payment was made by cash, check, bank transfer, or any other method. This offers transparency on the transaction.
- Signature of the Landlord: A signature adds authenticity, confirming that the receipt was issued by the landlord or their representative.
- Receipt Number (if applicable): Numbering receipts can help in keeping track of payments and making references easier in case of future issues.
Make sure all information is clear and easy to understand to avoid legal disputes or confusion later on.
Find a reliable website offering free rent receipt templates. Choose one that suits your needs based on format and design.
- Look for a template that includes all necessary fields like tenant’s name, address, rent amount, payment date, and rental period.
- Download the template in a format compatible with your device, such as PDF or Word.
- Fill in the details of the transaction, including the date, amount paid, and both landlord and tenant names.
- Ensure that all fields are completed accurately to avoid confusion or disputes later.
Once filled, you can print the receipt or save it digitally for your records. Many online platforms also allow customization to better suit specific rental agreements or preferences.
- For repeat tenants, save the filled template as a template for easy reuse.
- Check the website regularly for updates or new templates if you need a different style.
By following these steps, you can streamline rent receipt creation and maintain a professional and consistent record-keeping process.
To maintain privacy and security when issuing rent receipts, ensure that sensitive tenant information is handled carefully. Always limit the amount of personal data displayed, showing only what is necessary–such as the tenant’s name, rental amount, and the payment date. Avoid including unnecessary details like personal addresses, unless required by local regulations.
Utilize secure storage methods, both digital and physical, for rent receipts. For digital records, consider password-protecting files or using encrypted platforms that offer safe document storage. For physical receipts, store them in locked cabinets, accessible only to authorized personnel.
When sending rent receipts electronically, use secure email services or document-sharing platforms with encryption. This reduces the risk of sensitive data being intercepted during transmission. Additionally, ask tenants to confirm receipt and inform them of their responsibility to keep copies of receipts secure for their own records.
Lastly, review your rent receipt template regularly to ensure it remains compliant with privacy laws and local regulations. Stay updated on any changes that could affect how you collect, store, and share information. This proactive approach helps minimize security risks and protects both parties involved in the rental agreement.
Use separate folders for different types of receipts–keep utility receipts, grocery receipts, and business expenses in distinct files. This will save time when searching for a specific receipt. Label each folder clearly with the category and date range, so you can quickly find what you need.
Consider scanning paper receipts into digital format. This minimizes physical clutter and makes it easier to retrieve receipts later. Store the digital copies in cloud storage or on an external hard drive, and organize them in folders named by category and date for easy access.
Regularly declutter and discard old receipts you no longer need. For tax or warranty purposes, keep receipts for a set period–generally, three to seven years–depending on your needs. Shred receipts you no longer require to protect your personal information.
Use a receipt tracking app or software to manage your receipts. Many apps allow you to take photos of receipts and automatically categorize them. This reduces manual sorting and ensures receipts are stored securely and are easy to retrieve.
For physical receipts, consider using a filing cabinet or binder with plastic sleeves to keep receipts safe and organized. Arrange them by month or type of expense for easy sorting when needed.
Using a free rent receipt template can save you time and simplify the process of documenting rent payments. When creating your template, ensure that it includes the following key information:
| Field | Description |
|---|---|
| Tenant’s Name | Include the full name of the person who made the payment. |
| Landlord’s Name | Make sure to list the landlord or property management company’s name. |
| Amount Paid | State the exact rent amount paid for the specified period. |
| Payment Date | Record the date when the payment was made. |
| Rental Period | Specify the period for which the rent is being paid, such as monthly or weekly. |
| Payment Method | Indicate how the payment was made, whether in cash, check, or electronically. |
| Receipt Number | Provide a unique number for tracking purposes. |
This simple structure ensures both landlord and tenant have a clear record of each transaction. Make sure the format is easy to update, as each new payment will need a fresh entry.
