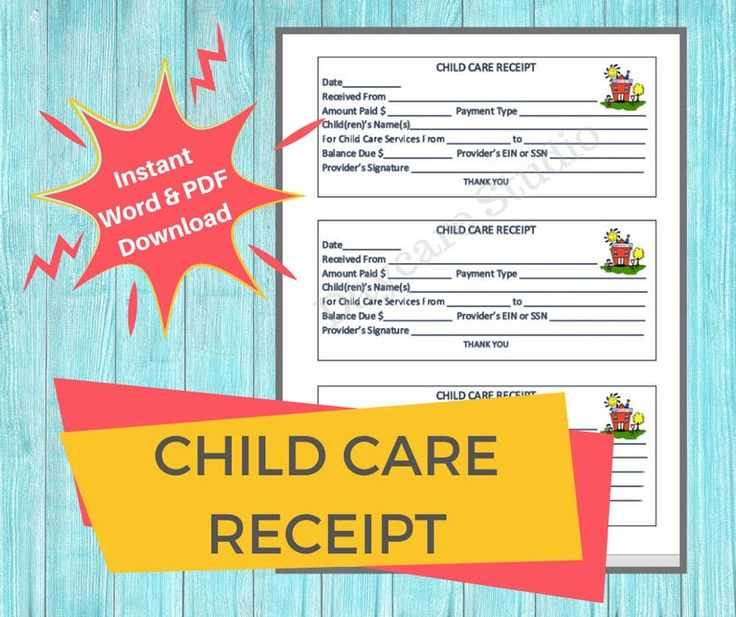
Use the free daycare receipt template to simplify your billing process. This template is designed to make it quick and easy for you to issue receipts for daycare services, ensuring clear and professional documentation for parents. Customize the details according to your specific services, such as dates, rates, and payment methods.
The receipt includes all necessary fields, from the daycare provider’s name and address to the total amount paid. You can also include additional notes or special instructions to keep everything transparent for both parties. This template saves time and helps maintain accurate financial records for your daycare business.
Download the template and get started immediately. It’s fully editable and can be used for any payment frequency–whether weekly, bi-weekly, or monthly. Make billing straightforward and maintain a reliable record with ease.
- Free Template for Daycare Receipt
To create a simple and clear daycare receipt, use the following template. It includes all the key details to ensure clarity for both parents and providers. Replace the placeholder text with actual information before printing or sending the receipt.
Receipt Template
Date: [Insert Date]
Receipt No: [Insert Receipt Number]
Daycare Provider Name: [Insert Provider Name]
Daycare Provider Address: [Insert Address]
Phone Number: [Insert Phone Number]
Email Address: [Insert Email Address]
Parent Information:
Parent Name: [Insert Parent Name]
Child’s Name: [Insert Child’s Name]
Child’s Age: [Insert Age]
Details of Payment:
Service Date(s): [Insert Service Dates]
Amount Paid: $[Insert Amount]
Payment Method: [Insert Payment Method]
Payment Received By: [Insert Provider’s Name or Signature]
Notes:
[Any special notes or terms, e.g., hours of care, late fees, etc.]
Thank you for choosing [Insert Provider Name] for your childcare needs. If you have any questions, feel free to contact us.
To make your receipt template truly reflect your daycare’s specific needs, follow these steps:
- Adjust the Header: Add your daycare’s name, logo, address, and contact details in the header. This helps parents easily identify the receipt and access your information if needed.
- Modify the Payment Details: Customize the payment section to include the type of services provided, such as “Tuition Fees,” “Late Fees,” or “Supply Charges.” This ensures clarity for both you and the client.
- Include Customizable Date and Time: If your daycare operates in shifts or different timeframes, make sure the template allows you to input specific dates and hours of service for each receipt.
- Set up a Clear Itemized List: If you offer various services or programs (e.g., after-school care, special activities), itemize each one separately on the receipt. Use simple labels and clear pricing to avoid confusion.
- Incorporate Payment Method: Allow space to list the payment method (e.g., cash, credit card, bank transfer) to keep track of transaction types for your records.
- Personalized Notes: Add a section at the bottom of the receipt for any personalized notes. This could be a reminder of upcoming events, thank you messages, or instructions for next payment periods.
- Tax Information: If applicable, include tax rates or tax-exempt status for your services. This is especially important if your area requires specific tax calculations for daycare services.
- Customize the Layout: Adjust fonts, colors, and formatting to match your daycare’s branding. Make sure it remains professional, but also easy to read and user-friendly.
Once you’ve made the necessary changes, save your customized template for future use. This can save time and maintain consistency in your records.
Key Information to Include on a Daycare Invoice
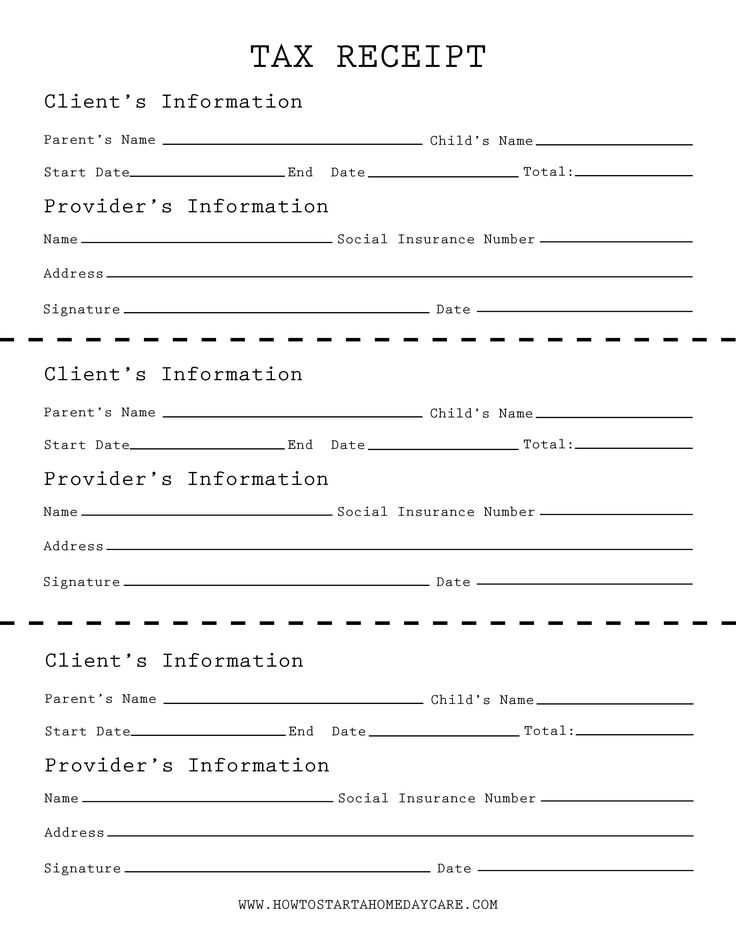
When creating a daycare invoice, make sure to include the following key details for clarity and accurate record-keeping:
1. Parent/Guardian Information
Clearly list the name of the parent or guardian responsible for payment. Include contact information, such as a phone number or email address, to facilitate communication if needed.
2. Child’s Information
Include the full name and age of the child attending the daycare. If applicable, add any special notes, such as care requirements or preferences.
3. Service Dates
Specify the dates the daycare services were provided. Include the start and end dates for the billing period and list the number of days or hours for which the services were rendered.
4. Breakdown of Services
Itemize the daycare services provided, such as hourly care, daily care, or additional services like meals or special activities. Be specific about the rates charged for each service.
5. Payment Due
Clearly state the total amount due for the billing period, including any applicable taxes or fees. Indicate the payment methods accepted and include payment terms, such as the due date.
6. Late Fees
If applicable, outline any late fees that will be charged if payment is not received on time. Include the amount or percentage of the late fee and the terms under which it will apply.
7. Contact Information
Ensure that your daycare’s contact information is included for any questions or clarifications. This should include the daycare’s name, phone number, email, and physical address if relevant.
8. Payment Receipt
Consider including a section for payment confirmation or a payment receipt once the invoice has been paid. This helps in keeping a clear record for both parties.
Keep the format simple and clear. Organize key elements such as the provider’s information, service description, date, and total cost in a straightforward, logical sequence. Avoid cluttering the receipt with unnecessary details.
1. Use Readable Fonts
Choose legible fonts like Arial or Times New Roman, with a size that is neither too small nor too large. This ensures that important details can be quickly scanned by recipients.
2. Include Clear Section Dividers
Use spacing or horizontal lines to separate distinct sections of the receipt (e.g., service details, payment information). This helps in easily locating specific information at a glance.
3. Consistent Date Formatting
- Write dates in a standard format, such as YYYY-MM-DD, to avoid confusion.
- Ensure the receipt includes the exact service date and payment date if different.
4. Display Clear Total Amount
Always highlight the total amount clearly by placing it at the bottom of the receipt, preferably in bold. This prevents misinterpretation or oversight.
5. Avoid Excessive Text
Stick to necessary information only. Refrain from over-explaining the services provided unless required for specific records. This keeps the document concise and easier to read.
6. Ensure Tax and Payment Information is Clear
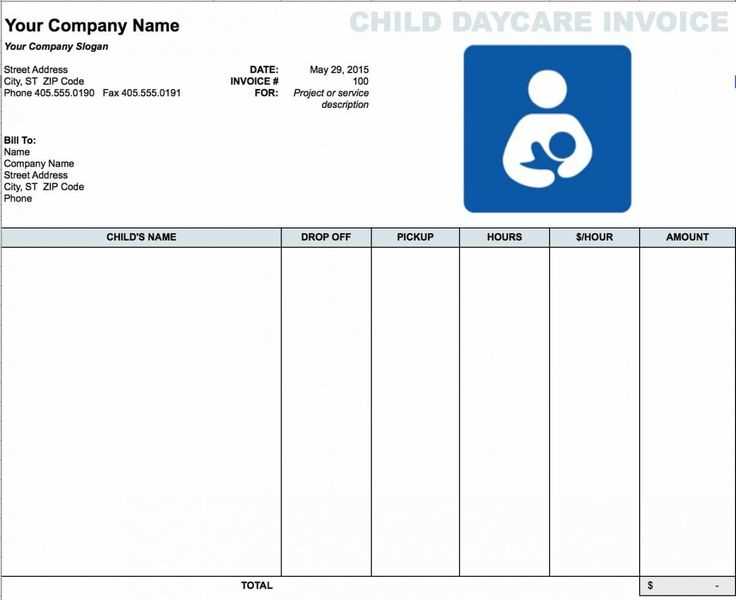
- Clearly state tax amounts, including any applicable sales tax.
- Provide a breakdown of the total cost, listing individual services or items and their prices.
7. Include a Receipt Number
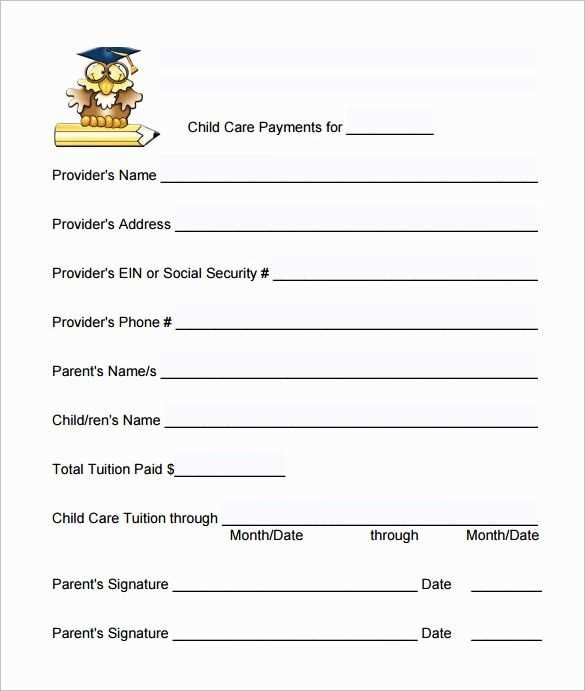
Assign a unique receipt number for easy reference and tracking. This can simplify future communication or disputes regarding a transaction.
8. Proofread Before Printing
Double-check for spelling or numerical errors before printing or sending the receipt. Accuracy is important to maintain professionalism and clarity.
Consult a tax professional to understand specific regulations for your location. This step is key in ensuring your daycare business meets all local tax requirements. They can guide you through the nuances of tax rates, deductions, and reporting obligations based on your region.
Keep thorough and accurate records of all income and expenses. Document every transaction, including payments for daycare services, supplies, and employee wages. Use accounting software or spreadsheets to track all financial activity. This helps simplify tax filings and reduces the risk of errors during audits.
Familiarize yourself with local tax rates and thresholds for small businesses. Some jurisdictions have tax exemptions or lower rates for daycare services. Verify if these apply to your business and how they impact your taxes. Stay updated on any changes to tax laws, which may require adjustments to your filing procedures.
File taxes on time and meet all required deadlines. Missing deadlines can lead to penalties and interest, so mark your calendar for filing dates. Many jurisdictions allow electronic filing, which can streamline the process and reduce the chances of missing a deadline.
If you hire employees, ensure you comply with payroll tax regulations. Withhold and remit the correct amounts for Social Security, Medicare, unemployment insurance, and other local taxes. Provide your employees with accurate W-2 forms at the end of the year.
Consider setting aside a portion of your earnings for taxes. Many daycare providers face challenges at tax time because they haven’t saved enough to cover their obligations. By regularly setting aside a percentage of revenue, you can avoid financial stress when taxes are due.
Ensure your template is saved in a format that supports easy editing, such as .docx or .xlsx for text-based files. Avoid using static images or locked fields. If working with a word processor or spreadsheet program, keep the layout simple and leave placeholders where necessary (e.g., [Child Name], [Date], [Amount Paid]). Use style settings for consistency, such as predefined font sizes or bold text for headings, so you can quickly adjust them later. Consider using fields or form inputs (in programs like Word or Google Docs) for repeated information, so it’s easier to update each time. Save a backup copy for future reference before making any major changes.
When designing the layout, ensure there’s enough space for customization. Avoid overcrowding sections with too much fixed content, so you have flexibility for modifications. If your daycare service or rates change, it’s easier to edit a clean, uncluttered template. Keep formulas simple, if applicable, to ensure you can update numbers or calculations with ease. Avoid using complex macros or scripts unless necessary, as they can be harder to adjust later on.
Lastly, name the template files in a way that makes it clear which version it is. For example, use version control like “Daycare Receipt Template_v1.docx” and “Daycare Receipt Template_v2.docx” to help track updates. This way, you won’t lose track of changes, and you can easily revert to previous versions if needed.
To save your daycare receipt template, use widely accessible formats like PDF or Word. These formats preserve the structure and allow for easy sharing without formatting issues. PDF is particularly recommended for its universal compatibility and ability to prevent unintentional changes to the document.
Saving the Template
First, open the template in your preferred editing software, then select the “Save As” option. Choose the format you wish to use, and select a location on your computer that is easy to access. Make sure to name the file appropriately, such as “Daycare Receipt Template” for easy identification in the future.
Distributing the Template
Once saved, you can distribute the receipt template via email or cloud storage. For email, attach the file directly and send it to the intended recipient. Cloud storage services, like Google Drive or Dropbox, offer the advantage of sharing a link with multiple users at once. Simply upload the document, create a shareable link, and send it through email or text. For physical copies, print the template and distribute as needed.
Tip: Always test the template on different devices to ensure it displays correctly before sending it out. This helps avoid any formatting issues for the recipient.
Now the words don’t repeat more than two or three times, while the meaning remains clear.
Ensure your daycare receipt template includes the child’s name, service dates, and total amount paid. Organize the information for easy reference. Avoid redundancy and focus on clarity. Include payment methods, whether cash, card, or online transfer, for transparency.
Key Details to Include
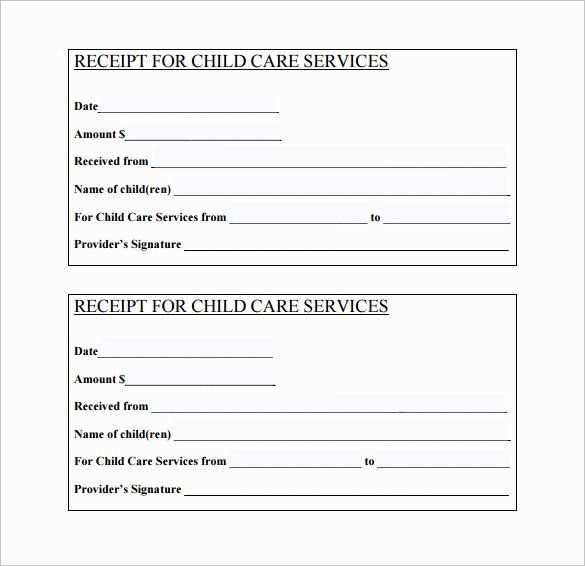
Always list the provider’s details, including name, address, and contact information. This helps parents keep track of their payments and can assist in any future communication. If there are any discounts or promotions, mention them clearly.
Format and Layout
A well-structured receipt makes it easier for both parties. Choose a simple format: start with the daycare’s logo or name at the top, followed by the child’s name and services rendered. Keep the total and payment information clearly visible, and end with a thank-you note.
By focusing on these essentials, you ensure your receipt is both professional and user-friendly. Avoid unnecessary details that clutter the document and detract from its clarity.


