Freelance ReceiptAnswer in chat instead
Freelance Receipt Template: A Practical Guide

Key Components of an Effective Template
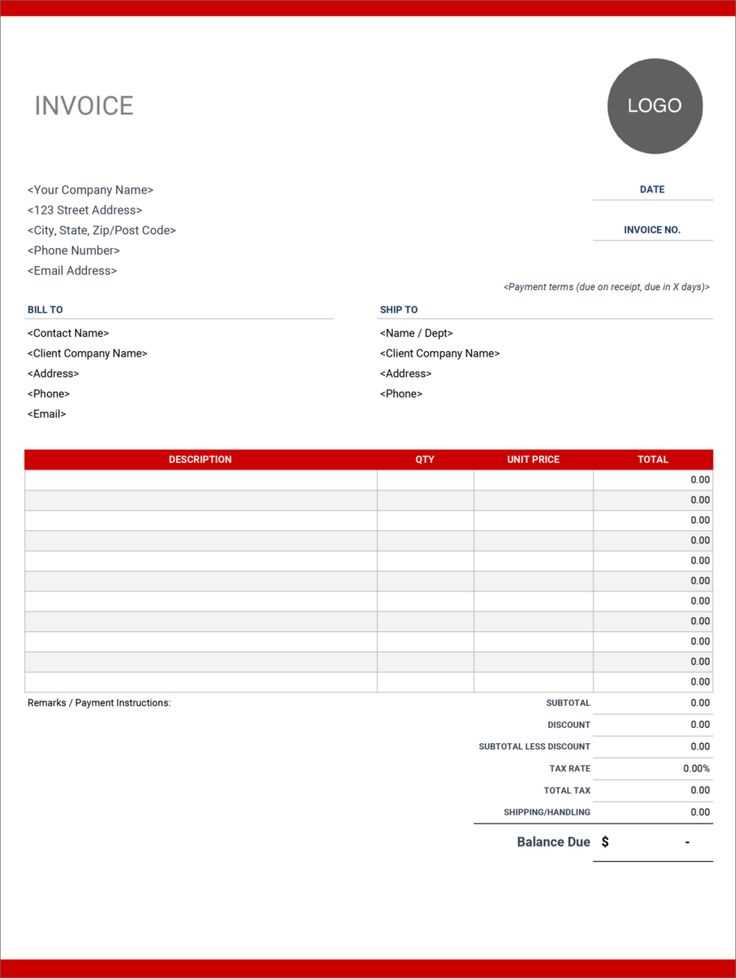
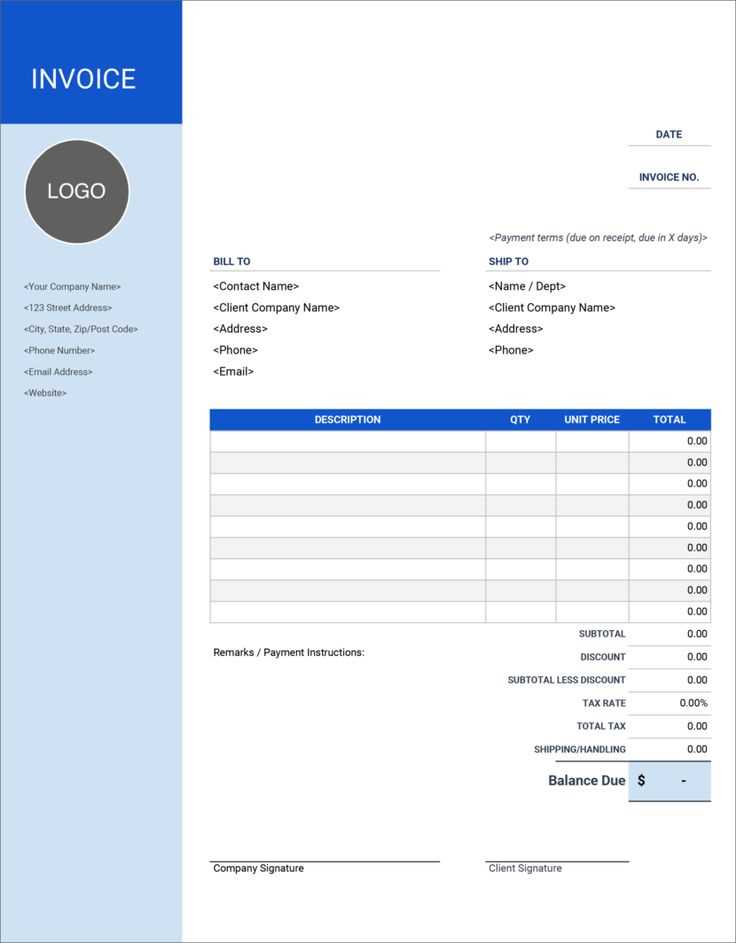
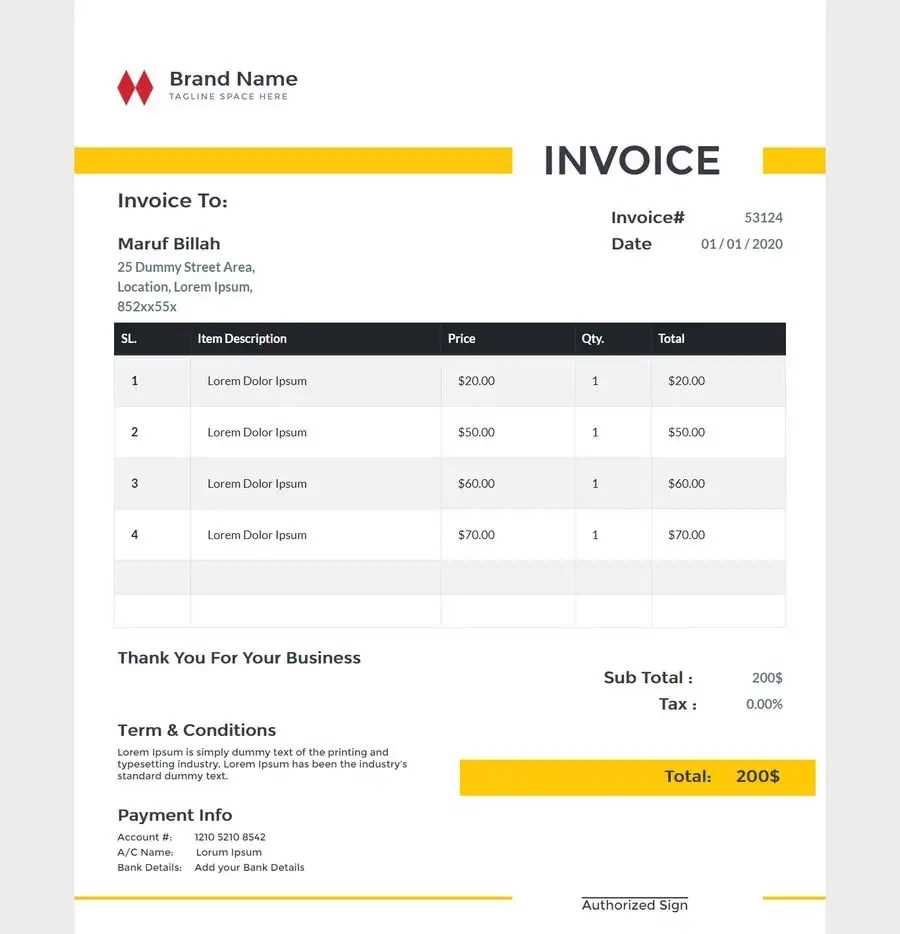
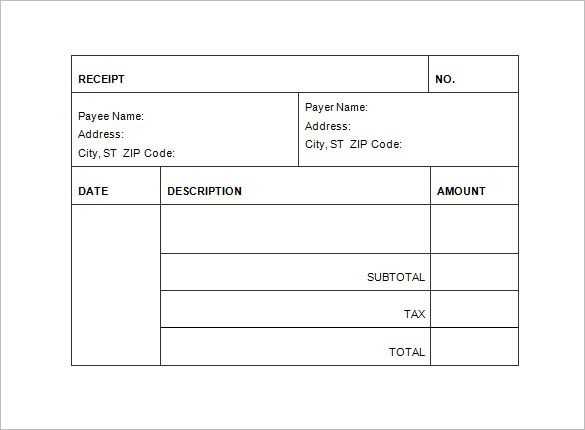
Include your business name, contact details, and a unique receipt number. Add the client’s name and payment details. Clearly list services provided, rates, and the total amount. Specify payment terms and date. If applicable, mention taxes and any additional fees.
How to Format a Receipt for Clarity and Compliance
Use a structured layout with clear headings and consistent font sizes. Separate sections for itemized services, taxes, and totals improve readability. Ensure alignment of numbers and descriptions to avoid confusion. Include your business registration details if legally required.

Digital vs. Printable: Choosing the Right Receipt Option
Digital receipts offer automation, easy storage, and quick sharing. Printable receipts may be necessary for formal invoicing or offline transactions. Choose based on client preferences and industry norms.
Including Tax and Payment Details in Your Receipt
Specify tax rates and clearly indicate whether they are included or added separately. Include accepted payment methods, transaction ID (if applicable), and any payment confirmation notes.
Common Mistakes to Avoid When Creating One
Skipping receipt numbers makes tracking difficult. Vague service descriptions can lead to disputes. Forgetting to mention due dates might delay payments. Avoid formatting inconsistencies that affect clarity.

Best Tools and Software for Generating Receipts
Use cloud-based invoicing tools like Wave, FreshBooks, or Zoho Invoice for automation. Google Docs and Excel templates work well for manual customization. Adobe Acrobat and PandaDoc allow professional PDF receipts with e-signatures.


