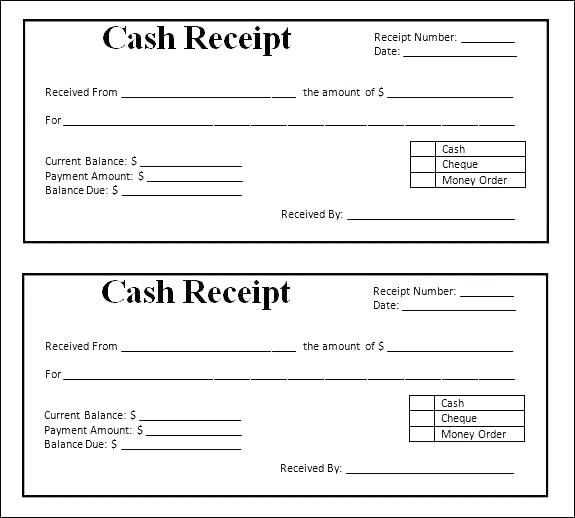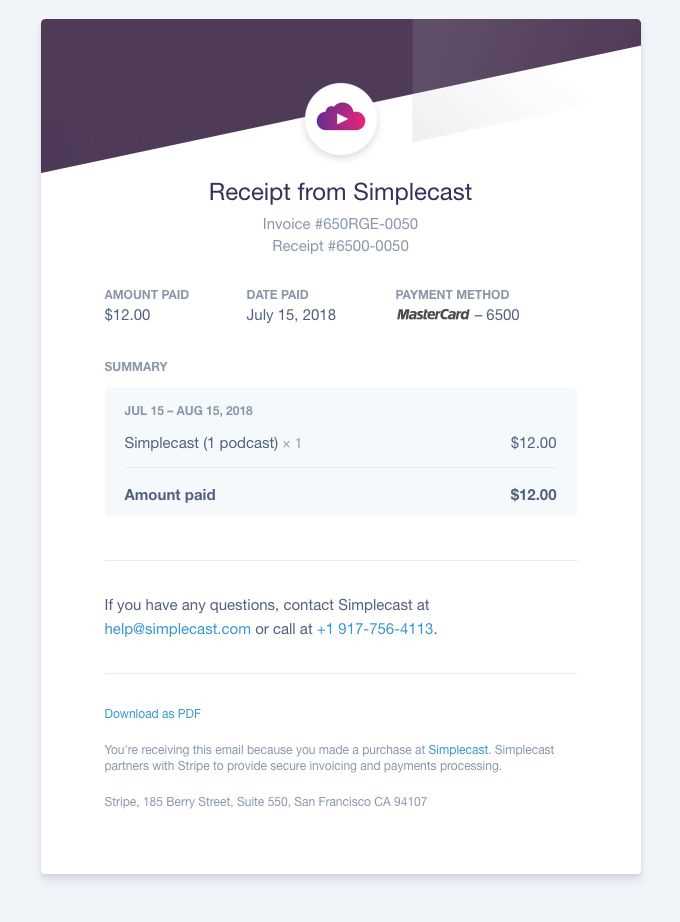
Need a simple and customizable HTML receipt template? Here’s a ready-to-use solution that works in any browser and integrates seamlessly with your system. No complex coding–just copy, adjust, and implement.
Customize the layout by modifying CSS styles to match your brand. Adjust font sizes, colors, and spacing for a professional look. Use tables for structured data and ensure correct alignment for a clean presentation.
To make the receipt interactive, add JavaScript for dynamic calculations. Automatically update totals, apply discounts, or generate unique order IDs. If you need a printable version, use @media print in CSS to format it for paper output.
Download, modify, and integrate the template into your platform. Save time and streamline transaction records with a structured and efficient receipt format.
HTML Receipt Free Template
Choose a simple and clear structure to ensure readability. Use a table to organize key details such as item descriptions, prices, and totals. Wrap the content in a well-structured <div> with proper headings for easy customization.
Basic Structure
Include essential elements like a header with the business name, a table for purchased items, and a footer with the total amount. Ensure each section is clearly defined using <h2> and <h3> tags for better organization.
Code Example
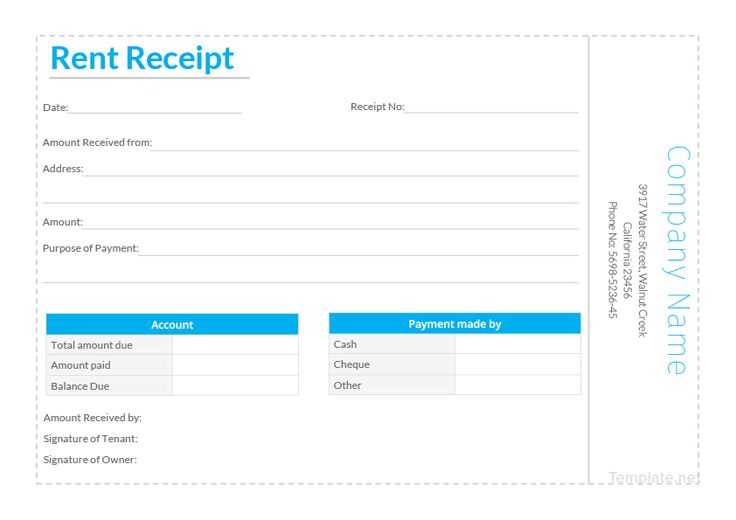
Here’s a minimal template:
<div>
<h2>Store Name</h2>
<p>Date: 01/01/2025</p>
<table>
<tr><th>Item</th><th>Qty</th><th>Price</th></tr>
<tr><td>Product A</td><td>1</td><td>$10.00</td></tr>
<tr><td>Product B</td><td>2</td><td>$20.00</td></tr>
</table>
<p>Total: $30.00</p>
</div>
Customize fonts and layout with CSS for a professional appearance. Use inline styles sparingly to maintain flexibility.
Basic Structure of an HTML Receipt
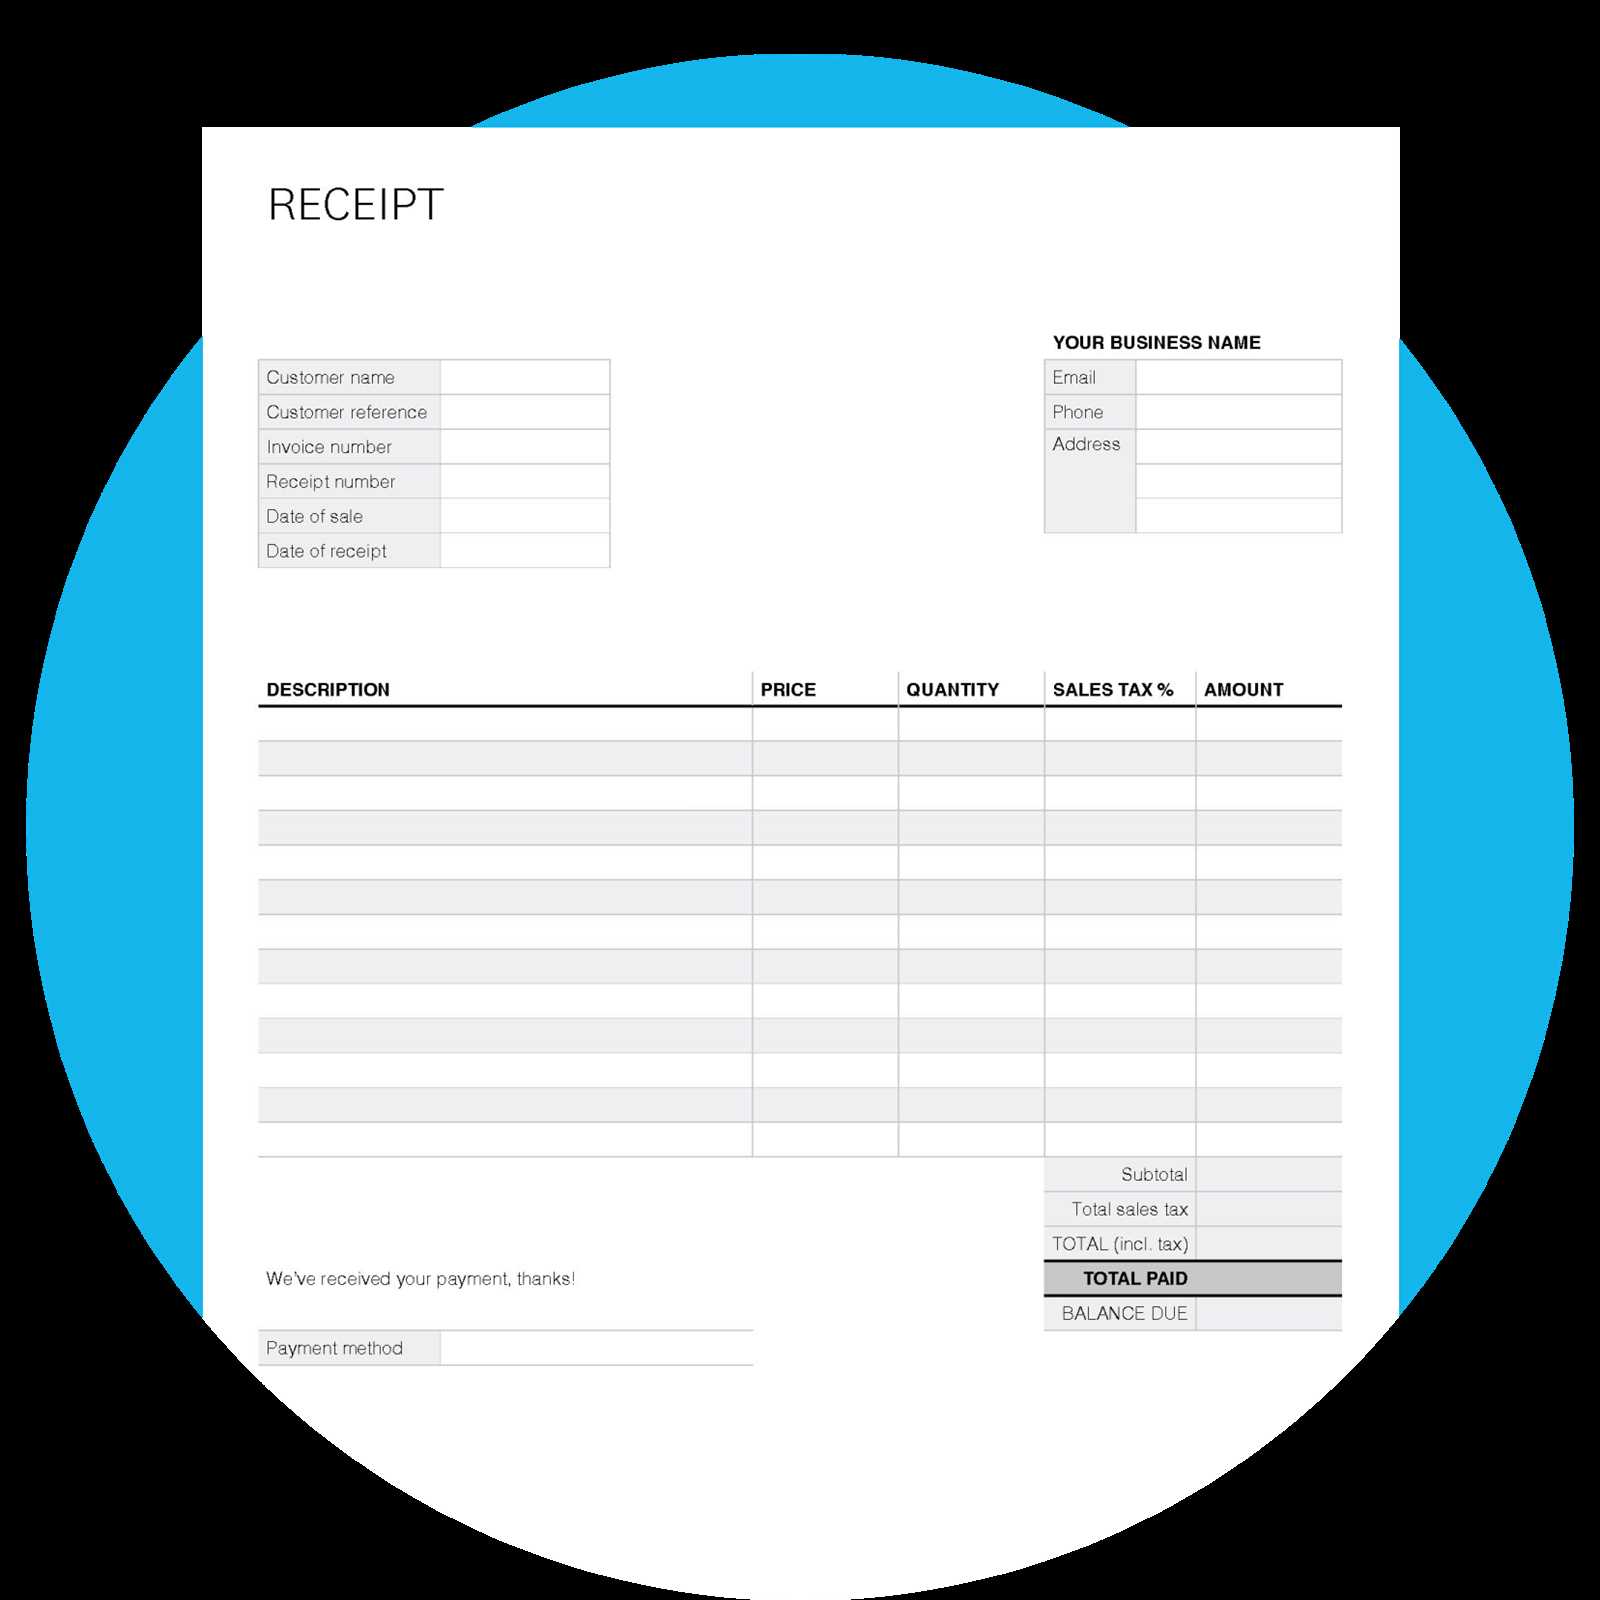
Use a clean and organized structure to ensure readability and easy customization. A receipt typically consists of a header, transaction details, itemized list, totals, and a footer.
- Header: Display the business name, logo (optional), and contact details.
- Transaction Details: Include the date, time, receipt number, and payment method.
- Itemized List: Structure it as a table with columns for quantity, description, unit price, and total.
- Totals: Sum up item prices, add taxes, and calculate the final amount.
- Footer: Provide return policies, thank-you notes, or customer service contacts.
Wrap the receipt in a <div> for styling and use semantic tags like <header>, <section>, and <footer> to improve structure. Keep text-based content in <p> and use <table> for itemized details.
CSS Styling for a Professional Look
Use a clean and structured layout to enhance readability. Set a consistent font with:
body {
font-family: 'Arial', sans-serif;
font-size: 14px;
color: #333;
}
Ensure proper spacing with:
- Margin: Adds space outside elements.
- Padding: Creates internal spacing.
- Line-height: Improves text clarity.
.receipt {
max-width: 400px;
margin: 20px auto;
padding: 15px;
background: #fff;
border-radius: 5px;
box-shadow: 0 2px 5px rgba(0, 0, 0, 0.1);
}
Use table styling for structured data:
table {
width: 100%;
border-collapse: collapse;
}
th, td {
padding: 8px;
border-bottom: 1px solid #ddd;
text-align: left;
}
Make important details stand out:
- Bold headings: Highlight key sections.
- Accent colors: Draw attention to totals.
- Hover effects: Improve interactivity.
.total {
font-weight: bold;
color: #d9534f;
}
Including a Company Logo and Branding
Place your company logo at the top of the receipt for instant recognition. Use a high-resolution image in PNG or SVG format to ensure clarity when printed or viewed digitally. Set the logo width proportionally to the receipt layout to maintain a professional appearance.
Incorporate brand colors into headings, borders, or background elements using inline CSS or stylesheets. Keep the contrast high for readability. Stick to a legible font that aligns with your brand identity, ensuring consistency across documents.
Include the company name, tagline, and contact details near the logo for a cohesive look. If using a digital receipt, hyperlink the logo to your website for easy access. For printed versions, ensure the design remains sharp in black-and-white mode.
Test the receipt on various devices and printers to verify that branding elements appear correctly. Adjust margins and spacing to prevent cropping or distortion. A well-branded receipt reinforces trust and makes transactions feel more personalized.
Adding Dynamic Data with JavaScript
Use JavaScript to insert real-time data into your HTML receipt template. Access elements with document.getElementById() or querySelector() and update their content dynamically.
Fetching Data from a Source
Load transaction details from an API or local storage using fetch(). Convert the response to JSON and update the receipt fields:
fetch('/api/receipt')
.then(response => response.json())
.then(data => {
document.getElementById('customerName').textContent = data.customer;
document.getElementById('totalAmount').textContent = `$${data.total}`;
});
Updating Values Automatically
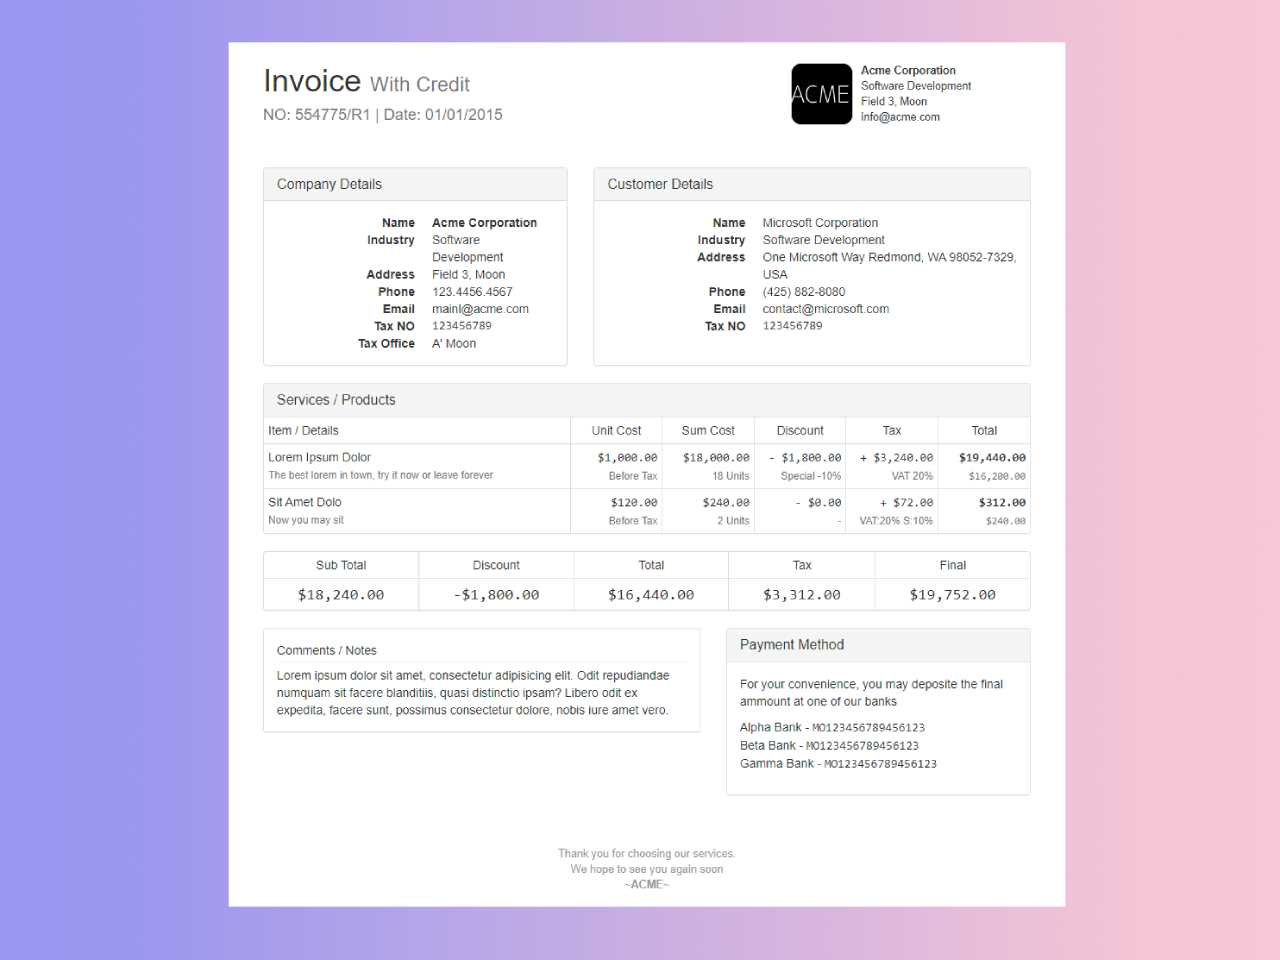
Monitor user input to adjust the total dynamically. Attach an input event listener to quantity fields:
document.querySelectorAll('.item-quantity').forEach(input => {
input.addEventListener('input', () => {
let total = 0;
document.querySelectorAll('.item-row').forEach(row => {
const price = parseFloat(row.querySelector('.item-price').textContent);
const quantity = parseInt(row.querySelector('.item-quantity').value) || 0;
row.querySelector('.item-total').textContent = `$${(price * quantity).toFixed(2)}`;
total += price * quantity;
});
document.getElementById('totalAmount').textContent = `$${total.toFixed(2)}`;
});
});
With these techniques, your receipt updates instantly based on live data.
Exporting the Receipt as PDF or Print Format
Click the print button on the receipt page and choose “Save as PDF” in the print dialog to generate a digital copy. This method works in most modern browsers without extra software.
Using JavaScript for One-Click Printing
Add a simple JavaScript function to trigger the print dialog:
function printReceipt() {
window.print();
}
Attach this function to a button:
<button onclick="printReceipt()">Print Receipt</button>
Automating PDF Generation
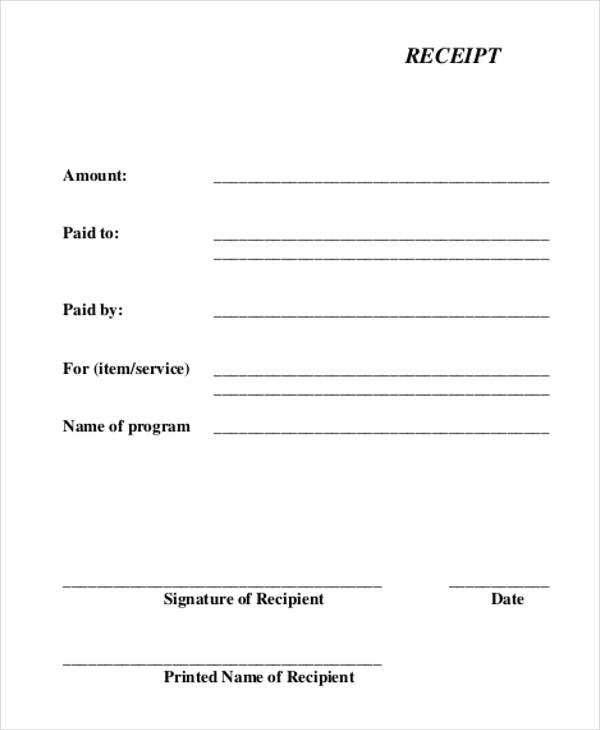
For a more structured PDF export, use libraries like jsPDF:
var doc = new jsPDF();
doc.text("Receipt Content Here", 10, 10);
doc.save("receipt.pdf");
This script creates a PDF file with predefined text. For dynamic content, retrieve data from the receipt template and format it before saving.
Ensuring Cross-Browser and Mobile Compatibility
Test your template across various browsers like Chrome, Firefox, Safari, and Edge to ensure consistency. Each browser renders HTML, CSS, and JavaScript slightly differently, so cross-browser testing identifies inconsistencies and helps you make adjustments.
For mobile compatibility, use responsive design. Implement flexible layouts, media queries, and scalable images to adapt the content to different screen sizes. Ensure touch events work smoothly on mobile devices by using proper touch-related CSS properties like ‘touch-action’ and ‘user-select’.
To help identify and fix issues, use browser developer tools. These tools let you inspect HTML elements and debug CSS styles, making it easier to spot problems with specific browsers or mobile devices.
| Technique | Benefit | Tools |
|---|---|---|
| Responsive Design | Adapts layout to all screen sizes | Chrome DevTools, Firefox DevTools |
| CSS Flexbox | Flexible and mobile-friendly layouts | Can I Use |
| Media Queries | Targets specific devices for better display | Responsive Design Mode in DevTools |
| Touch Events | Optimizes for touch interfaces | Touch Emulator in DevTools |
Test on real devices when possible, as emulators may not always replicate behavior accurately. Cross-browser and mobile testing is key to creating a consistent user experience across platforms.
