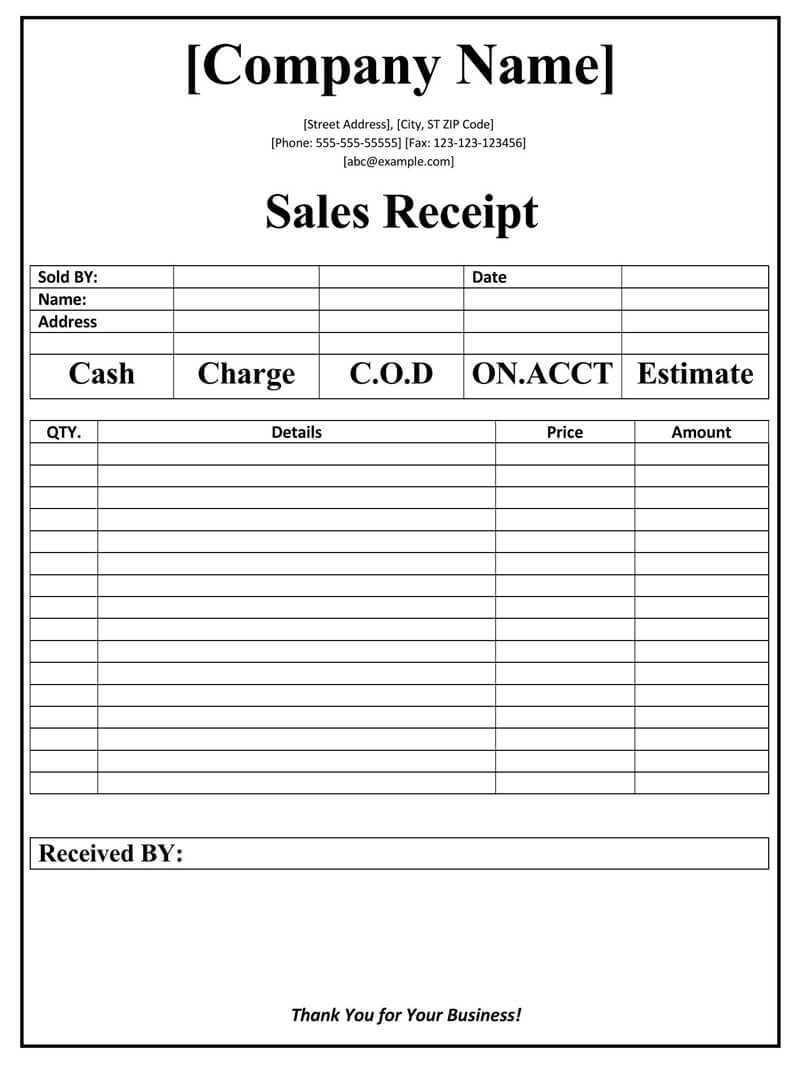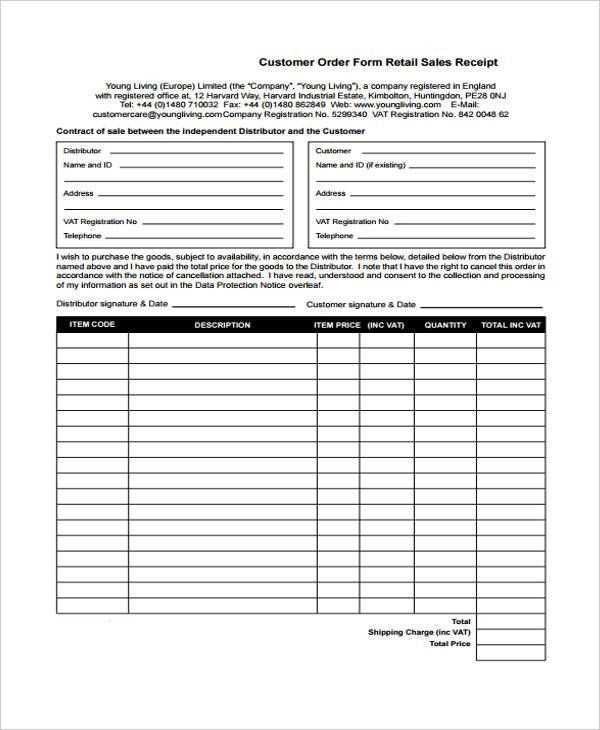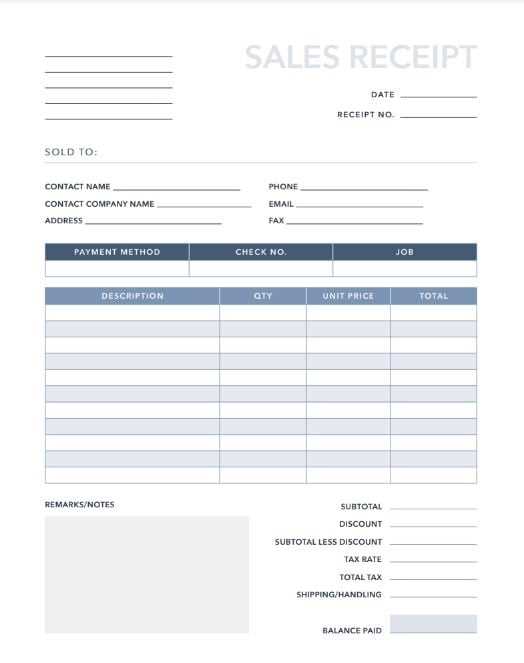
Need a simple way to generate professional receipts for your business? Download a free retail sales receipt template in Excel and start customizing it to fit your needs. This template allows you to enter product details, calculate totals automatically, and print receipts in just a few clicks.
Forget about manual calculations and formatting errors–this Excel template includes built-in formulas to compute itemized costs, taxes, and grand totals. Just input the price, quantity, and applicable tax rate, and the sheet does the rest. You can also personalize the design by adding your company’s logo, contact details, and specific terms of sale.
Whether you’re running a small shop, an online store, or a pop-up business, this template helps you keep accurate transaction records without the hassle of complex accounting software. Download, edit, and start using your customized receipt template today!
Retail Sales Receipt Template Excel Free

Download a ready-to-use Excel template that automatically calculates totals, taxes, and discounts. Simply enter product details, prices, and quantities–formulas handle the rest.
Customize columns to match business needs. Add company logo, change colors, or adjust tax rates. Excel’s built-in formatting tools make personalization easy.
Save receipts digitally or print them for customers. Use templates for record-keeping and accounting, ensuring accurate financial tracking.
For automated reports, link the template to sales data. This helps analyze trends and improve inventory management.
How to Structure a Retail Sales Receipt in Excel
Begin by creating a clear header with your business name, logo, and contact details. Use merged cells in the top row for a professional look. Below this, add the receipt number and date using separate cells to ensure proper tracking.
Next, structure the itemized list with columns for quantity, description, unit price, and total. Apply formatting such as bold headers and gridlines to enhance readability. Use the SUM function to calculate the total cost, ensuring accuracy.
Include a tax row beneath the subtotal, using a dedicated cell to apply the correct percentage with the formula =Subtotal*TaxRate. Add a final row for the grand total, summing all costs.
At the bottom, allocate space for payment details and a brief thank-you message. Format the receipt for printing by adjusting column widths and setting print areas in the Page Layout tab.
Customizing Formulas for Automatic Calculations

Use Excel formulas to automate calculations in your retail sales receipt template. This reduces manual input and minimizes errors. Apply functions like SUM, IF, and TAX calculations to streamline the process.
Subtotal and Tax Calculation
For a dynamic subtotal, apply the SUM function:
=SUM(B2:B10)
To calculate tax, use a percentage multiplier:
=B11*0.07
Adjust the rate as needed to match local tax requirements.
Automatic Discounts

Set up conditional discounts with an IF statement. For example, apply a 10% discount if the total exceeds $100:
=IF(B11>100, B11*0.9, B11)
This automatically adjusts the final price based on the purchase amount.
Test formulas on sample data to ensure accuracy before finalizing the template.
Printing and Exporting Receipts for Business Use
Ensure receipts are easy to print and export by setting up a structured Excel template. Use predefined print areas to avoid unnecessary page breaks. Adjust margins and scaling options in the “Page Layout” tab to fit receipts neatly on a single page.
- Optimize Print Settings: Use “Print Titles” to repeat header rows on multiple pages. Choose “Fit to One Page” under “Scale to Fit” for compact formatting.
- Export to PDF: Select “Save As” and choose PDF format to create a shareable, non-editable receipt. Check the output before finalizing.
- Batch Printing: If handling multiple receipts, use a macro to automate the process. Record a macro for selecting and printing specific receipt ranges.
- Customization: Add a company logo in the header and set up conditional formatting for highlighting key details like total amount and due date.
For seamless digital record-keeping, integrate Excel with cloud storage. Enable automatic backups to prevent data loss and ensure quick access to past receipts.


