How to Create a Blank Receipt Template
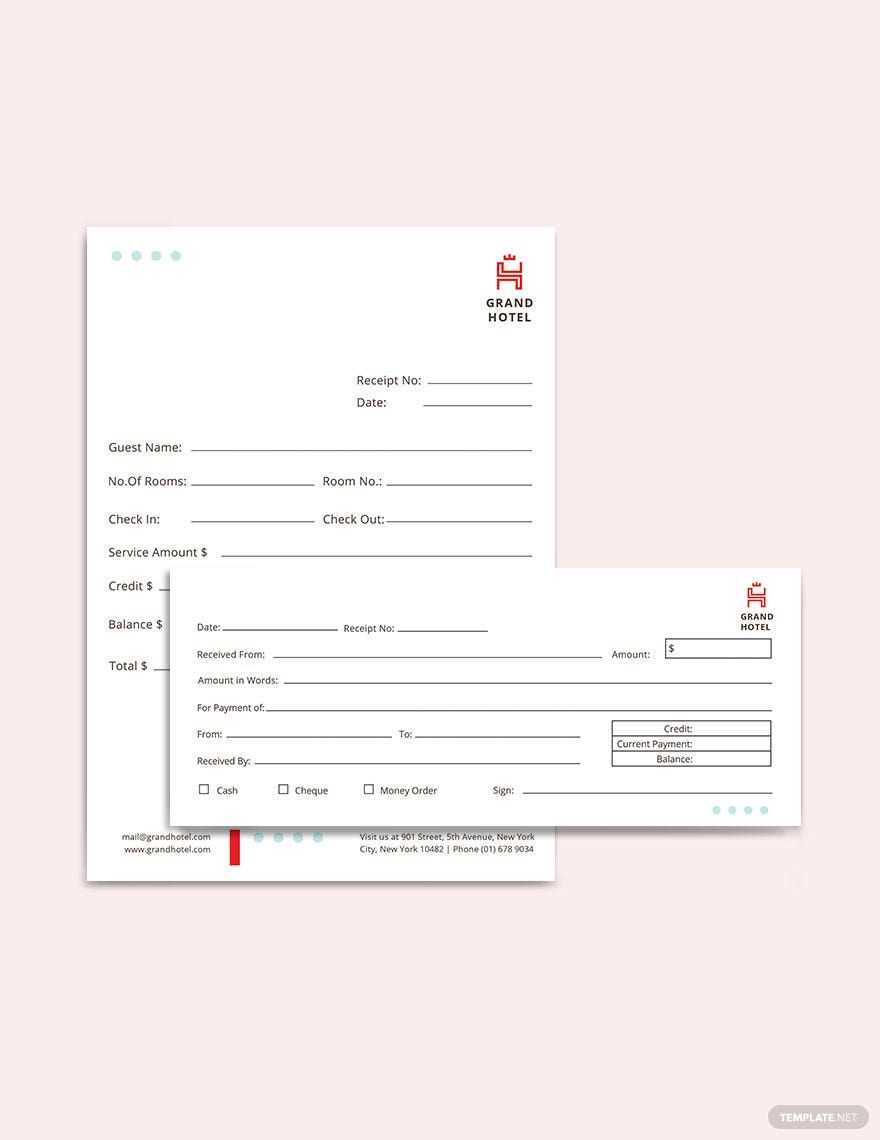
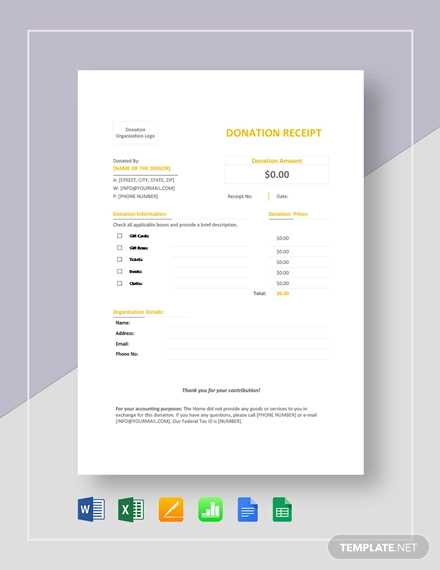
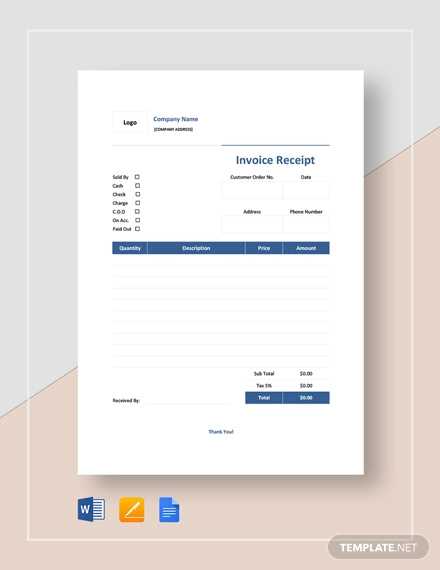
Start with a blank Google Docs document. Click on “File” and select “New” to create a fresh template. You can customize the layout by adjusting margins, fonts, and spacing to suit your needs. Next, insert key components such as the business name, address, phone number, and email. These details should appear at the top for easy reference.
Key Elements to Include
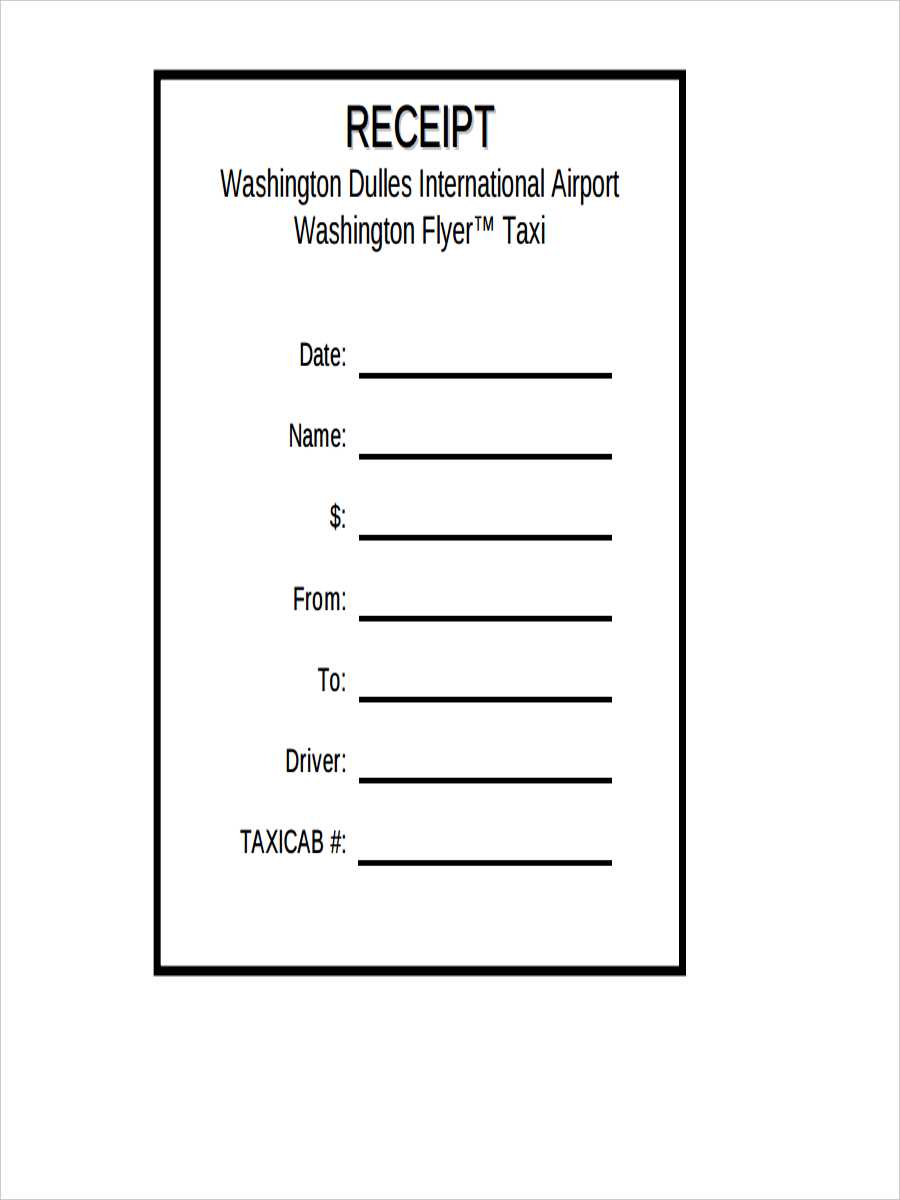
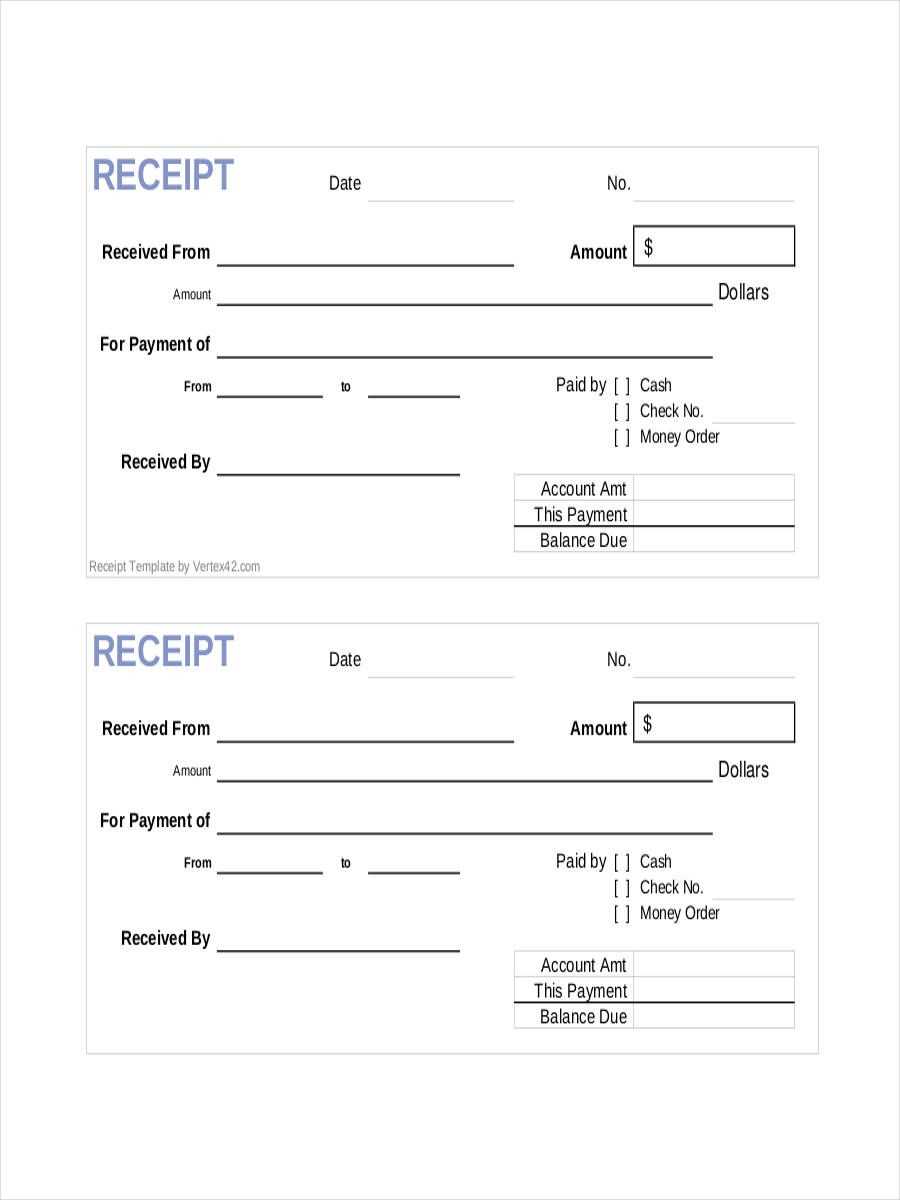
- Date: Place a field for the date of the transaction.
- Receipt Number: Assign a unique number for better tracking.
- Customer Information: Include fields for customer name, address, and contact details.
- Items or Services: List all products or services provided, with columns for descriptions, quantity, price, and total.
- Total Amount: Display the sum total clearly at the bottom.
- Payment Method: Indicate how the payment was made (cash, card, etc.).
- Signature: Provide space for signatures if necessary.
Formatting Tips
- Use tables for structured sections like items and prices.
- Bold important headings to improve visibility.
- Ensure there is enough spacing between sections for clarity.
Saving and Sharing the Template
Once you’ve designed the template, save it for future use. In Google Docs, click on “File” and select “Save as Template” to keep your blank receipt handy. To share it with others, use the “Share” button at the top right to send a link or invite collaborators to edit.
Blank Receipt Template for Google Docs
How to Access a Blank Template in Google Docs
Customizing Your Receipt Template for Specific Needs
Adding Essential Details to Your Receipt Template
Formatting Your Template for Clear Presentation
How to Save and Share Your Completed Template
Common Mistakes to Avoid When Using a Template in Google Docs
To get started with a blank receipt template in Google Docs, open Google Docs and select the “Template Gallery” from the main screen. Browse through the available options and choose a receipt template that suits your needs. If a suitable template isn’t available, you can create one from scratch or find one online to use as a base.
When customizing your template, consider the specific items or services you’re receiving payment for. Adjust the fields to include the correct details, such as the name of the product or service, quantity, and price. Make sure to personalize the header by adding your business name or logo. This ensures your receipts reflect your brand’s identity.
Adding the right details is key to creating an accurate receipt. Include the date of the transaction, the total amount paid, payment method, and any relevant transaction numbers. Additionally, provide a clear breakdown of the items purchased, including taxes and discounts if applicable. This clarity avoids confusion for both you and your clients.
Formatting plays an important role in how readable your receipt will be. Ensure the information is well-organized, with clear headings for each section, such as “Items,” “Total Amount,” and “Payment Method.” Use bullet points for item lists and make sure the text size and font are legible. You can also adjust spacing to prevent the document from looking cluttered.
Once your receipt template is ready, save it in Google Docs for future use. Click on “File” and select “Save” or “Download” to store a copy on your computer. To share, simply click “Share” in the top-right corner of the document and enter the email address of the person you’d like to send it to. You can also generate a shareable link for easier distribution.
Avoid common mistakes when using a template by ensuring all details are accurate and up-to-date. Double-check amounts, payment methods, and dates before finalizing the receipt. Don’t forget to remove any unnecessary placeholders from the template, such as default text, to maintain professionalism.
