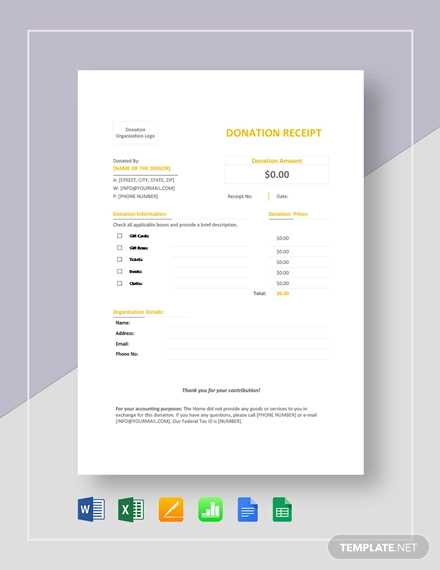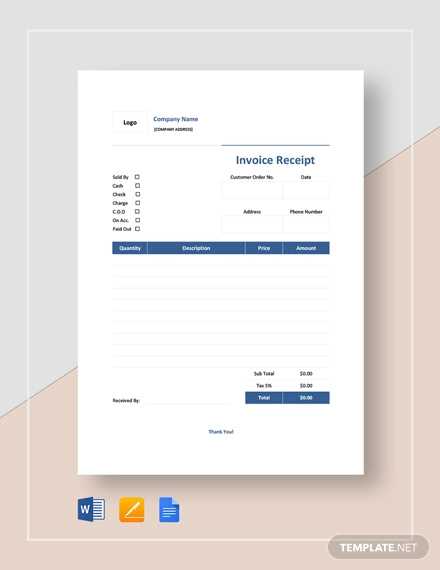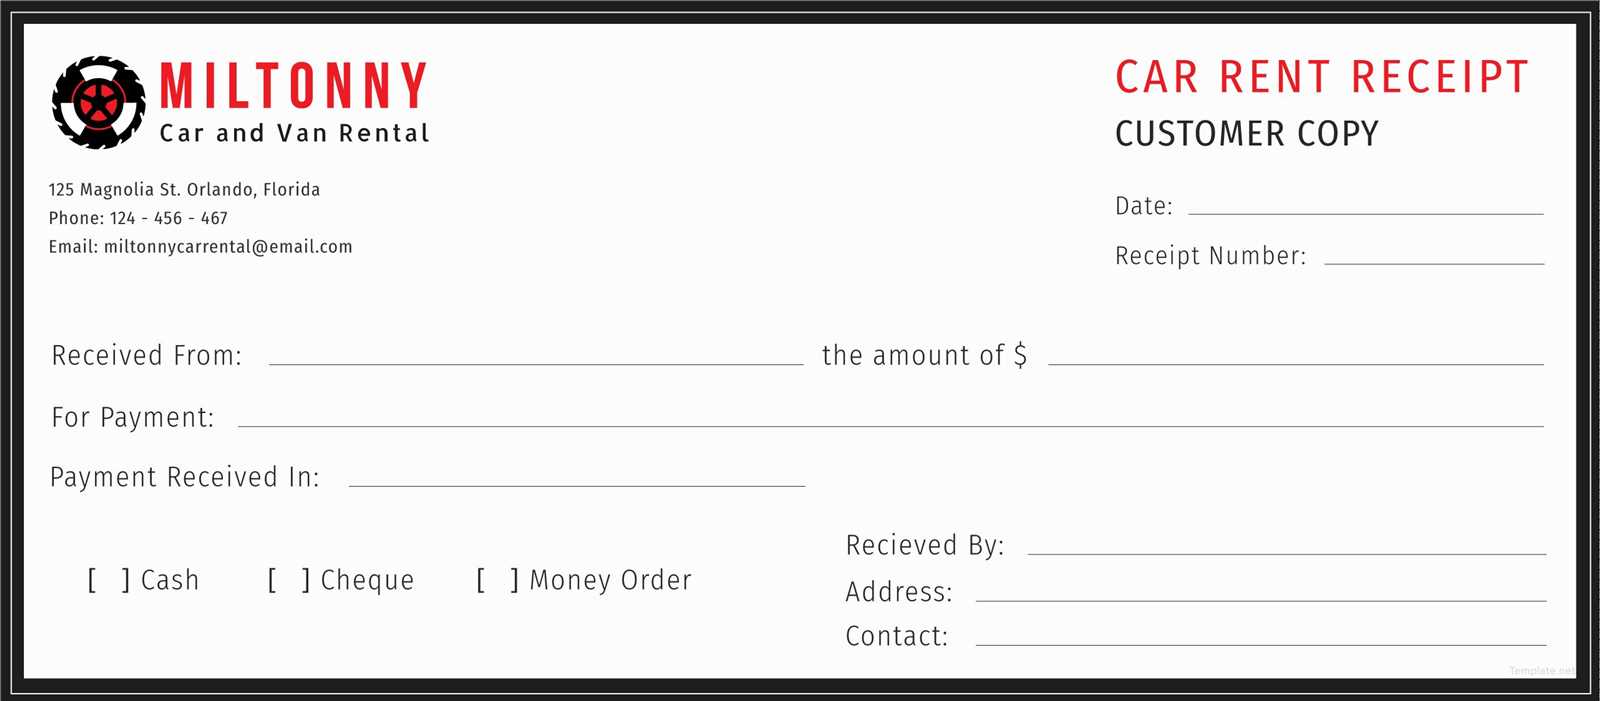
Creating an organized car parts receipt template in Google Sheets helps manage inventory and track purchases easily. This template offers a clear structure with columns for the part name, quantity, price, total cost, and supplier details. It’s designed to keep everything at your fingertips, ensuring that all essential information is available at a glance.
With built-in formulas, the template automatically calculates the total cost based on the quantity and price of each part. This reduces errors and saves you time from manual calculations. For added convenience, you can customize the template to match your specific needs, such as adding discounts, tax calculations, or additional fields for delivery information.
By using Google Sheets, you can access your template from any device, making it easy to update and share with others. Collaboration features allow multiple users to update the receipt in real-time, ensuring smooth communication and seamless workflow when managing car parts for maintenance or repairs.
Car Parts Receipt Google Spreadsheet Template
Create a clear and organized car parts receipt template in Google Sheets by setting up columns for all critical details. Begin with fields for the part number, description, quantity, unit price, total cost, and date of purchase. Include a column for the supplier’s name and contact information to track your vendors. Make sure the total cost automatically updates with a formula that multiplies the quantity by the unit price, and another formula for the grand total. You can also color-code the rows for better readability and add conditional formatting to highlight any discrepancies or missing details. This template will help streamline your inventory and keep your records tidy and easy to access. Save time and minimize errors with this simple yet practical setup.
Setting Up a Google Spreadsheet for Car Parts Tracking

Begin by creating a new Google Spreadsheet. Label your first sheet “Car Parts Inventory” to help organize and identify it easily. In the first row, create the following columns:
- Part Number
- Part Name
- Car Model
- Quantity
- Supplier
- Purchase Date
- Price
- Location
- Status
Each column represents a specific detail about the car parts, and the data in these columns will help you track and manage your inventory efficiently. For instance, “Part Number” should hold a unique code for each part, while “Quantity” tracks how many units you have in stock.
Tracking Inventory
To update the stock quantity automatically, use Google Sheets’ built-in functions. For example, use the SUM function in the “Quantity” column to add or subtract items based on purchases and sales. This method will help you stay on top of your stock levels without having to manually count each part.
Conditional Formatting for Easy Updates
Use conditional formatting to highlight important data. For instance, set rules that highlight “Quantity” cells that fall below a certain threshold to ensure that you reorder parts in time. This adds a layer of convenience and alerting without manual checks.
Use filters on the header row to easily sort and view parts by model, supplier, or status. This simple setup will allow you to manage a car parts inventory effectively, and keep your operations running smoothly.
Customizing the Template for Different Car Parts Categories
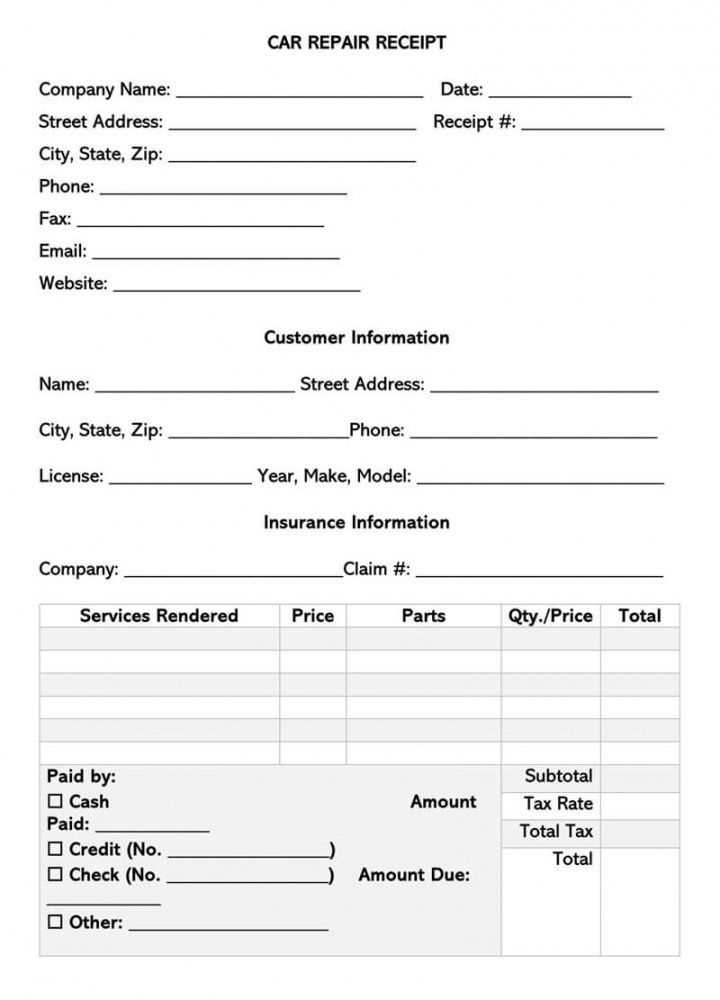
To tailor your Google Spreadsheet template for various car parts categories, create separate sheets for each category, like engine components, body parts, or electrical systems. Assign clear and distinct column headers for each part type, such as part name, part number, quantity, price, and supplier. This structure will help you track the most relevant details for each category.
For engine parts, include columns for engine specifications, compatibility, and condition. For body parts, add fields for the vehicle model, material type, and finish. When handling electrical components, it’s useful to add columns for voltage, amperage, and compatibility with specific car models.
Set up drop-down menus for fields like supplier or condition to streamline data entry. These lists should cover common suppliers or conditions such as “New,” “Used,” or “Refurbished,” allowing for faster updates and minimizing errors.
Don’t forget to use conditional formatting to highlight critical data, like low stock levels or expired warranties. This makes it easy to spot issues that need immediate attention. Customizing your template based on car parts categories ensures you stay organized and maintain a high level of accuracy across all your entries.
Automating Data Entry and Calculations in the Template
Use Google Sheets’ built-in features like data validation, formulas, and Google Apps Script to streamline data entry and automate calculations. Begin by setting up data validation for fields like part numbers or quantities. This ensures that only valid inputs are entered, reducing errors and time spent correcting mistakes. You can create drop-down lists or set ranges of acceptable values to guide users in entering correct information.
Setting Up Formulas for Calculations
Utilize formulas for automatic calculations, such as summing total costs or applying taxes. For example, use the SUM function to calculate total values in a column or the IF function to apply conditional logic (e.g., different tax rates for specific car parts). By integrating these formulas into your template, you eliminate the need for manual calculations, ensuring accuracy and saving time.
Automating with Google Apps Script
For more complex automation, use Google Apps Script to create custom functions or triggers. You can automate the filling of fields based on other inputs or set up alerts for inventory levels when certain thresholds are reached. This script-based automation adds flexibility and can integrate your template with other systems like inventory management tools.
