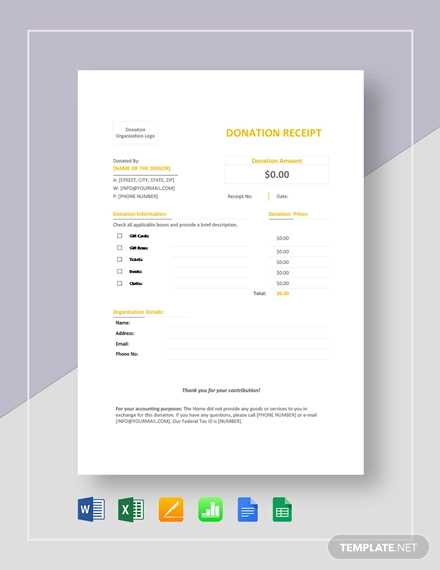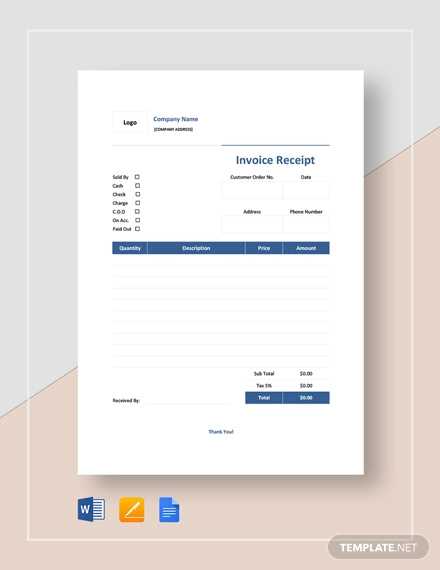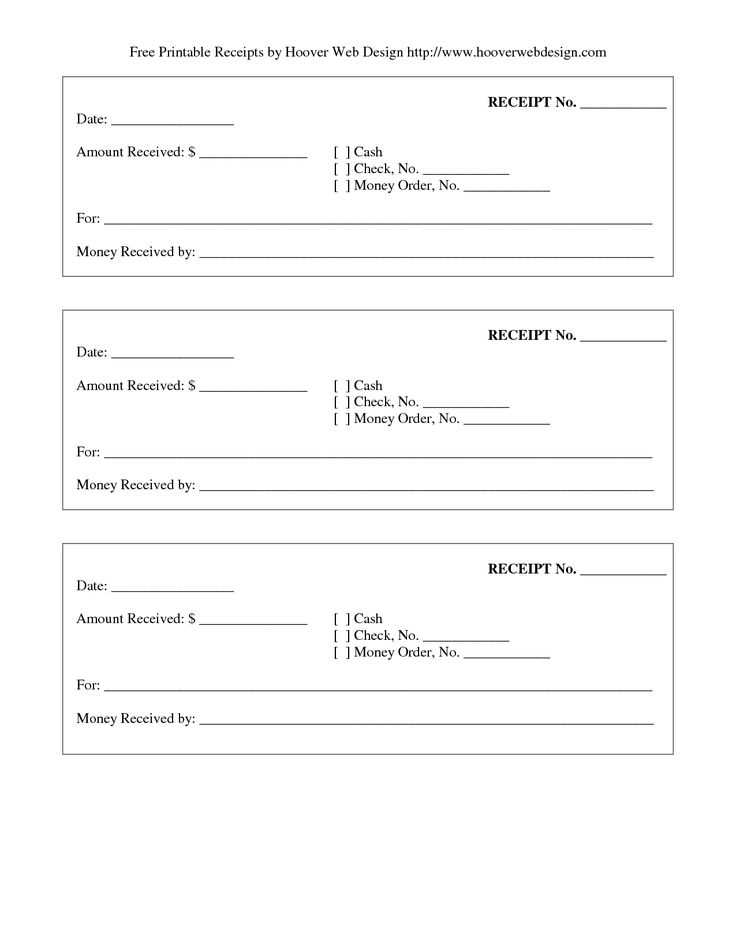
If you’re looking for a quick and easy way to organize daycare receipts for tax purposes, a Google Sheets template can help streamline the process. A simple template allows you to input daycare provider information, dates, and amounts paid, making it easier to calculate your eligible tax deductions.
Start by creating a clear structure in your Google Sheets document. Include columns for the daycare provider’s name, service dates, daily rates, and total payments. This setup ensures that all relevant details are organized in one place, which is especially useful when filing taxes.
Ensure accuracy by regularly updating the sheet with every payment made to your daycare provider. Avoid mixing up different months or services, as this could result in inaccurate deductions come tax time.
How to Create a Tax-Ready Daycare Receipt in Google Docs
To create a tax-ready daycare receipt in Google Docs, begin with a clear, organized layout that includes all necessary details for tax purposes. Include your daycare’s name, address, and contact information at the top. This ensures your receipt is easily identifiable as official documentation.
Next, include the parent or guardian’s full name and contact details, followed by the dates of service. Specify the number of days or hours the child attended daycare within that period. This should be reflected clearly, either in a table or list format, for better readability.
Include a breakdown of the services provided with specific fees for each. This section should list the base fee, any additional charges (e.g., late fees), and the total amount paid. Make sure to include the total amount paid in both words and numbers to avoid confusion.
For tax purposes, note the payment method and date received. This is important for both you and the client’s records. Add any applicable tax identification numbers or licensing numbers required for tax submissions at the bottom of the receipt.
Finish by clearly marking the document as a receipt for services rendered. This can be done with a simple “Paid in Full” statement, and it should include the signature or initials of the daycare provider if needed for verification.
How to Customize the Daycare Receipt Template for Your Business
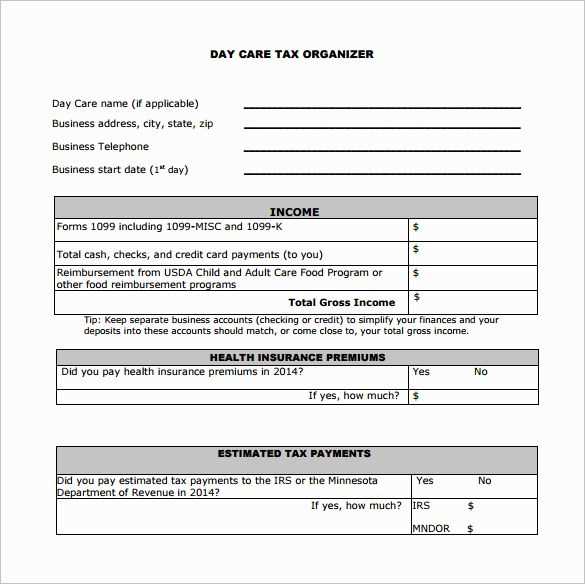
Adjust the layout of your daycare receipt template to match the specific details of your business. Start by replacing placeholder information with your daycare’s name, address, and contact details. This ensures your receipts are personalized and easy for clients to reference.
Add Payment Information
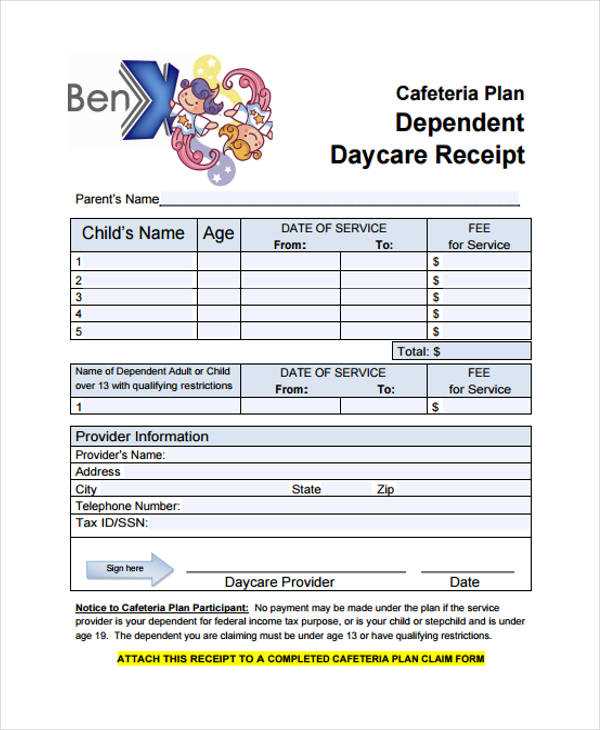
Modify the payment section to clearly show the type of payment received, such as cash, credit card, or checks. Include the transaction date, amount paid, and any applicable taxes or discounts. This clarity helps both you and your clients track payments accurately.
Customize Client Details
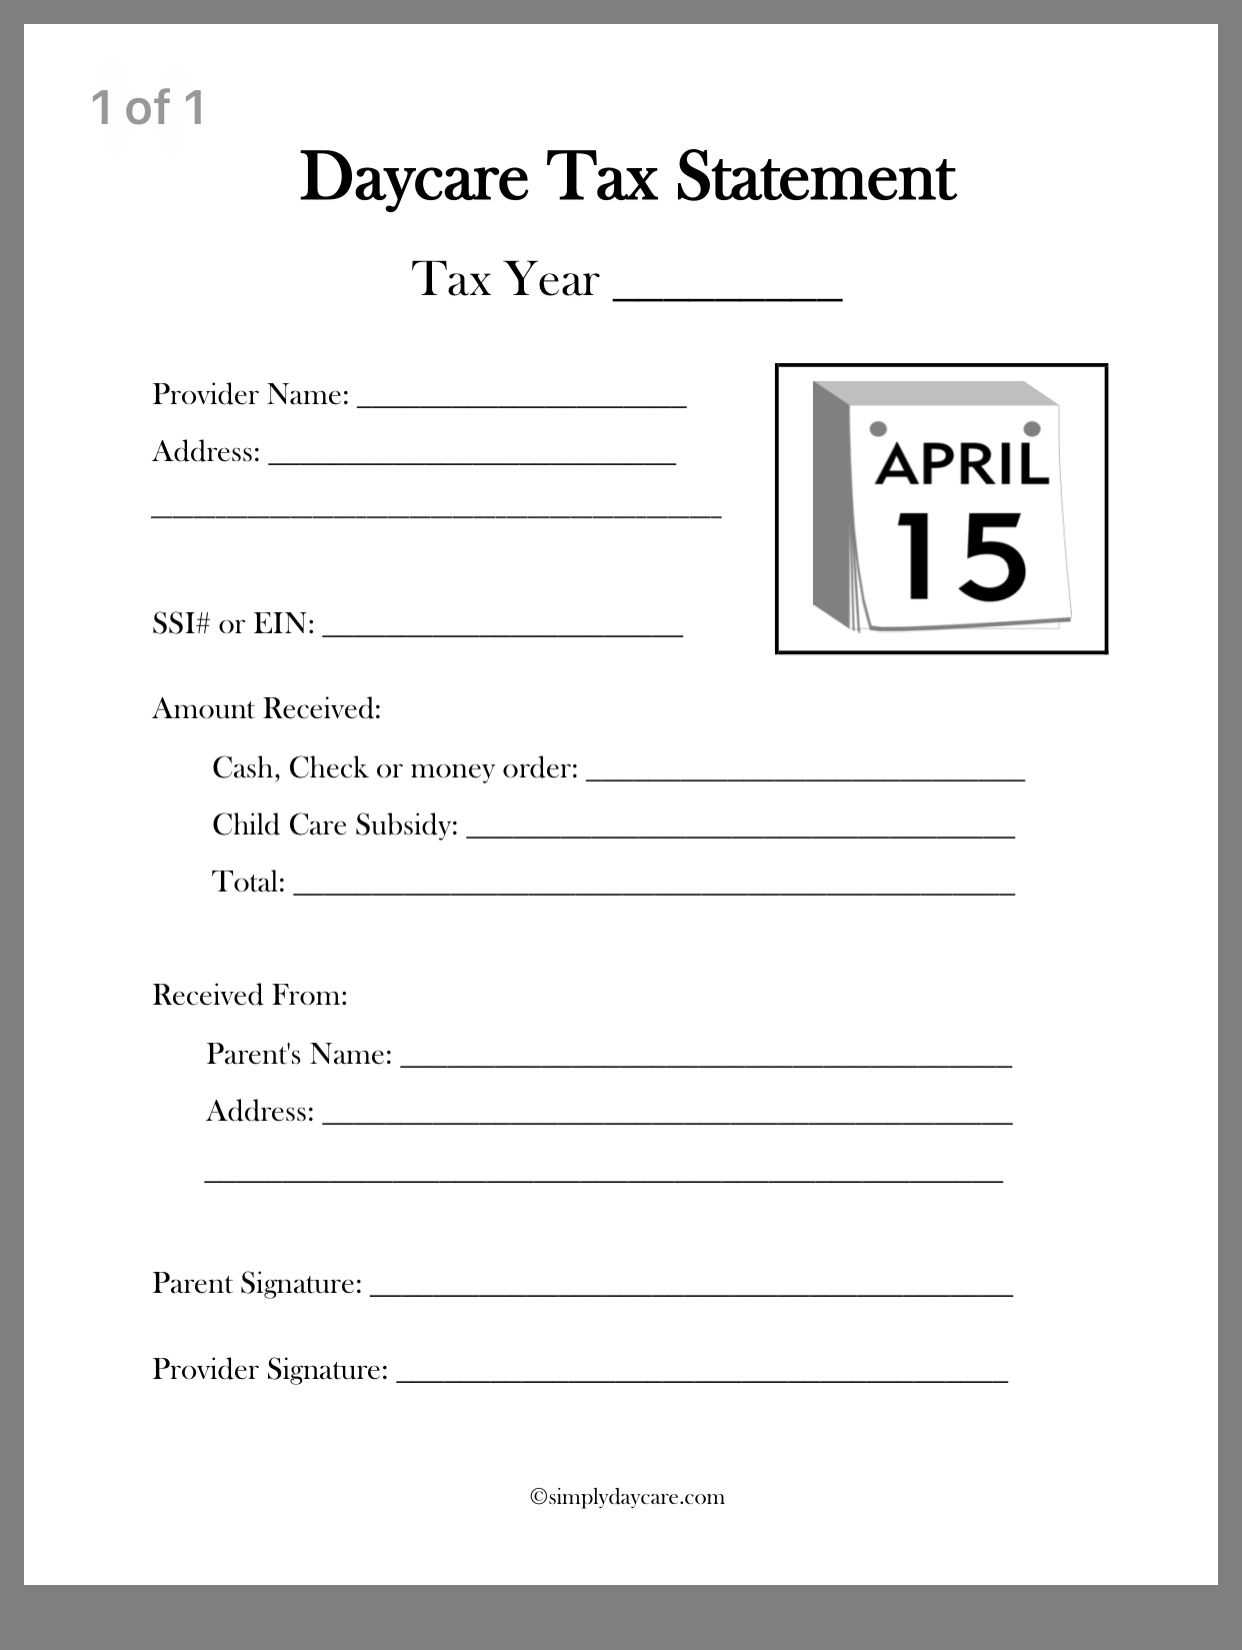
Ensure each receipt includes the correct client’s name and child’s details, such as age or enrollment dates. Personalize each receipt for accurate record-keeping and provide a smooth experience for your clients.
For added clarity, you can also include your daycare’s tax ID number and business registration information, if necessary. This detail helps clients keep their records in order for tax purposes.
Lastly, tailor the font size, layout, and colors to match your daycare’s branding. This simple step makes your receipts look more professional and cohesive with your business image.
How to Share and Store the Daycare Receipt for Tax Filing
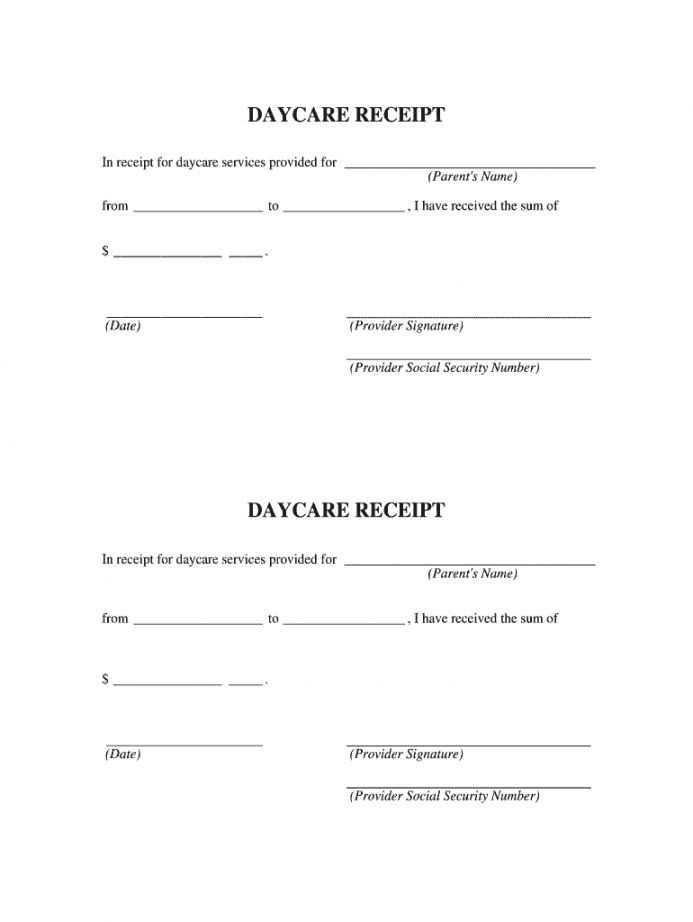
Store your daycare receipts in a secure digital format. Scan or take clear pictures of the receipt using your phone or a scanner. Save the file in PDF format for easy access and organization. Cloud storage services like Google Drive or Dropbox offer a safe place for your documents and make sharing simple. Always name the files appropriately, using a format like “Daycare_Receipt_2023” to easily identify them later.
Share the receipt with your accountant or tax preparer via email or a secure file-sharing platform. If sharing via email, include a brief note that explains what the document is for. Make sure to double-check the file before sending, ensuring it is legible and complete.
For physical receipts, keep them organized in a dedicated folder or file. Make sure the receipts are stored in a cool, dry place to avoid fading or damage. If you prefer physical storage, consider making a backup by scanning and uploading a digital copy to your cloud storage.
Regularly back up your files to ensure you have access to them during tax season. This prevents loss of important documents, especially if you’re using cloud storage with limited space or have multiple devices.
