Designing a delivery receipt template in Google Docs simplifies tracking shipments and providing proof of delivery. With just a few adjustments, you can create a professional-looking document that serves as confirmation for both sender and recipient.
First, choose a clean, straightforward layout. Google Docs offers several templates, but creating one from scratch allows you to tailor it to your specific needs. Start with a table format to organize the essential information: recipient name, address, item description, and delivery date. This structure makes it easy to track each delivery.
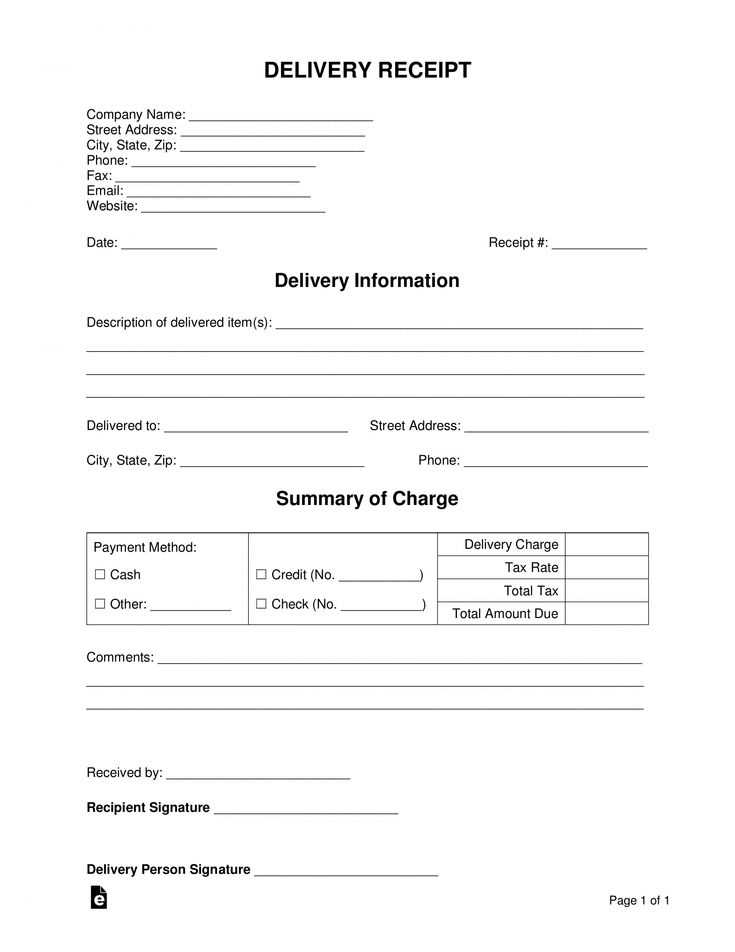
Key elements to include are the sender’s contact details, recipient’s signature line, and space for the delivery method used. Ensure these sections are clear and easy to fill out. You can also add customizable fields to track order numbers or reference codes for a more organized system.
Once your template is complete, you can save it as a reusable document. Google Docs allows you to share the template with your team or download it for offline use. This simple tool can help you streamline your delivery process while ensuring clear communication with your customers.
Delivery Receipt Template in Google Docs
To create a delivery receipt template in Google Docs, follow these steps:
- Open Google Docs: Start by opening Google Docs and create a new blank document.
- Title Your Template: At the top, add a clear title like “Delivery Receipt” or “Goods Delivered Receipt.”
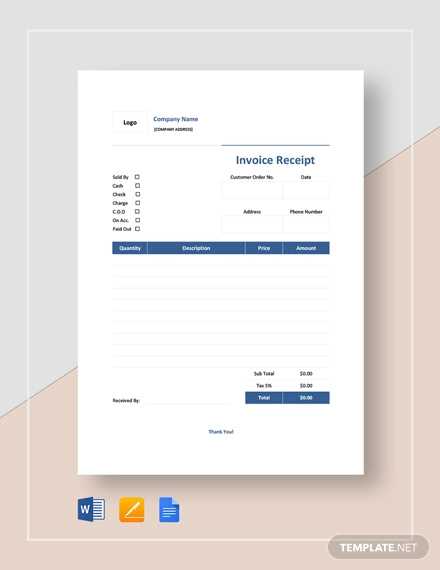
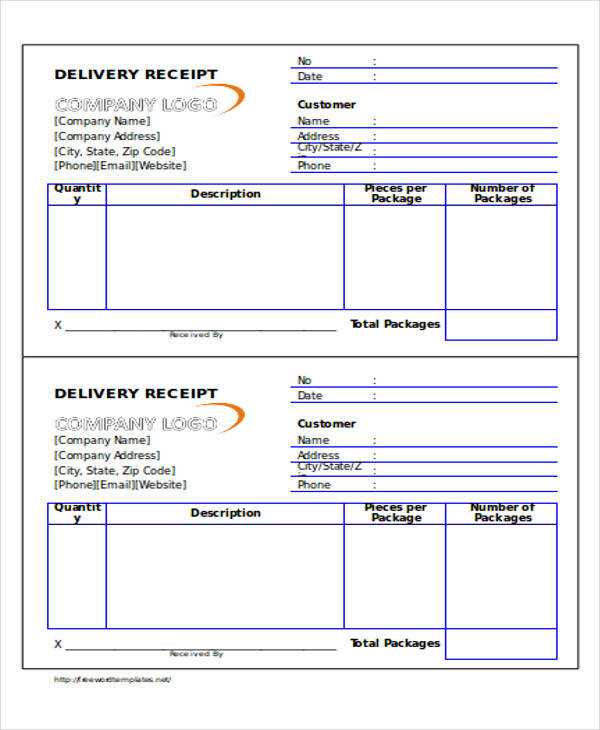
- Insert a Table: Use a simple table to organize information. For example, create columns for the delivery date, recipient name, items delivered, and total amount.
- Detail the Items: In the table, list the items delivered. Include columns such as “Description,” “Quantity,” and “Price.” This helps keep track of all items delivered.
- Include a Signature Line: Add a space for the recipient’s signature at the bottom of the document. This provides confirmation that the goods have been received.
- Save as Template: Once your receipt is set up, save the document as a template for future use. Click on “File” and select “Make a copy” whenever you need a new receipt.
With this setup, you’ll have a functional and reusable delivery receipt template ready to go in Google Docs.
Customizing Your Template for Different Delivery Types
Tailor your delivery receipt template to reflect the specifics of each delivery type. For a standard package, include basic information like sender, recipient, delivery date, and signature fields. This keeps the receipt simple and clear.
For Expedited Deliveries
When delivering items on an expedited basis, include additional fields for tracking numbers, delivery windows, and expected delivery times. Clearly mark the delivery as “Expedited” or “Priority” so recipients can quickly identify the service used. This helps both parties manage expectations.
For International Shipments

International deliveries require more detailed documentation. Add sections for customs declarations, import/export codes, and relevant regulations. Including a checklist for compliance can prevent delays at borders. Don’t forget to list any special delivery instructions or local regulations that might affect delivery times or processes.
Tracking Multiple Deliveries in One Document
Organize your delivery receipts by creating a table with columns for each key detail. Include columns for recipient names, delivery addresses, tracking numbers, delivery dates, and any additional notes. This method keeps everything in one place for easy reference and quick updates. You can also add checkboxes or status columns to monitor whether each delivery has been completed or is still in progress.
Use Separate Sections for Different Deliveries
If you’re tracking deliveries for multiple clients or locations, divide the document into sections. Each section should clearly label the recipient or delivery group. This keeps your data neatly organized and makes it easier to locate specific information without scrolling through endless rows.
Include Links to Tracking Information
Embed clickable links to online tracking pages directly within the document. You can add hyperlinks in the tracking number column, so you can quickly access the carrier’s site for real-time updates. This saves time and ensures your records stay up-to-date without having to manually search for tracking details.
Ensuring Proper Formatting for Print and Digital Use
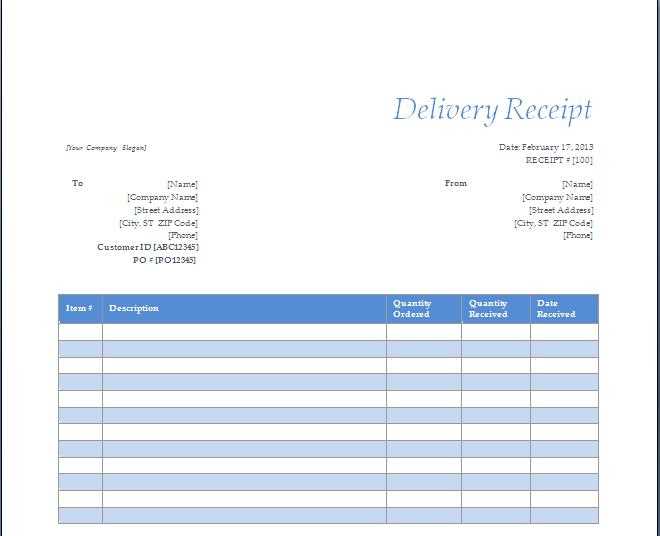
To ensure your delivery receipt looks professional both in print and digital formats, focus on consistency and clarity in the layout. Align text properly, using standard margins of 1 inch all around. This ensures that your document looks uniform when printed and prevents key information from getting cut off. For digital versions, ensure all text and elements are legible on different screen sizes by using a responsive design.
Font Selection and Size
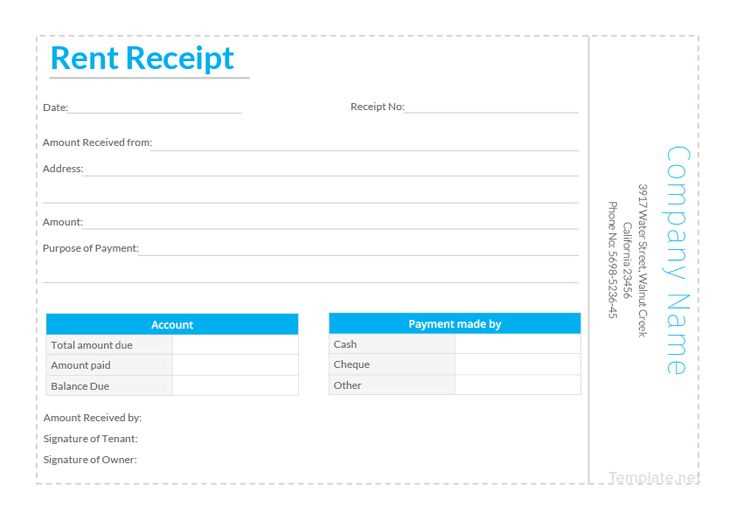
Select a clean, easily readable font such as Arial or Helvetica for body text. Stick to a size between 10pt and 12pt for text, with headings in a larger size for clear hierarchy. Avoid decorative fonts that could reduce readability, especially for key details like the total amount or recipient information.
Formatting for Both Print and Digital
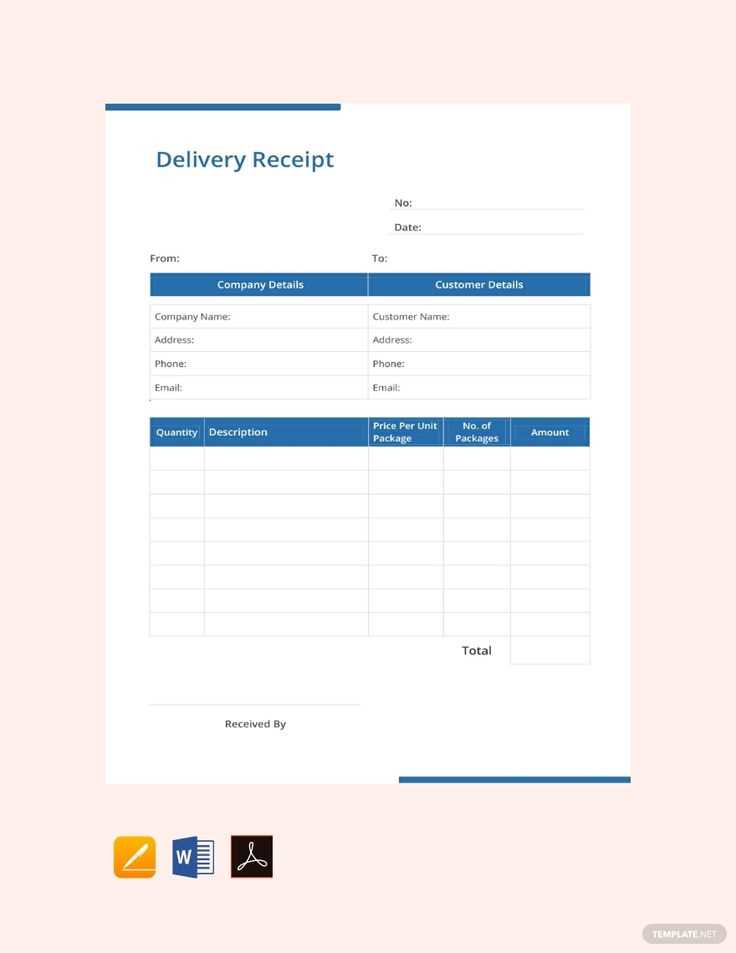
For print, make sure to use a high-resolution file (300 dpi) for clarity. When creating a document for email or online sharing, save it as a PDF to maintain formatting integrity across devices. Ensure all text and images are embedded properly, and avoid using too many colors or complex designs, as these may not translate well across platforms.
