To create a streamlined system for tracking receipts in Google Forms, begin by designing a form that collects essential details like receipt number, date, and amount. Each entry can be organized for quick reference and analysis, saving time and preventing errors in manual record-keeping.
For added clarity, include a section where users can upload receipt images or scanned copies. This ensures that receipts are easily accessible and can be referenced directly from the form without having to search through emails or physical files.
To improve data collection further, set up response validation for fields like date and amount. This reduces input mistakes and guarantees uniformity across all entries. Additionally, use the “Confirmation Message” feature to send a receipt of the submitted form back to the user, providing instant feedback and closing the loop on each transaction.
Google Forms Track Receipt Template: A Practical Guide
Create a Google Forms track receipt template to simplify tracking and confirming submissions. Begin by designing a simple form with essential fields like name, contact information, and any other relevant details for your receipts. Ensure that the form is clear and user-friendly to encourage accurate data input.
Use the “Response Validation” feature to ensure proper data collection. For instance, validate email addresses and phone numbers, which guarantees that the details entered are correct. Customize the confirmation message upon submission, offering a clear and concise acknowledgment of receipt.
Next, link the form to a Google Sheets spreadsheet. This will automatically record every submission, creating a real-time log that tracks responses. Set up automatic email notifications to stay informed whenever a new response is received. This step ensures you never miss a submission and can track progress seamlessly.
For more personalized tracking, include a unique ID field for each submission. This ID will help easily locate a specific receipt in the sheet and avoid confusion with similar submissions. Customize the confirmation receipt with additional information like date and time to enhance clarity.
Finally, test the form with a few test submissions to ensure everything works smoothly before going live. Adjust any fields as necessary and make sure the receipt template meets all your requirements for tracking and confirming receipts effectively.
Setting Up a Google Form to Track Receipts
Create a straightforward receipt tracker using Google Forms. Begin by opening Google Forms and clicking on the blank form to start from scratch. Title your form to reflect its purpose, like “Receipt Tracker.” Add a description if you prefer, but it’s optional.
First, add a “Date” field. Select “Date” from the dropdown menu of question types. This field helps users log when the receipt was issued.
Next, include a “Receipt Number” field. Choose “Short Answer” for this, as it allows easy input of unique identifiers for each receipt. Set it as a required field to avoid missing data.
For the “Amount” field, use the “Short Answer” type again. Enable data validation to ensure users enter only numbers. This guarantees the information is accurate for record-keeping.
Include a “Vendor/Store” field with “Short Answer” to identify where the receipt is from. This helps categorize receipts for later reference.
If necessary, add an “Upload Receipt” option. Use the “File Upload” question type and set file limits (e.g., 5MB per file) to allow users to upload receipt images directly. Ensure that the file upload feature is enabled for everyone filling out the form.
To track receipts effectively, include a “Category” field to help organize receipts into groups, such as “Groceries,” “Office Supplies,” or “Travel.” You can use a “Multiple Choice” or “Dropdown” question for this.
Lastly, add a “Notes” field for any extra information related to the receipt. A “Paragraph” question type works best for longer descriptions.
| Field | Question Type | Data Type |
|---|---|---|
| Date | Date | Date |
| Receipt Number | Short Answer | Text |
| Amount | Short Answer | Number |
| Vendor/Store | Short Answer | Text |
| Upload Receipt | File Upload | File |
| Category | Multiple Choice/Dropdown | Text |
| Notes | Paragraph | Text |
Now that the form is set up, share the link with those who need to submit receipts. You can easily track all entries in the linked Google Sheets document. This setup helps you maintain organized and accessible records of your receipts.
Automating Data Collection and Storage with Google Sheets
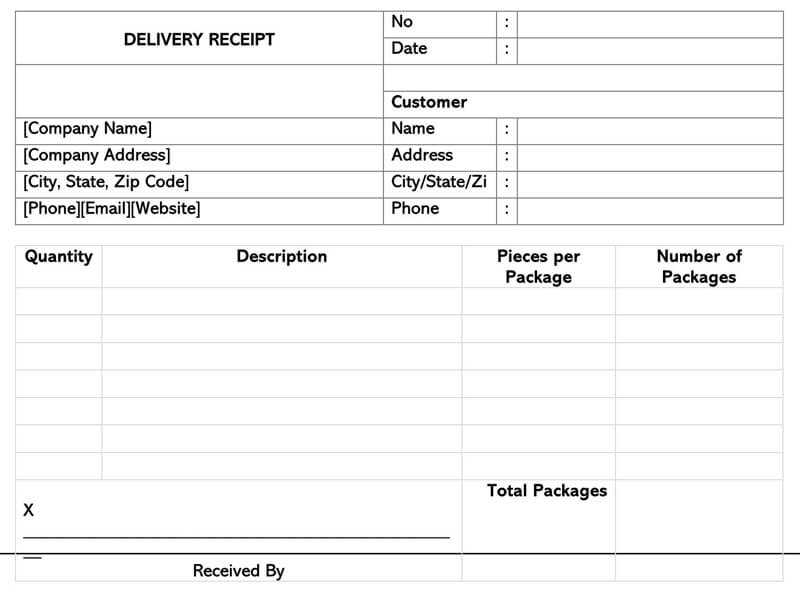
Linking Google Forms directly to Google Sheets allows for seamless data capture and storage. Whenever someone submits a form, the responses are automatically logged in a Sheet, eliminating the need for manual input. This process ensures data integrity and real-time access, making it easy to manage and analyze responses as they come in.
Setting Up the Integration
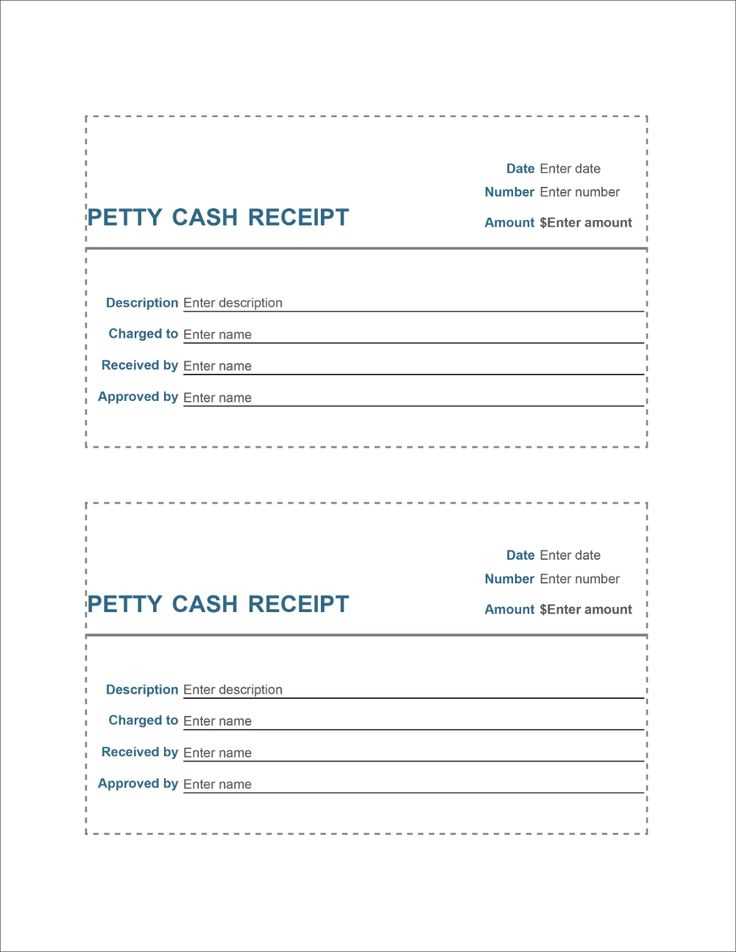
In Google Forms, go to the “Responses” tab and click on the Google Sheets icon to create a new spreadsheet. Once linked, each new submission will populate the Sheet with corresponding form answers. You can also set up conditional formatting or custom functions in Sheets to automatically organize the data based on specific criteria, such as date, name, or score.
Streamlining Data Processing
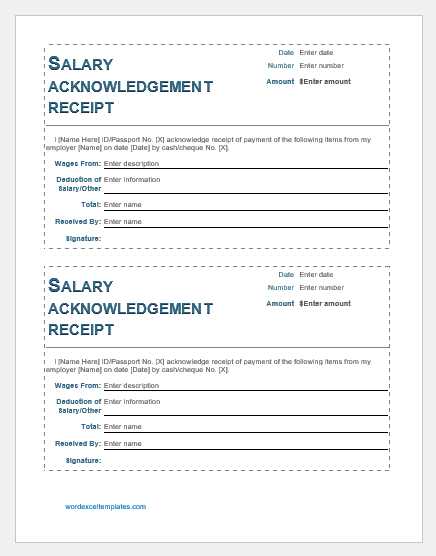
Google Sheets allows you to use built-in functions like SUM, AVERAGE, and QUERY to process and visualize the collected data. You can also set up notifications or triggers using Google Apps Script to alert you when certain criteria are met, such as a high submission rate or a specific response. This automation cuts down manual monitoring, ensuring you’re always in the loop without needing to check the data constantly.
Customizing the Receipt Template for Your Business Needs
Adjust your receipt template by adding your company logo, contact details, and branding colors. This creates a personalized experience for your customers and reinforces your brand identity. Focus on the most relevant information that aligns with your business operations, such as transaction ID, date, and purchased items.
Incorporate Your Business Information
- Logo: Place it at the top or bottom for visibility.
- Contact details: Include your phone number, email, and physical address.
- Social media links: Consider adding clickable icons for easier customer engagement.
Tailor the Content to Your Transactions
- Add fields for specific products or services, such as descriptions, quantities, and prices.
- Consider adding a tax breakdown or additional charges for clarity.
- Custom fields: Include discounts or special offers for a personalized touch.
Use these adjustments to make the receipt more functional for your business while maintaining a professional, clean design that customers will appreciate.
