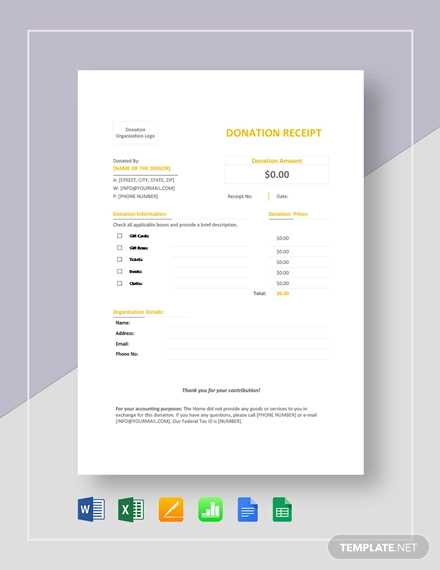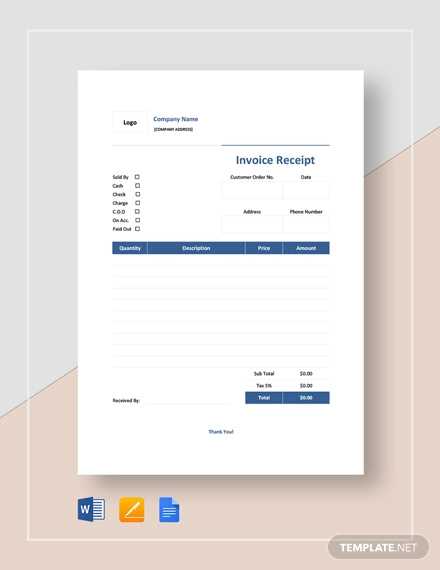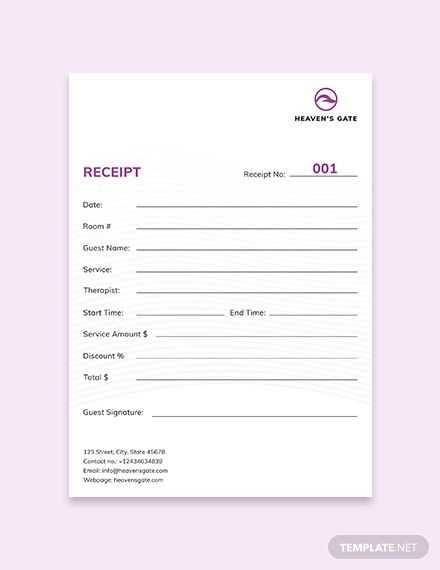
Save time on expense tracking by using a ready-made Google Sheets template for receipts. Whether you need to document business purchases, reimbursements, or personal transactions, a structured spreadsheet keeps everything organized and accessible.
Set up columns for date, vendor, amount, payment method, and category to ensure clarity. Use formulas to automatically calculate totals and apply conditional formatting for quick identification of overdue payments or tax-deductible expenses.
For added efficiency, enable drop-down lists to standardize categories and avoid manual entry errors. Google Sheets also supports file attachments via Google Drive, allowing you to link digital copies of receipts directly in the sheet.
Need a shareable format? Convert your receipt data into a PDF invoice or export it as a CSV file for accounting software integration. With cloud storage and real-time collaboration, this approach simplifies financial tracking for teams and individuals alike.
Google Sheets Template for Receipt
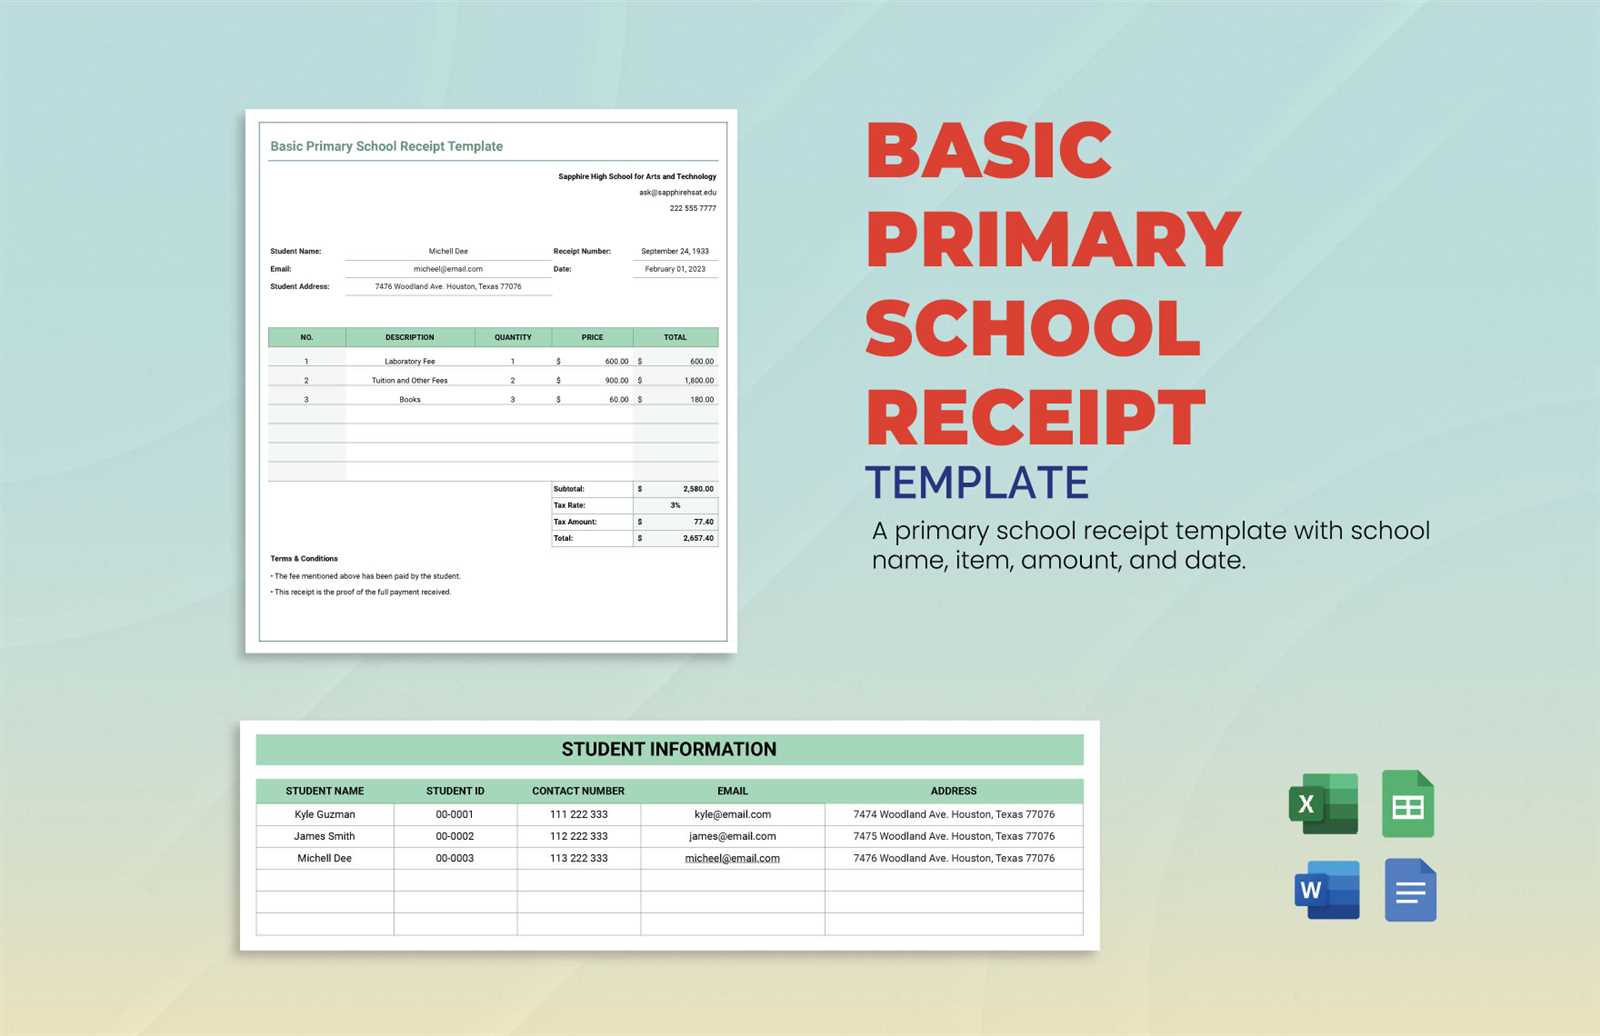
Use a structured Google Sheets template to generate receipts quickly. Start by setting up columns for date, item description, quantity, price, tax, and total. Apply conditional formatting to highlight overdue payments and use data validation to ensure consistent entries.
Automate calculations with built-in formulas. For example, use =SUM(B2:B10) to total amounts or =B2*C2 for unit price multiplication. Add a dropdown list for payment methods using Data > Data validation to streamline input.
Enhance usability with a print-friendly layout. Adjust column widths, set page breaks, and enable gridlines for clarity. To generate unique receipt numbers, use =TEXT(TODAY(), "YYYYMMDD") & "-" & ROW() for an automatic sequence.
For sharing, enable File > Share and adjust permissions. Protect formulas with Data > Protect sheets and ranges to prevent accidental edits. Save a copy as a PDF using File > Download > PDF for easy distribution.
Choosing the Right Format for Your Receipt
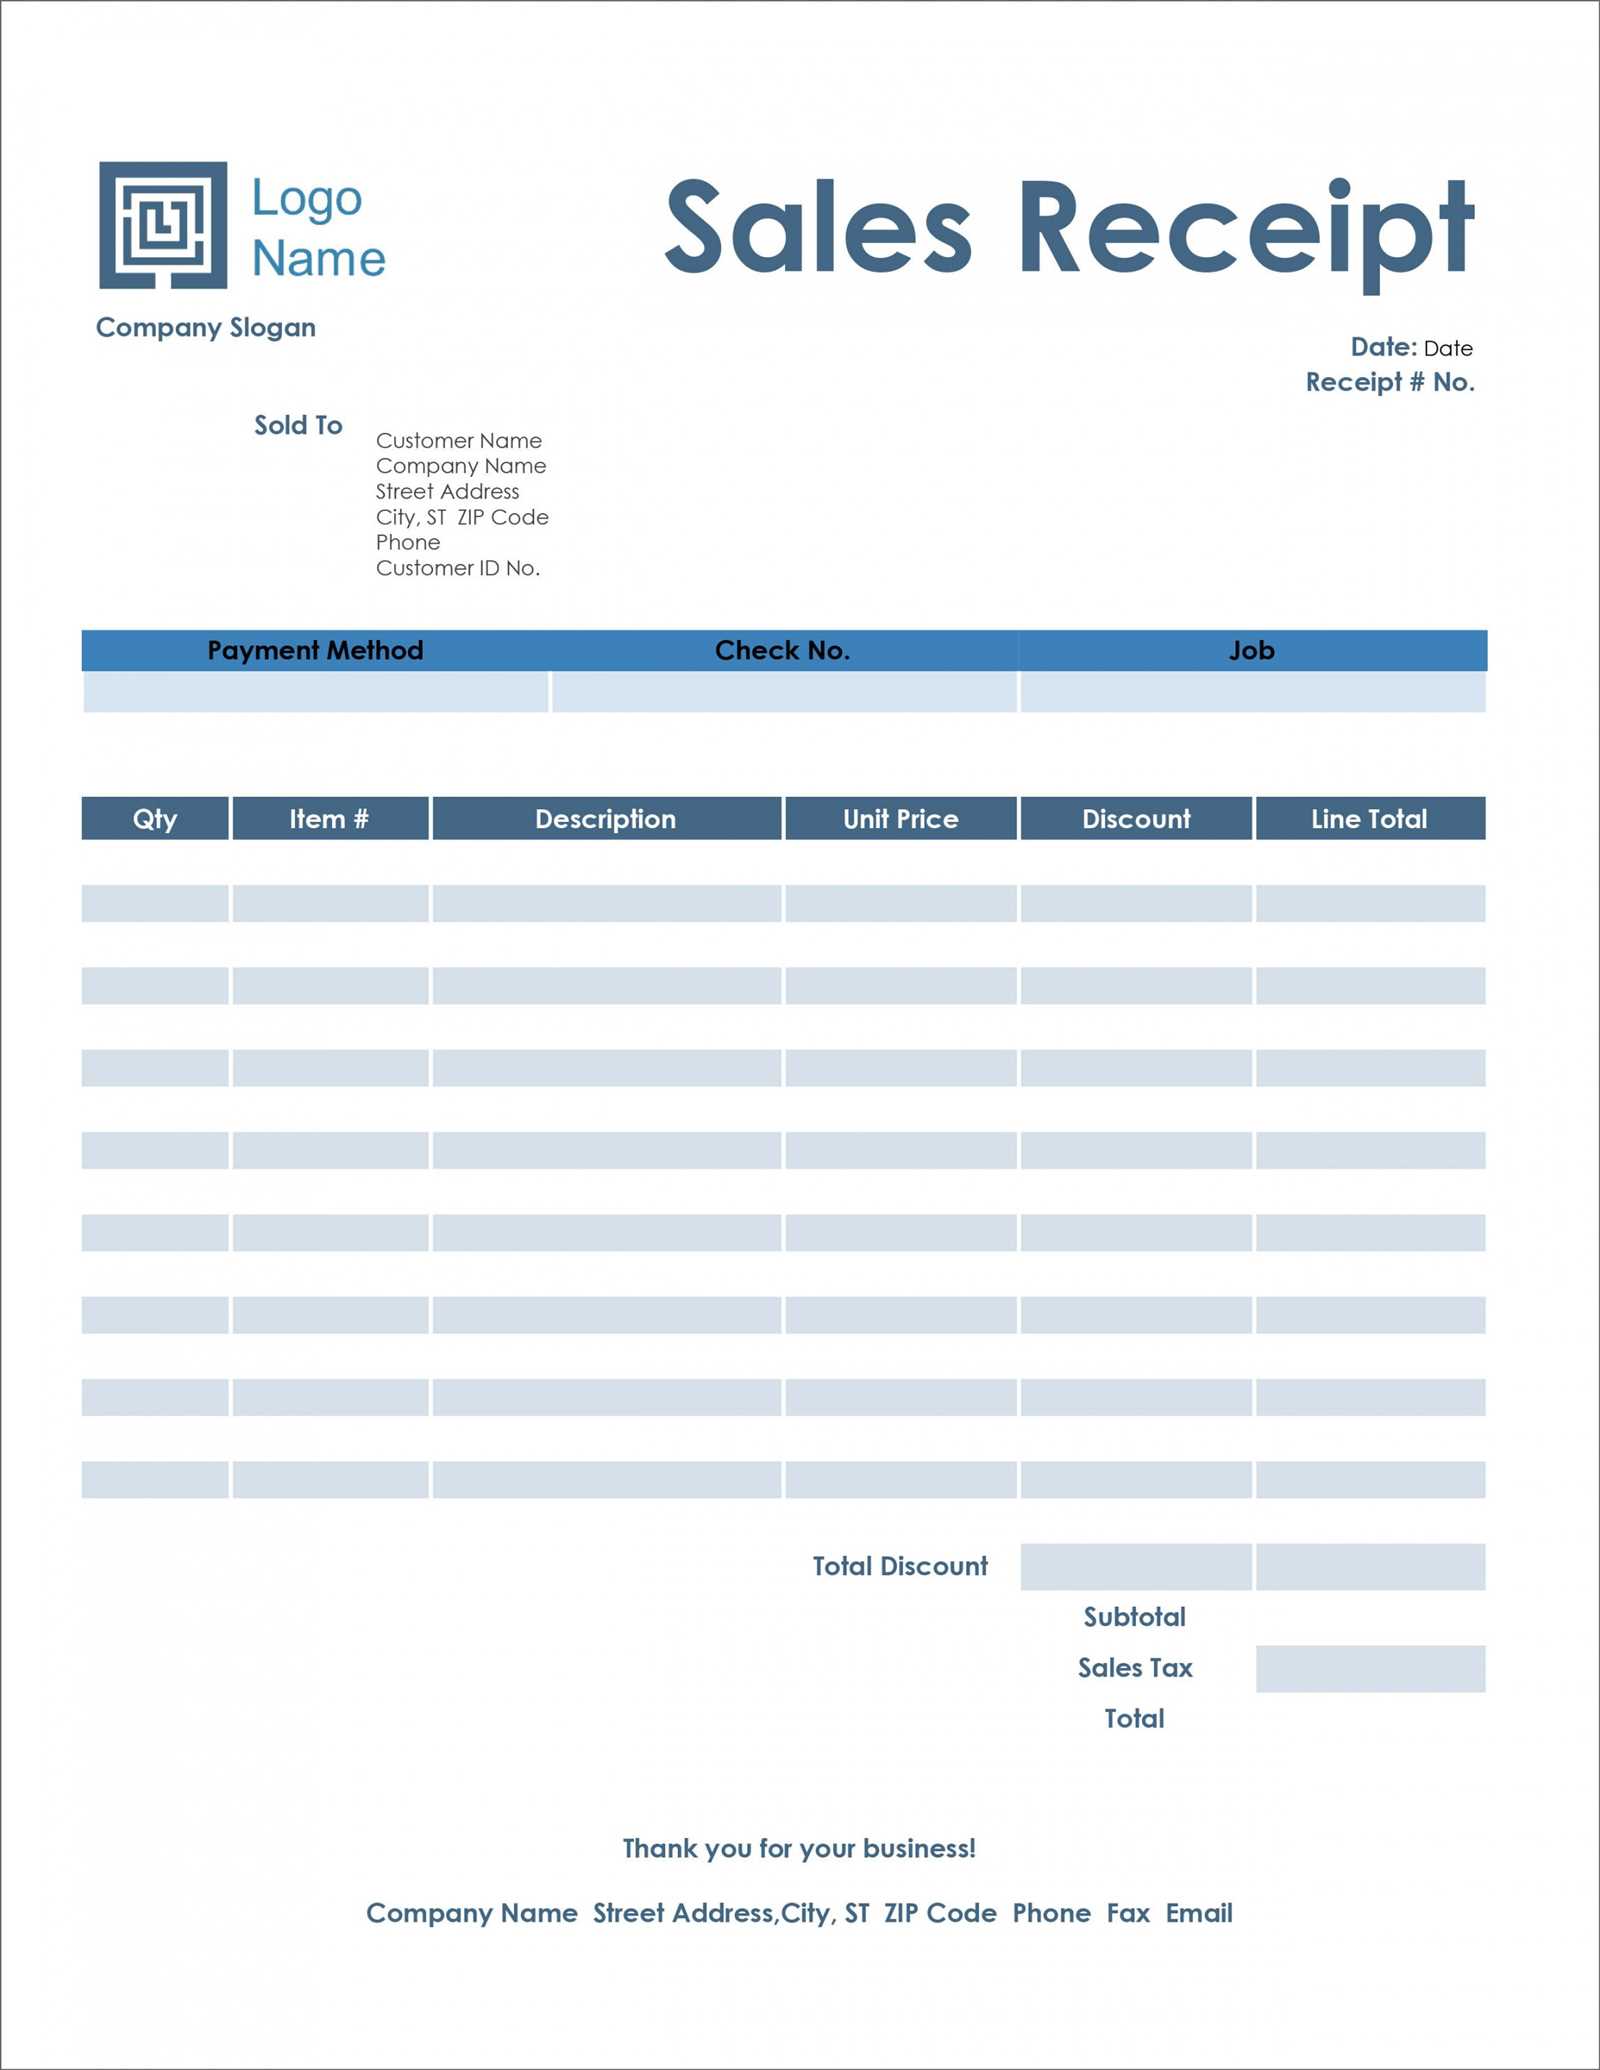
Use a tabular layout to organize itemized purchases, taxes, and totals clearly. A structured table makes it easy to read and minimizes errors when calculating expenses.
Ensure compatibility with printers by setting a standard page size, such as A4 or US Letter. If receipts are digital-only, optimize formatting for mobile and desktop viewing.
Include all necessary details like business name, contact information, item descriptions, quantities, prices, and payment method. Leaving out key data can create confusion and compliance issues.
Choose an editable format like Google Sheets, which allows easy customization and automatic calculations. Lock formula cells to prevent accidental changes while keeping input fields open for modifications.
Maintain a professional appearance by using consistent fonts, aligned columns, and a clean layout. Avoid excessive styling or unnecessary graphics that might clutter the document.
Setting Up Automatic Calculations in the Template
Use built-in formulas to ensure the receipt template calculates totals instantly. Apply =SUM() to add item costs, =IF() for conditional discounts, and =ROUND() to format numbers correctly.
Calculating Subtotals and Totals
- Sum item prices in a column with
=SUM(B2:B10). - Apply tax by multiplying the subtotal:
=B11*0.08(adjust rate as needed). - Use
=B11+B12to get the final amount.
Automating Discounts
Apply conditional discounts based on total spend:
- For a 10% discount on orders above $100, use:
=IF(B11>100, B11*0.1, 0). - Subtract the discount from the subtotal before calculating tax.
With these formulas in place, calculations update instantly whenever you enter new data, reducing manual work and minimizing errors.
Adding Business Information and Branding
Customize your receipt template by adding your company’s name, logo, and contact details. This ensures professionalism and helps customers recognize your brand instantly.
| Field | Example |
|---|---|
| Business Name | ABC Solutions Ltd. |
| Logo | Insert an image using =IMAGE("URL") |
| Phone | +1 (555) 123-4567 |
| [email protected] | |
| Website | www.abcsolutions.com |
Place these details in a dedicated section at the top of the template. Adjust column width and text alignment to maintain clarity. For a personalized touch, match font colors and styles with your brand identity using the “Format” menu.
Customizing Currency and Tax Options
Adjust the currency format by selecting the relevant cells, clicking Format > Number, and choosing the appropriate currency. If the desired currency is missing, go to More Formats > More Currencies and select from the list.
To set tax calculations, follow these steps:
- Use a dedicated column for tax rates. Enter the percentage as a decimal (e.g., 0.07 for 7%).
- Apply a formula to calculate tax:
=A2*B2, whereA2is the price andB2is the tax rate. - Ensure correct rounding by wrapping the formula in
ROUND(), e.g.,=ROUND(A2*B2, 2).
For automatic tax inclusion, modify the total formula: =SUM(A2:A10) + SUM(C2:C10), where column C contains tax amounts.
To apply different tax rates based on categories, use IF() statements. Example:
=IF(D2="Food", A2*0.05, A2*0.1)This applies 5% tax if the item is food and 10% otherwise. Extend the logic with additional conditions as needed.
For dynamic currency conversion, integrate GOOGLEFINANCE():
=A2*GOOGLEFINANCE("CURRENCY:USDGBP")This converts USD to GBP using real-time exchange rates. Replace the currency codes to match requirements.
Integrating Payment Tracking and Status Indicators
Use conditional formatting in Google Sheets to highlight overdue, pending, and completed payments. Assign colors to status categories: red for overdue, yellow for pending, and green for completed. Apply these rules to the status column for automatic updates.
Automating Status Updates
Leverage Google Sheets functions like =IF(TODAY()>D2, "Overdue", "On Track") to dynamically update statuses based on due dates. Combine with conditional formatting for real-time visibility.
Linking Payments with Transaction Records
Connect receipts to payment confirmations using unique transaction IDs. Use =VLOOKUP(A2, Transactions!A:D, 4, FALSE) to fetch payment status from a separate tracking sheet. This ensures accuracy and minimizes manual updates.
Sharing and Printing Receipts from Google Sheets
To share a receipt, adjust the sheet’s permissions by clicking Share in the top-right corner. Enter the recipient’s email, set access to Viewer or Editor, and send the invitation. If a downloadable file is needed, go to File > Download and select PDF or Excel.
For printing, ensure the receipt fits properly by selecting File > Print. In the print settings, choose Portrait or Landscape based on layout, adjust margins, and enable Fit to Width for clear formatting. Before printing, preview the output to confirm alignment.
To automate PDF generation, use File > Download > PDF and configure options like page size and scaling. For frequent use, install the Google Apps Script to generate PDFs automatically and email them to recipients.
