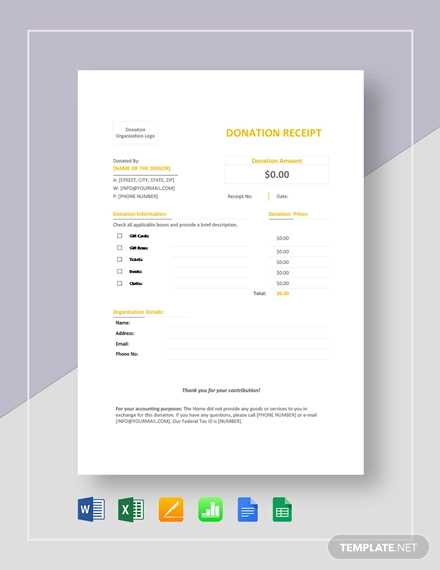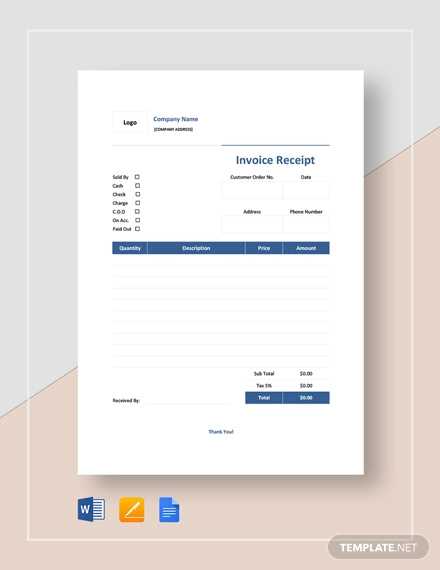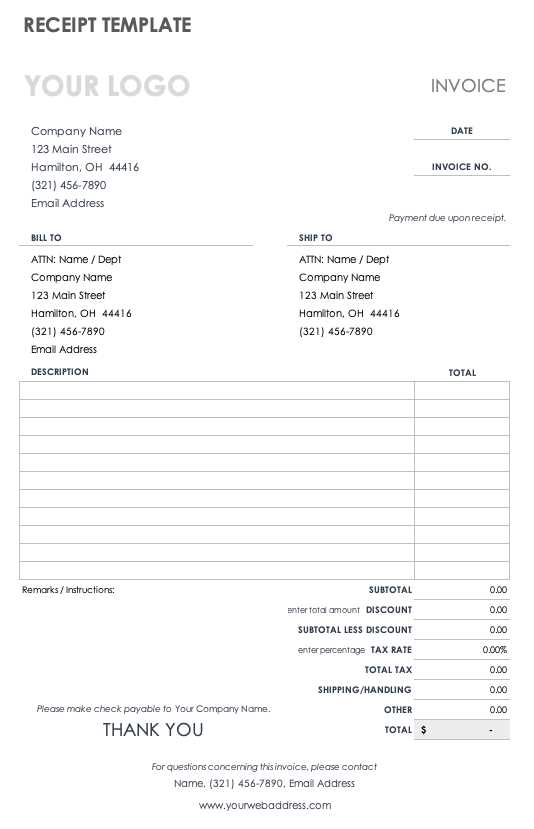
To create a simple and professional invoice receipt in Google Docs, start by opening a new document. Choose a clean, easy-to-read font such as Arial or Times New Roman. Set the document’s margins to 1 inch on all sides to give it a structured appearance.
Include the necessary details: Start with the name of your business or service at the top, followed by your contact information such as address, phone number, and email. Right below, mention the client’s name and contact details. Be sure to clearly state the title as “Invoice Receipt” so the document’s purpose is immediately clear.
List the transaction items: Create a table with columns for item description, quantity, price per unit, and total amount. This allows for clarity in what was purchased or paid for. Ensure each item is described briefly yet accurately, and the final total is clearly visible at the bottom of the table.
Set the payment information: Below the table, specify the payment method (e.g., cash, credit card, online payment) and the transaction date. If applicable, include the due date for any future payments or the payment reference number.
Save your document and give it a professional name, such as “Invoice_Receipt_[ClientName].” Google Docs allows you to easily update and resend the invoice as needed, while also keeping the document easily accessible for future reference.
Edit Invoice Template in Google Docs
To edit an invoice template in Google Docs, begin by opening the file from your Google Drive or using a pre-designed template. Make sure the template fits your needs by customizing the sections to match your business details.
- Change the Header: Replace placeholder text with your business name, logo, and contact details. Ensure these are accurate and easily readable.
- Edit the Date and Invoice Number: Update the date field and generate a unique invoice number for each document.
- Customize Item Descriptions: Adjust product or service descriptions, quantities, and prices. Ensure accuracy to avoid errors.
After making necessary adjustments, review the invoice for any missing information or formatting issues. You can also add a footer with payment instructions or terms of service if required. Once finished, save the document and export it as a PDF for sharing or printing.
How to Design a Professional Receipt Template
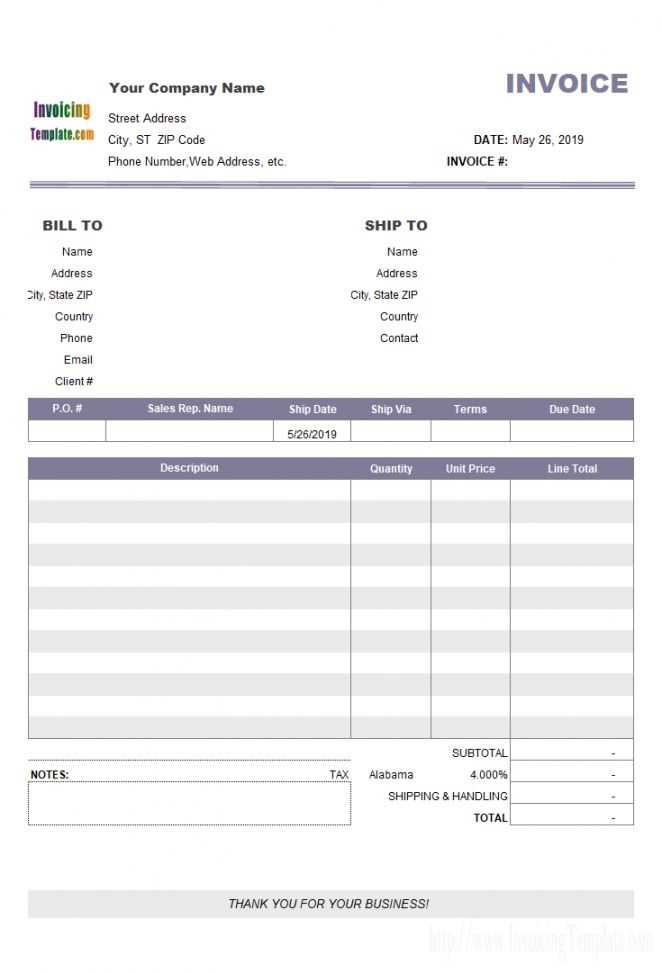
Keep the design simple and clear. Use a clean, organized layout with clearly defined sections for each piece of information. Include the business name, address, and contact details at the top, followed by a transaction summary. Make sure the font is legible and consistent across the document, and avoid using too many colors or fonts. Limit the use of decorative elements that can distract from the key details.
Organizing the Information
Group the information logically. Start with the date and receipt number, then list the purchased items, quantities, and individual prices. At the bottom, include a total amount due or paid and any applicable taxes. This helps the customer easily verify the details of the transaction.
Using Clear Formatting
Utilize tables or lines to separate sections of the receipt for easy reading. Make sure headings stand out by using bold or larger font sizes, but avoid excessive styling. Use bullet points or numbering to list items or charges, ensuring the layout is straightforward and easy to follow.
Customizing the Layout for Various Business Purposes
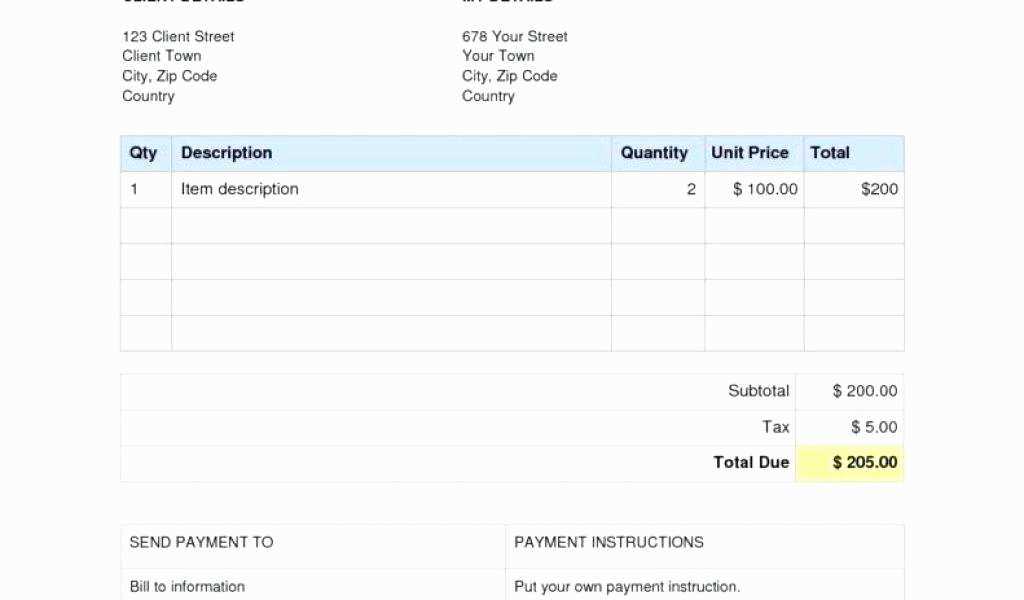
Adjust the invoice template based on the specific needs of your business. For instance, a service-based company may require sections for detailed descriptions of services rendered, including hourly rates, while a product-oriented business might focus on itemized lists with product codes, quantities, and prices.
Tailoring for Freelancers and Contractors
Freelancers and independent contractors can benefit from a clean and concise layout, emphasizing the service description, the rate per hour or project, and any applicable taxes or additional fees. Include a section for payment terms to clarify when payments are due and the methods accepted.
Adapting for Retail Businesses
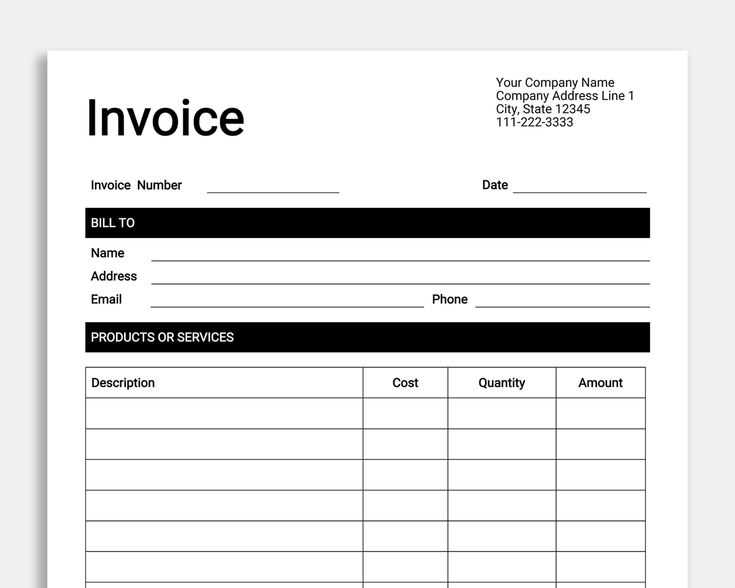
Retail businesses should prioritize the product listing with columns for product name, quantity, unit price, and total. Adding space for discounts, shipping costs, and tax calculations ensures that customers see a transparent breakdown of the purchase. Organize this information in an easy-to-read table format to enhance clarity.
Got it! If you’re looking for help with any of these article plans or need assistance with specific sections, just let me know how I can assist!
