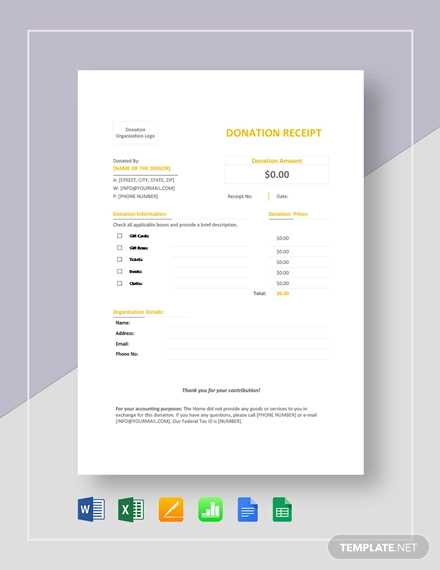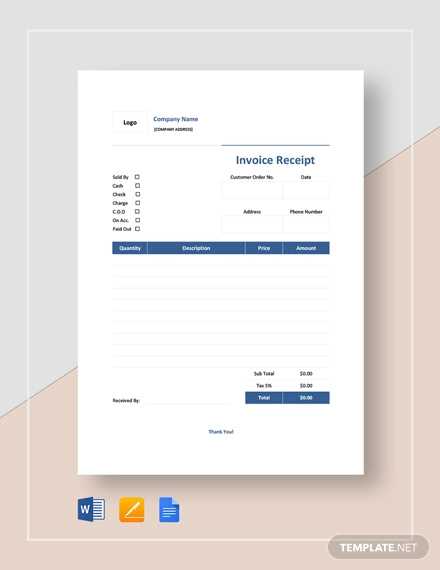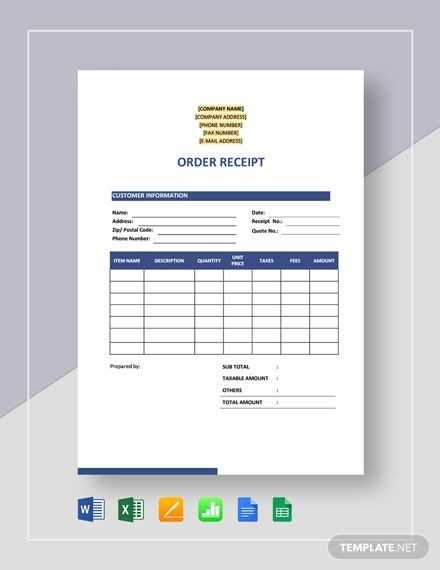
Receipt Template in Google Sheets
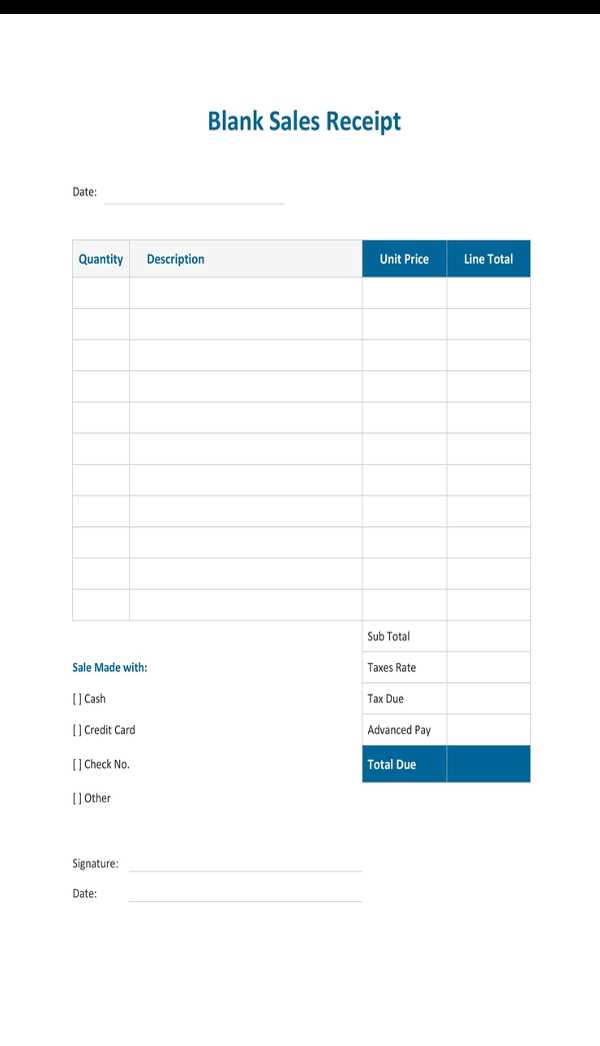
Creating a receipt template in Google Sheets allows you to easily customize and manage receipts for any transaction. Follow these simple steps to set up your own template:
- Start a New Spreadsheet: Open Google Sheets and create a new blank spreadsheet.
- Set Up Columns: Label columns for essential receipt details such as “Item Description”, “Quantity”, “Unit Price”, “Total”, “Date”, “Tax”, and “Grand Total”.
- Use Formulas for Calculations: Apply formulas for calculating totals. For example, use “=B2*C2” in the “Total” column to multiply quantity by unit price. For the “Grand Total”, sum all individual totals and tax.
- Design for Readability: Adjust the font size, alignment, and color to make the template clean and easy to read. Use bold for headings and borders to separate sections.
- Include Company Information: Add sections for your company’s name, address, and contact information at the top of the receipt. This gives it a professional look.
- Customize Your Template: Modify the template to fit your specific needs. You can add additional fields such as payment method, discount, or invoice number.
This template can be saved, reused, and shared across different devices, making it easy to generate receipts on the go. Adjust the design or formulas as necessary, and you’ll have a flexible and personalized receipt solution ready at all times.
How to Create a Custom Receipt Template
Create a personalized receipt template in Google Sheets by adjusting the default settings to suit your needs. Begin by opening a new spreadsheet, then use the first few rows for business information, such as the company name, address, and contact details. Keep this section simple and clean, as it should be easy to identify at a glance.
Design the Layout
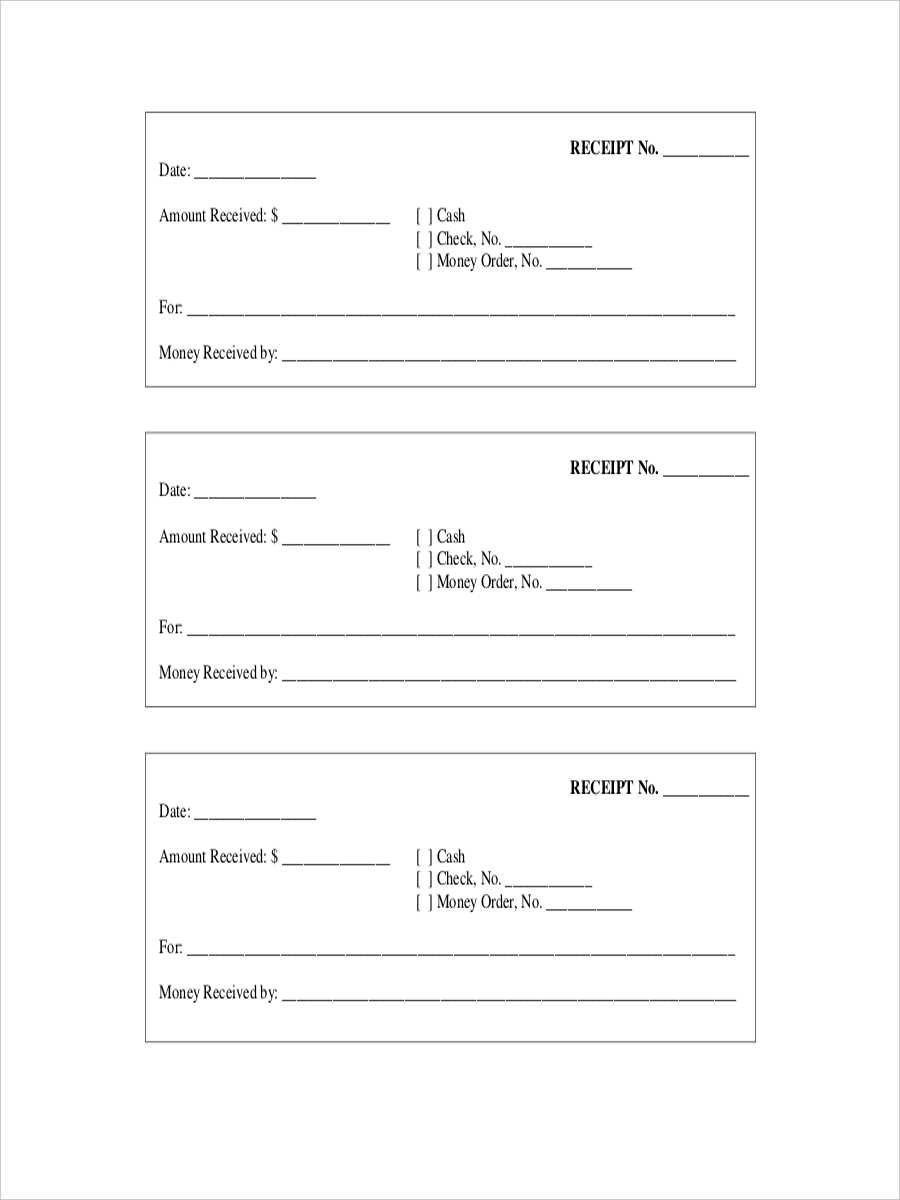
Create a section for transaction details. Use columns for item descriptions, quantities, unit prices, and totals. Highlight these columns with bold text or borders to ensure clarity. For each transaction, include a row for the subtotal, applicable taxes, and the total amount due.
Customization Options
Add specific fields relevant to your business, like payment method or customer ID. You can adjust fonts, text size, and cell colors to match your branding. Customize the footer section with additional notes or terms and conditions, ensuring the receipt looks professional yet personalized.
Using Formulas for Automatic Calculations
In Google Sheets, formulas automate many tasks, saving time and reducing errors. To calculate totals, apply the SUM function to add values in a range. For instance, use =SUM(A2:A10) to sum values from cells A2 to A10. This formula updates automatically when data changes.
Calculating Taxes and Discounts
To calculate taxes or discounts, use simple multiplication. For example, if the price is in cell A2 and the tax rate in B2, the formula =A2*B2 will give you the tax amount. For a 10% discount, use =A2*(1-B2), where B2 holds the discount percentage as a decimal.
Using Conditional Formulas
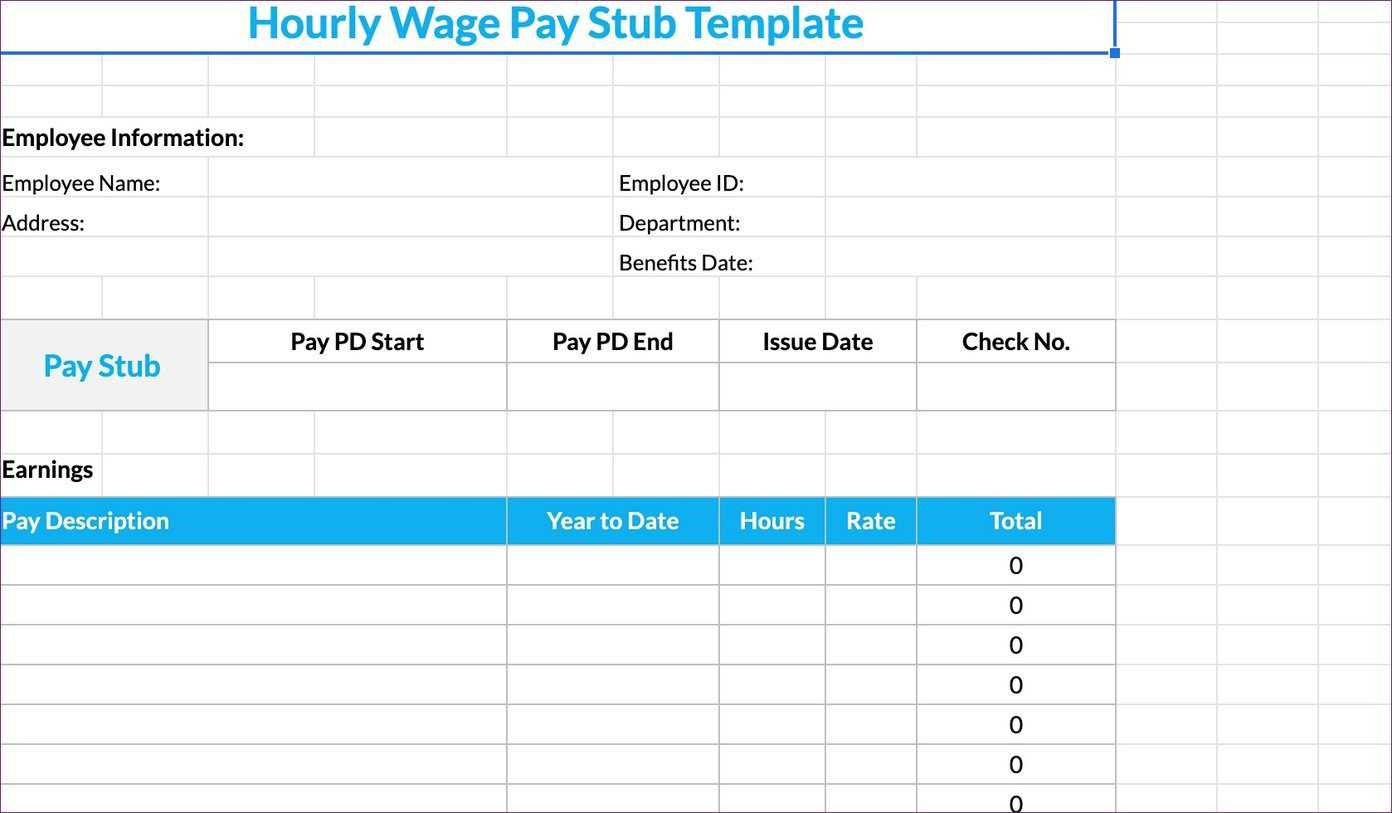
Conditional calculations can be performed using IF statements. For example, to check if a price exceeds a certain amount, use =IF(A2>100, "Yes", "No"). This will return “Yes” if the value in A2 is greater than 100, or “No” otherwise.
How to Share and Print Receipts Directly from Google Sheets
To share receipts from Google Sheets, select the cells containing the receipt information. Click on the “Share” button in the top-right corner of the sheet. In the dialog box that appears, enter the email addresses of the recipients and set their access permissions (view, comment, or edit). Once set, click “Send.” This will send a link to the sheet, allowing others to access the receipt directly.
Printing Receipts from Google Sheets

To print a receipt, open the sheet containing the data. Go to the “File” menu and choose “Print.” In the print settings, adjust the layout, paper size, and margins as needed. If you only want to print specific sections, select the “Selected cells” option under “Print” and highlight the relevant cells. Once everything looks good, click “Next” and choose your printer to finalize the printing process.
