Creating a blank invoice receipt template saves time and ensures consistency in your billing process. A well-structured template helps your business stay organized and keeps records clear and professional. Focus on the key elements: company details, client information, itemized list of services or products, and total amount due.
Start by including your company name, address, and contact details at the top of the template. This ensures that your clients know where to reach you if needed. Client information such as their name, address, and contact details should follow closely, making it easier for both parties to track transactions.
Next, clearly outline the services or products provided, with itemized descriptions and corresponding prices. This step avoids any confusion and offers transparency. At the bottom, include the total amount due, payment terms, and due date to make the payment process seamless for both parties.
Here is the revised version without repetitions:
When creating an invoice template for company receipts, ensure it includes key details such as the company name, address, contact information, and tax identification number. Include a clear invoice number and the date of issue to avoid confusion. Always specify the payment terms, including the due date and the accepted methods of payment.
Design and Layout Tips

Keep the layout clean and simple. Use a table to break down the products or services provided, including their descriptions, quantities, unit prices, and total amounts. Make sure to include any applicable taxes or discounts separately to ensure transparency. This organization helps recipients quickly understand the charges.
Legal and Compliance Information
Incorporate any legally required information, such as the terms and conditions of sale, refund policy, or relevant laws specific to your location or industry. This protects both parties and ensures the invoice meets legal requirements.
- Blank Template for Company Invoice Receipts
Ensure your company invoices are clear and professional with a well-structured template. A blank template helps you maintain consistency and streamline your billing process. It should include key sections such as the company name, address, invoice number, date, client details, and payment terms. Including a section for itemized descriptions and costs is important for clarity. Make sure to add a space for tax calculations and total amounts to avoid confusion. Having these details in place reduces errors and increases efficiency.
Core Sections to Include

Start with basic company and client information, like full names, addresses, and contact details. Next, clearly state the invoice number and issue date. Include the payment due date and specify accepted payment methods. If necessary, a line for notes or additional information can be added at the end.
Formatting Tips

Ensure proper alignment of text and numbers for readability. Use bold headings for each section to make them easy to spot. Consistent fonts and spacing help make the document professional. Keep it simple but functional–avoid unnecessary details to ensure the focus remains on the essential information.
To ensure clarity and transparency, your invoice receipt must include specific details that confirm the transaction. Here’s what to include:
| Detail | Description |
|---|---|
| Invoice Number | A unique identifier for each invoice, ensuring easy tracking and reference. |
| Company Name and Contact Information | Clearly display your company name, address, phone number, and email to facilitate communication. |
| Recipient’s Information | Include the customer’s name, address, and contact details for accurate delivery and correspondence. |
| Date of Issue | Indicate the date when the invoice was issued for reference and payment tracking. |
| Description of Goods/Services | Provide a clear breakdown of the goods or services rendered, including quantities, prices, and any discounts applied. |
| Total Amount | Clearly display the total amount due, including taxes and fees, with a clear indication of the currency. |
| Payment Terms | Outline the payment due date and any penalties or discounts related to early or late payment. |
| Payment Method | Specify the accepted methods of payment, whether it be credit card, bank transfer, or another option. |
Providing all these details guarantees your invoice is complete and legally compliant, ensuring both parties have clear records of the transaction.
Focus on simplicity and clarity. Ensure that the layout is clean and easy to follow by using clear headings and organizing sections logically.
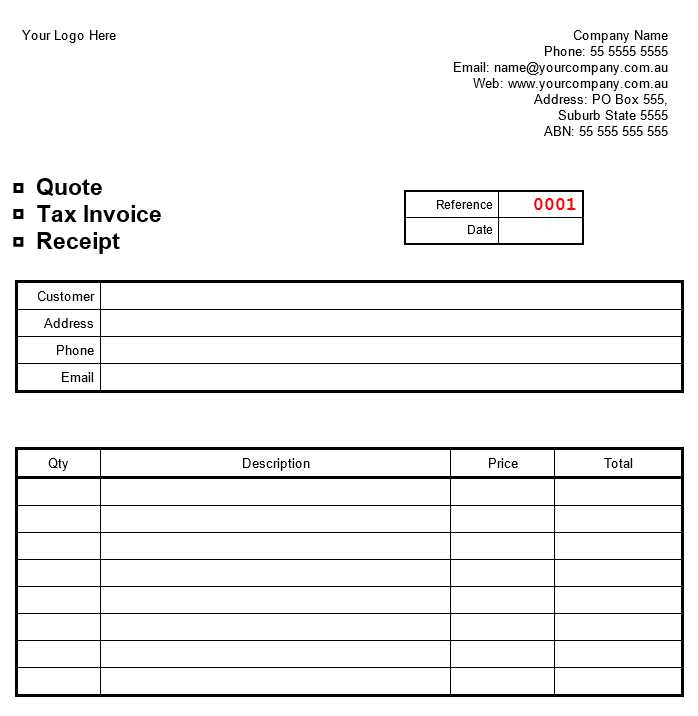
- Use a structured format: Place the company logo at the top left, followed by contact information, and ensure the invoice number is prominently displayed. Use a two-column layout with the itemized list on the left and total cost on the right.
- Clear font choices: Choose legible fonts with ample spacing, avoiding overly decorative styles. Sans-serif fonts like Arial or Helvetica work well for invoices.
- Organize the content: Separate the invoice details from the itemized list. Clearly label sections like “Invoice Date,” “Due Date,” “Bill To,” and “Ship To.” Highlight the total amount due in a larger font or bold.
- Consistency in alignment: Align text consistently to the left or center. Items and prices should be aligned in a grid-like manner for easy comparison.
- Color contrasts: Use contrasting colors for important details like totals or payment terms. However, stick to a neutral palette to avoid distraction.
By following these steps, you can ensure your invoice is both functional and visually appealing, making it easier for clients to understand the payment details.
Begin by incorporating your company logo at the top of the invoice. Ensure it’s high-resolution and properly aligned with the header text for a balanced appearance.
- Adjust the color scheme of the template to match your brand’s palette. Use primary brand colors for headers, footers, and borders.
- Choose a font that aligns with your brand identity. Stick to professional and readable fonts for key sections like the invoice number and total amount.
- Customize the footer to include your company’s contact details, including website, phone number, and email address. Ensure the font size is legible and the information is easy to find.
- Add any legal or regulatory statements that your company must include in invoices, such as tax numbers or disclaimers. Place them in the footer or a separate section at the bottom.
By focusing on these details, your invoices will not only be functional but also a reflection of your brand’s image.
Receipts must adhere to specific legal requirements depending on the jurisdiction. For businesses, it is crucial to include clear information on each receipt. Ensure that your receipt displays the name and address of your company, the date of the transaction, and the details of the purchased goods or services. A unique invoice number helps in tracking and referencing. Additionally, businesses must indicate the tax rate applied and the total amount, including any applicable taxes. This ensures compliance with tax regulations and can serve as evidence in case of audits.
In some regions, receipts must also include a legal disclaimer or information on return policies. Verify local laws to determine if such details are necessary. For example, some countries require that receipts be provided in the local language. It’s advisable to regularly review and update receipt templates to comply with evolving tax and business regulations. Ignoring these requirements can lead to fines or issues with authorities.
Lastly, when dealing with electronic receipts, ensure that they comply with data protection laws. This includes safeguarding customer data and offering a clear process for handling personal information securely. Stay informed on updates to legal obligations to avoid complications down the road.
Ensure that your template is optimized for both digital and print formats. For digital use, save your document in a widely compatible file format like PDF, ensuring text remains crisp and readable across all devices. For printing, use high-quality resolution images and fonts, and ensure margins are consistent. Make sure that your template adheres to any necessary color profiles or print specifications for accurate output. Pay attention to bleed areas and crop marks when preparing a file for printing to avoid cutting off any important details.
When designing for print, consider the final size of the document and adjust your template’s dimensions accordingly. For digital use, check the visibility of all text and elements on various screen sizes and make necessary adjustments to prevent cut-off content. Keep your file size manageable without sacrificing quality to ensure fast loading and smooth viewing on any device.
Finally, test your template by printing a sample copy or reviewing it on multiple digital platforms to ensure consistency across formats. Adjust fonts, logos, or images as needed to maintain a professional and polished look in both versions.
Automate receipt generation using software that integrates with your payment systems. This eliminates manual data entry and reduces human error. Set up templates for different transaction types, ensuring consistency and speed when issuing receipts.
Offer digital receipt options to reduce paper use and speed up delivery. Use email or direct links to send receipts immediately after a transaction is completed. This saves time for both your team and customers.
Organize receipt templates based on common customer needs, making it easy for them to find necessary details quickly. Include a clear summary of the purchase, payment method, and any additional services used, such as warranties or subscription details.
Ensure that your receipt system supports multiple languages or currencies, especially if you’re catering to a global audience. This helps reduce confusion and enhances the customer experience.
Regularly update your receipt formats to comply with tax regulations and customer preferences. Keep your templates simple but include all necessary details to avoid any compliance issues.
Meaning and structures remain intact.
Ensure that all sections of your invoice template are clearly defined. Use concise headings to guide users through the details of each part. The key components should include contact information, transaction details, payment terms, and itemized charges. Keep all content aligned with a logical flow.
Structuring Payment Information

When outlining payment terms, be precise. Include the due date, payment methods accepted, and any penalties for late payments. Specify the total amount due and break it down into understandable sections for the recipient’s clarity.
Clarifying Itemized Charges
List individual items or services with corresponding prices. Include descriptions for each charge to avoid confusion. If applicable, highlight taxes or additional fees separately to provide full transparency.