Skip the hassle of creating invoices from scratch. A well-structured invoice receipt template saves time, ensures accuracy, and presents a professional image to clients. Whether you’re a freelancer, small business owner, or part of a larger company, the right template helps track payments and maintain clear financial records.
Choose a format that fits your needs. A simple invoice receipt works best for quick transactions, while a detailed template suits businesses dealing with multiple products or services. Essential elements include the invoice number, date, client details, itemized charges, taxes, total amount, and payment confirmation.
Customization adds value. Add your company logo, adjust colors to match your brand, and include specific payment terms to avoid confusion. Many templates are available in formats like PDF, Word, and Excel, allowing flexibility in editing and sharing. For even greater convenience, use automated invoicing software to generate and send receipts instantly.
Avoid common mistakes. Missing payment details, incorrect calculations, or lack of contact information can delay processing and create misunderstandings. A well-designed template minimizes errors and keeps records organized for tax reporting and financial planning.
Pick a template that streamlines your workflow, enhances professionalism, and keeps your finances in check. With the right choice, invoicing becomes faster, clearer, and stress-free.
Here is the corrected version without unnecessary repetitions:
In invoice receipt templates, clarity and simplicity are key. Avoid redundant phrases that clutter the document. Focus on clear, direct language to ensure that all necessary details are conveyed in a concise manner.
Streamline the Header Section

Ensure the header includes only relevant details such as the company name, address, and contact information. Do not repeat the same information in multiple lines. A clean, straightforward header will make the invoice easier to read and process.
Refine the Item Description

When listing items or services, provide a concise description. Avoid over-explaining the same point. Each item should have a clear, short description, the unit price, quantity, and total cost. Repeating these details in different sections can create confusion and reduce the document’s effectiveness.
By following these simple steps, you ensure that your invoice receipt templates are not only professional but also easy to interpret by both the recipient and accounting staff.
Invoice Receipt Templates

When creating invoice receipt templates, clarity and precision matter most. Include all necessary details: the buyer’s and seller’s names, transaction date, unique invoice number, itemized list of goods or services, and the total amount. Make sure the tax information is accurate and easy to spot, especially if VAT or other taxes are involved.
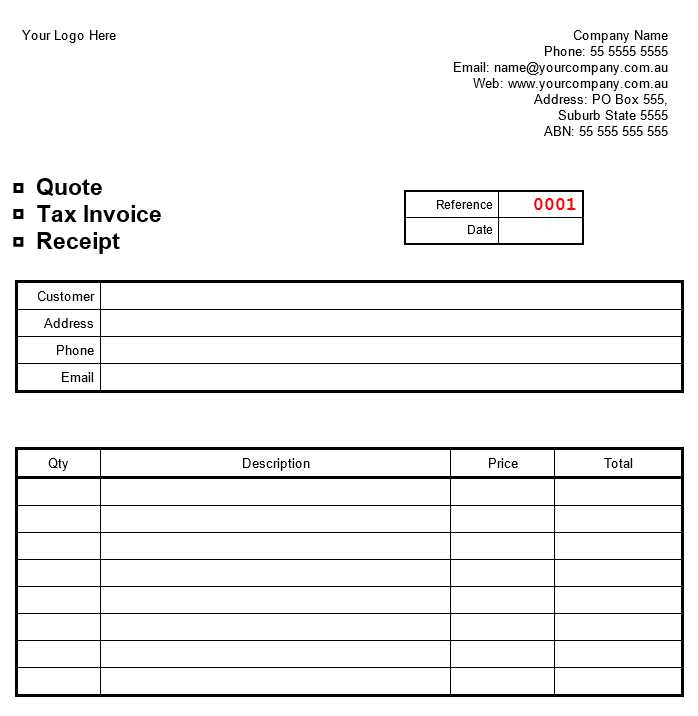
Structure your receipt logically. Start with the company logo and contact details at the top, followed by the customer’s name and address. Then, break down the purchased items or services with quantities and prices. The total should stand out, ensuring no ambiguity for the customer. Include payment methods and terms clearly, and if applicable, mention the payment due date.
Design templates with flexibility in mind. Create space for customization, so that users can modify or add necessary fields based on specific transaction requirements. For those using digital tools, incorporate editable fields where information can be filled out quickly without disrupting the layout.
Consider adding a section for terms and conditions, which can be particularly helpful for transactions involving complex payment structures or agreements. This ensures all parties are aligned with payment expectations.
Include the date of the transaction at the top of the receipt. This helps both parties keep track of purchases and payments made at specific times.
The seller’s name, address, and contact details must be visible. This information provides context in case the buyer needs to reach out for customer service or returns.
Clearly state the items or services purchased. Use a simple table format with the product name, quantity, unit price, and total price for each line item. This ensures transparency.
Show the subtotal, taxes, and any applicable discounts. List the tax rate and amount separately to make it easy to understand the breakdown of the total cost.
Provide the total amount paid, which includes all costs, taxes, and discounts. This ensures there is no confusion about what the buyer paid for the transaction.
If payment was made through a specific method (e.g., credit card, cash, or bank transfer), include this information. It confirms the payment method used for that specific transaction.
Include a receipt or transaction number for reference. This makes it easy to track or look up the purchase if needed.
Clearly state any return or refund policies. If there are time limits or conditions, make this information easy to spot so the buyer knows how to act if they wish to return or exchange the item.
Finally, consider adding a space for the seller’s signature or a system-generated confirmation number for added authenticity and validation of the receipt.
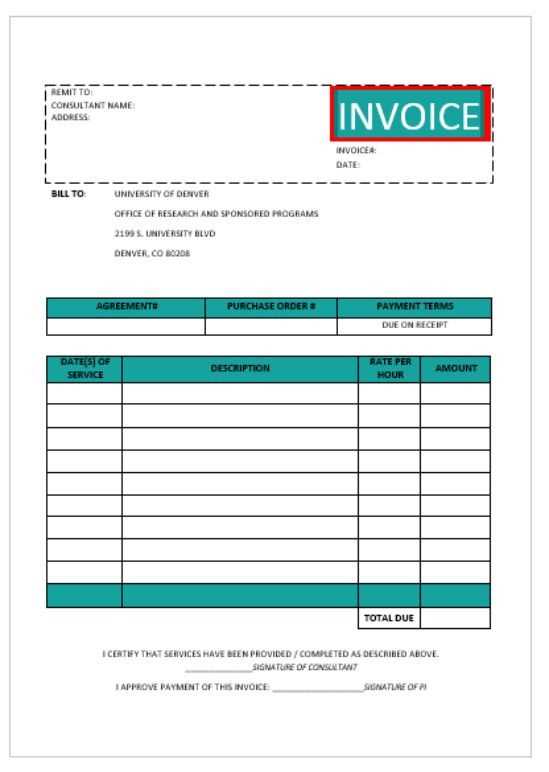
Adjust your invoice template to fit the specific needs of your business by focusing on key details. For service-based businesses, break down services provided, including the rate and number of hours worked. For product-based businesses, include item descriptions, quantities, and unit prices.
1. Specify Products or Services
Detail each product or service clearly. For a consulting business, list the consultations provided, hourly rates, and specific deliverables. For a retail business, list items, quantities, and prices to ensure customers understand their purchases.
2. Clarify Payment Terms
Be clear about payment expectations. Include payment due dates, accepted payment methods, and any late fees or early payment discounts. If you offer installment options or subscription models, reflect that in the invoice as well.
3. Include Taxes and Fees
Always itemize taxes and shipping fees, if applicable. Specify the applicable tax rates or provide a breakdown for each item. This helps avoid confusion and ensures that your clients understand the full cost.
4. Personalize Your Template
Customize your invoice template with your brand elements, such as logo, fonts, and color schemes. This adds a personal touch and reinforces your business identity while maintaining a professional appearance.
Customize your invoice to reflect your business needs and ensure clarity for your clients. Adjusting key sections like services, payment terms, and taxes will keep everything organized and professional.
PDF, Excel, and Word formats stand out as the most practical options for creating and sharing receipt templates. Each one serves specific needs, offering unique advantages depending on the situation.
PDF Format

PDF is the most widely used format for receipt templates due to its consistent layout across devices. It ensures that all elements, including text and images, remain fixed and printable. Ideal for sharing with clients or customers, PDF ensures professional presentation and easy readability on any device. You can protect sensitive data by password-protecting the file or restricting editing rights, making it secure for financial transactions.
Excel Format
For those who require more flexibility with calculations, Excel is a solid choice. Excel’s formulas and grid-based design allow easy customizations, such as adding tax or discount calculations directly to the template. Sharing an Excel file is beneficial when you need to adjust or update figures quickly. However, the recipient needs Excel or compatible software to view and edit the document.
| Format | Advantages | Best For |
|---|---|---|
| Fixed layout, professional look, easy to share | Finalizing receipts for clients or customers | |
| Excel | Customizable, includes calculations, easy updates | Creating detailed templates with dynamic figures |
| Word | Simple, editable, widely compatible | Quick receipt templates or internal use |
Word Format
For those who need basic, editable templates, Word offers simplicity and ease. It is perfect for quick receipt creation, internal documentation, or minor adjustments without requiring complex formatting tools. While Word may not offer the same level of customization as Excel, its accessibility makes it a convenient option for straightforward use cases.
Designing a professional and clear invoice receipt template is crucial for smooth business transactions. Here’s a straightforward approach to creating one:
- Start with a clean, well-organized layout. Use bold text for headings like “Invoice Receipt” to make it stand out.
- Ensure the invoice number is easily visible at the top for easy tracking.
- Include fields for the date of the transaction and payment terms. This helps avoid confusion later on.
- List the items or services purchased, followed by their respective costs. This makes the receipt transparent and understandable.
- Don’t forget to provide the total amount and include tax calculations if necessary.
- Offer space for payment method details, such as credit card or bank transfer. This adds clarity to the transaction.
- Lastly, leave room for any additional notes, like return policies or contact information, making it easy for customers to reach out.
Template Layout Example
- Invoice Receipt Title
- Invoice Number: #12345
- Date: 2025-02-11
- Payment Method: Credit Card
- Items Purchased:
- Item 1: $50
- Item 2: $30
- Total: $80
- Tax: $8
- Grand Total: $88
- Additional Notes: Thank you for your purchase!
Customization Tips
- Customize the design to match your business branding, using company colors and logo.
- Use clear fonts and make sure the text is readable, especially the totals and payment details.
- Consider adding a “Thank You” message to personalize the receipt.