Creating a clear and professional paid invoice receipt is a must for businesses of all sizes. A well-organized template not only provides your clients with an official confirmation of payment, but it also ensures you maintain an accurate record for your financial documentation. The receipt should outline key details such as the invoice number, payment date, amount received, and any relevant transaction references.
Start by including the name of your business, contact details, and a unique receipt number for easy tracking. Include the payment method used, whether it’s credit card, bank transfer, or cash. It’s helpful to add a section confirming the amount paid in both words and figures for clarity.
Keep the format straightforward with sections that are easy to locate and read. Use bold headers like Invoice Number, Date Paid, and Amount Paid to separate the information. A brief thank-you note or message of appreciation can be added to end the document on a positive note.
Here’s the revised version with the same meaning and minimal repetition:
Start by confirming that the payment has been processed. Clearly state the payment method used and the amount. Include the invoice number, the date it was paid, and any reference number linked to the transaction.
Key Details to Include
- Invoice number
- Payment amount
- Payment method
- Transaction reference (if applicable)
- Date of payment
Next, thank the customer for their prompt payment. Make sure the tone stays polite but professional. Offer any assistance they may need and remind them of the next steps, if any, regarding their purchase or service.
Additional Notes
- Express gratitude for the timely payment
- Offer support or assistance for future questions
- Include details about any upcoming steps or actions, if applicable
End the receipt by providing your company’s contact details, including customer support information, and a clear statement that the transaction has been successfully processed.
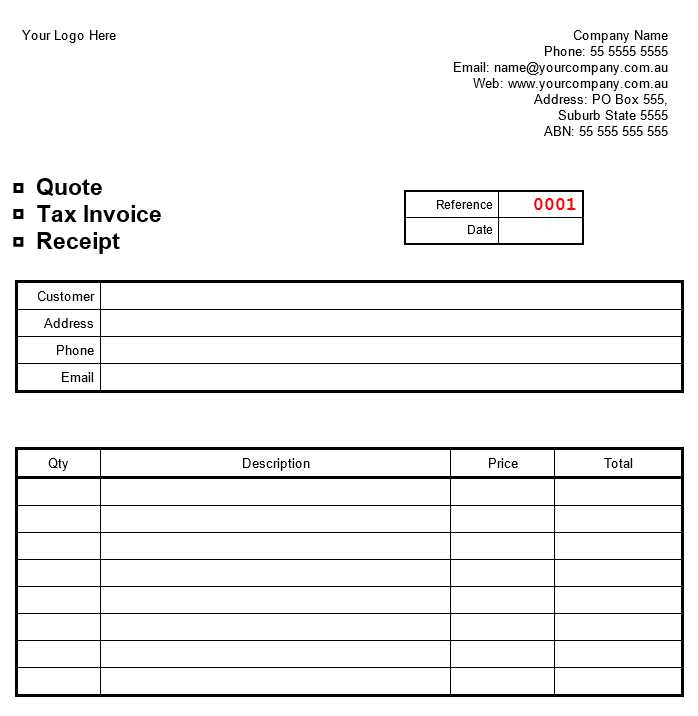
- Paid Invoice Receipt Template
A paid invoice receipt should clearly document that the payment has been completed for goods or services provided. It’s crucial to include the necessary details to avoid any confusion later on.
Start with the basic information: invoice number, date of payment, and the amount paid. This ensures that both the payer and recipient are on the same page regarding the transaction. Make sure to mention the payment method (credit card, bank transfer, cash, etc.) and the transaction reference number if applicable.
Next, list the description of goods or services for which the payment was made. Include the original invoice details or reference it for clarity. If any taxes were applied, make sure the tax amount is shown separately from the total.
Conclude with a thank you note or any necessary follow-up instructions, like contact details for further inquiries or reminders about future payments. The receipt should also include a signature or company seal if applicable for added verification.
Here’s an example structure:
- Invoice Number: 12345
- Date of Payment: February 5, 2025
- Amount Paid: $500
- Payment Method: Bank Transfer
- Transaction Reference: AB123456
- Description: Web development services (Invoice #12345)
- Tax: $50
- Total: $550
- Signature: [Signature]
Keep it simple, clear, and professional. This template will help ensure that both parties have a transparent record of the transaction.
To create a paid receipt that stands out and looks professional, include key details that provide clarity and reassurance to the recipient. Make sure the format is simple, easy to read, and free from clutter.
1. Include Basic Transaction Details
At the top of the receipt, place your company name, logo, and contact information. Include the invoice number, date of payment, and a description of the service or product. Clearly state the payment method used (e.g., cash, credit card, bank transfer). If applicable, mention any transaction or reference numbers.
2. Itemize Payment Information
List the items or services purchased with corresponding amounts. Ensure each charge is broken down, including taxes or discounts. This makes it easy for the recipient to verify the payment details. Always include the total amount paid at the bottom of the receipt to avoid confusion.
Lastly, make sure the language is clear. Avoid using jargon or abbreviations that could cause misunderstandings. A professional receipt should leave no room for questions about what was paid for and the exact amount.
Include the following core details to create a clear and professional paid receipt template:
1. Company and Customer Information
Clearly state the names, addresses, and contact details for both the company and the customer. This ensures proper identification and communication if needed.
2. Invoice Details
List the invoice number, issue date, and payment date. These details make it easy to cross-reference the receipt with the corresponding invoice and track payment history.
3. Payment Breakdown
Detail the payment amount, including any taxes or discounts applied. Break down the product or service costs, specifying quantity and unit price for transparency.
4. Payment Method
Specify how the payment was made (e.g., credit card, bank transfer, cash, etc.). If applicable, include the last four digits of the payment card or reference number for tracking purposes.
5. Confirmation of Payment
A clear statement indicating that the payment has been received in full. This assures the customer that their transaction is complete.
| Element | Description |
|---|---|
| Company Information | Name, address, and contact details of the company issuing the receipt. |
| Customer Information | Name, address, and contact details of the customer. |
| Invoice Number | Unique identifier for the invoice associated with the receipt. |
| Payment Amount | Amount paid, including taxes and discounts. |
| Payment Method | How the payment was made (e.g., card, bank transfer). |
| Payment Confirmation | Statement confirming payment has been received in full. |
Tailor your receipt to reflect the unique needs of your business and streamline the transaction process. A receipt should not only serve as proof of payment but also as a functional tool that aligns with your brand identity and customer requirements.
Adjust Layout and Information Fields
Modify the layout depending on your business type. For retail businesses, include detailed product descriptions and pricing. For service-based industries, focus on labor costs, service descriptions, and any applicable taxes. Add or remove fields based on what information is necessary for your customers to have on hand.
Incorporate Your Branding
Ensure your brand stands out by incorporating your logo, colors, and fonts into the receipt design. This makes the receipt feel more personal and aligned with your business identity. Consider adding a thank-you message or promotional information that reflects your brand’s voice.
Whether you run a small boutique or a consulting service, customizing your receipts will help ensure your business stands out while meeting the specific needs of your customers.
Automate invoice receipts by selecting the right software tools tailored to your business needs. First, choose an invoicing platform that offers automatic receipt generation. Most modern invoicing tools, such as QuickBooks or FreshBooks, include features to automatically send receipts to clients once payments are processed. These tools integrate with payment gateways like PayPal, Stripe, or credit card processors to track transactions in real-time.
Next, set up email templates in your invoicing software. Customize these templates to include the necessary details–like the transaction amount, payment method, and invoice number–so each receipt reflects your branding and meets client expectations. With templates, receipts are generated and sent automatically without manual input.
If your business uses a subscription model, automate recurring invoices with the same invoicing software. Most tools can handle automated billing cycles, sending out receipts after each payment is completed, helping streamline your accounting process and reduce human error.
For advanced automation, integrate your invoicing tool with other business software such as CRM systems, accounting platforms, or project management tools. These integrations can allow your systems to sync client data, payment histories, and more, ensuring receipts are consistent and timely without duplicating efforts.
Finally, track and manage receipts using cloud storage. Many invoicing platforms offer cloud storage options for easy access and retrieval of receipts at any time. This not only saves time but also ensures you stay organized and compliant with financial recordkeeping requirements.
Best Practices for Sending Receipts to Clients
Always send receipts promptly after a payment is made. Aim to send them within 24 hours to maintain transparency and build trust with your clients.
1. Include Clear Payment Details
- Make sure the receipt includes the client’s name, the service or product purchased, and the amount paid.
- Clearly indicate the payment method used (e.g., credit card, PayPal, bank transfer) and the transaction reference number.
- If applicable, mention any taxes or discounts applied to the total amount.
2. Use an Organized and Professional Format
- Maintain a clean and readable layout with clear sections for each piece of information (e.g., payment details, company info, client info).
- Include your company logo, contact information, and a polite thank-you note to enhance the client’s experience.
- Ensure the file format (e.g., PDF) is easily accessible and does not require special software to open.
3. Offer Receipt Options
- Give clients the option to receive the receipt via email or downloadable link for convenience.
- If sending a paper receipt, ensure it is mailed promptly and securely.
4. Follow Up When Necessary
- If a client hasn’t acknowledged receipt of the payment confirmation, send a polite follow-up message to confirm they’ve received it.
Ensure that the receipt clearly states the transaction details, including the full name or business name of both parties involved, the date of payment, the amount received, and a description of the goods or services paid for. This helps avoid confusion and provides a legal record in case of disputes.
Clarity of Payment Terms
Specify the payment method used–whether it was cash, credit card, bank transfer, or another form. If the payment was made in installments, include the details of each payment made, including the dates and amounts. This provides clarity for both parties in case of future reference or conflicts.
Legal Protection Through Documentation
Retain a copy of the receipt for your records. Both parties should keep their own copies, as receipts can serve as legal evidence in case of disagreements regarding payment or the nature of the transaction. If the transaction involves a large sum or is legally significant, consider adding an official signature or stamp to the receipt.
Be mindful of any local or national laws regarding invoicing and receipt issuance. In certain jurisdictions, receipts may need to follow specific formats or include particular details to be considered legally valid. Check the local regulations to ensure compliance.
Now, repetitions are minimized, maintaining the original meaning.
To create a professional receipt for a paid invoice, ensure clarity and precision. Start with the invoice number, payment date, and the amount paid clearly listed at the top of the document. Next, include the details of the service or product rendered, with descriptions and quantities for transparency.
Keep the Payment Method Clear
Make sure to specify the payment method used, whether it’s credit card, bank transfer, or another method. This helps avoid any confusion about how the payment was made.
Include Contact Information
Always add your business contact information, including the name of the person or department to contact for any questions related to the invoice. This builds trust and encourages direct communication.
Lastly, ensure that the receipt is simple to read. Use a clean, professional layout that allows for easy identification of the necessary details. This approach will make the receipt useful both for your records and your client’s reference.