When managing transactions, having a well-structured receipt or invoice template saves both time and effort. These documents ensure clear communication between you and your clients, providing a professional approach to every purchase or service. The right template can simplify record-keeping and support accurate financial tracking, which is key to maintaining a smooth business operation.
Using pre-designed templates eliminates the need to start from scratch every time you issue a receipt or invoice. Whether for a small business or a large enterprise, templates help standardize the information shared, ensuring all relevant details, such as item descriptions, amounts, and payment terms, are clearly displayed. Templates are easily customizable, allowing you to add your branding, adjust styles, and include specific tax rates.
Customizing templates can also boost your business’s efficiency. Instead of manually creating documents, you can fill in the necessary fields, print, or send the invoices directly. This practice not only reduces errors but also improves your workflow, allowing you to focus on more strategic aspects of your business. Choose templates that fit your industry and transaction types for the best results.
Here is the corrected version with duplicates removed:

Ensure the template is streamlined by removing redundant lines. This will make the invoice easier to read and less cluttered. First, check for duplicate information like repeating customer names or addresses in different sections. Keep only the most necessary details and avoid redundancy in item descriptions.
Tip 1: Simplify Your Item List

Combine similar items into one entry if they share the same description or price. This avoids repetition, making the invoice more compact and clear. For example, instead of listing each item separately, group similar products together with a total price for each group.
Tip 2: Remove Unnecessary Sections

If certain fields or sections are not required for every transaction, omit them to prevent clutter. For instance, if tax information or shipping details are not relevant, leave them out until needed for a specific invoice.
Receipts and Invoices Templates: A Practical Guide
How to Choose the Best Template for Your Business Needs
Customizing Invoice Layouts for Various Industries
How to Include Legal and Tax Information in Templates
Integrating Payment Terms and Due Dates in Invoices
How to Automate Receipt Creation with Templates
Common Errors to Avoid When Using Invoice and Receipt Templates
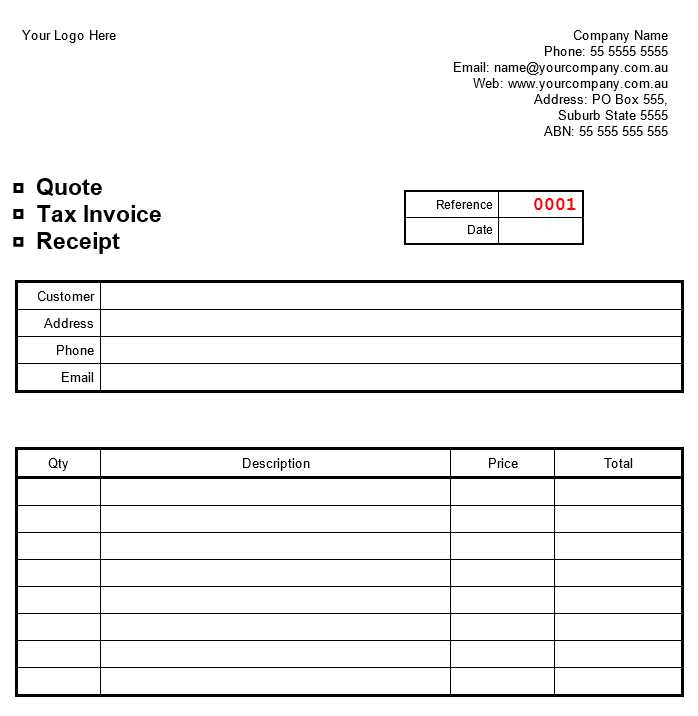
Choose a template that reflects your brand’s image and aligns with your business operations. The design should be clean and professional. Consider including your logo, business name, and contact information prominently. For small businesses, simple templates may suffice, while larger companies often require more complex layouts that accommodate multiple products or services, client information, and tax calculations.
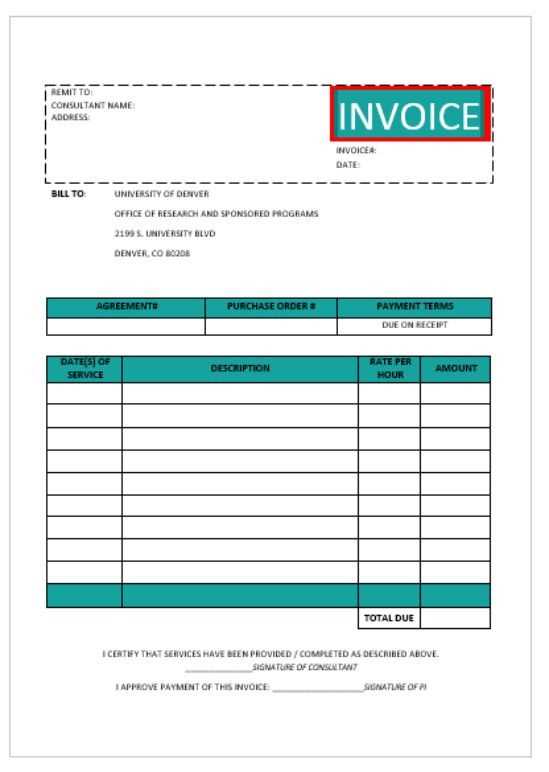
Invoice layouts vary across industries. A freelancer’s invoice might focus on a straightforward listing of services and payment terms, while a construction business may require a detailed breakdown of materials, labor costs, and project phases. Customizing your template to match industry standards ensures clarity and makes your invoices look more professional. For example, in retail, including product codes and quantities is crucial, whereas a consultant’s invoice might focus more on hourly rates and hours worked.
Tax and legal information is non-negotiable in invoices and receipts. Always include your business’s tax ID number, VAT number if applicable, and ensure that any mandatory tax rates are clearly stated. This is essential for compliance and to avoid issues with tax authorities. Be sure to check the specific requirements for your region, as regulations differ depending on your location.
Set clear payment terms and due dates in your templates. Specify payment methods (e.g., bank transfer, credit card), any early payment discounts, or penalties for overdue payments. Including payment terms on each invoice can reduce confusion and streamline cash flow management. Set realistic due dates based on your industry, whether that’s 30, 60, or 90 days after issue.
Automate receipt creation using software that integrates with your accounting system. This reduces the risk of human error and speeds up the process. Many platforms allow for automatic generation of receipts after a payment is processed, ensuring timely and accurate documentation for both you and your clients. You can customize these templates as well, setting them up to include specific fields for client information, service descriptions, and payment details.

Avoid these common errors when using invoice and receipt templates: failing to update contact information, neglecting to include all necessary taxes or fees, or using generic descriptions that confuse clients. Inaccurate calculations or unclear terms can lead to disputes and delayed payments. Also, make sure to use a template that can handle different currencies or payment systems if you deal with international clients.