When creating an invoice receipt, the format should be clear and structured, ensuring all the necessary details are included for both the buyer and seller. The header typically includes the invoice number, date of issue, and contact details for both parties involved. Keep it simple, using bold or underlined text to highlight critical information such as payment terms and amounts.
Start with the basic details, like the name and address of the buyer and seller. Clearly state the items or services provided, along with their respective prices and quantities. This helps to avoid any confusion regarding what has been purchased or paid for.
For added clarity, include a breakdown of costs, such as taxes, discounts, or shipping charges. This ensures that both parties understand the total amount due and how it was calculated. Make sure the total payment amount is clearly visible, usually at the bottom of the receipt, for quick reference.
Lastly, add a section for payment instructions. Specify acceptable payment methods, due dates, and any late payment penalties. This ensures the buyer knows exactly how and when to complete the payment, helping both parties stay on track with their financial obligations.
Here’s the revised version with reduced repetition:
In this template, clearly distinguish sections like invoice details, payment terms, and items purchased. Use concise, informative headings for each section. For instance, under “Itemized List,” list each product with quantity and price next to it for clarity. This avoids redundancy and keeps information easy to find.
Instead of repeating similar phrases in the footer, a single line with payment instructions and company contact information suffices. Keep language straightforward without redundancy in each part of the invoice.
For the payment due date and total amount, highlight them just once in bold to make it stand out, without repeating this information in multiple places on the template.
- Template for an Invoice Receipt
Creating a clear and organized invoice receipt template helps ensure that transactions are recorded accurately. Here’s how to structure it effectively:
Key Sections to Include
- Invoice Number: Assign a unique number to each invoice for tracking purposes.
- Invoice Date: Include the date of issuance to avoid confusion on payment terms.
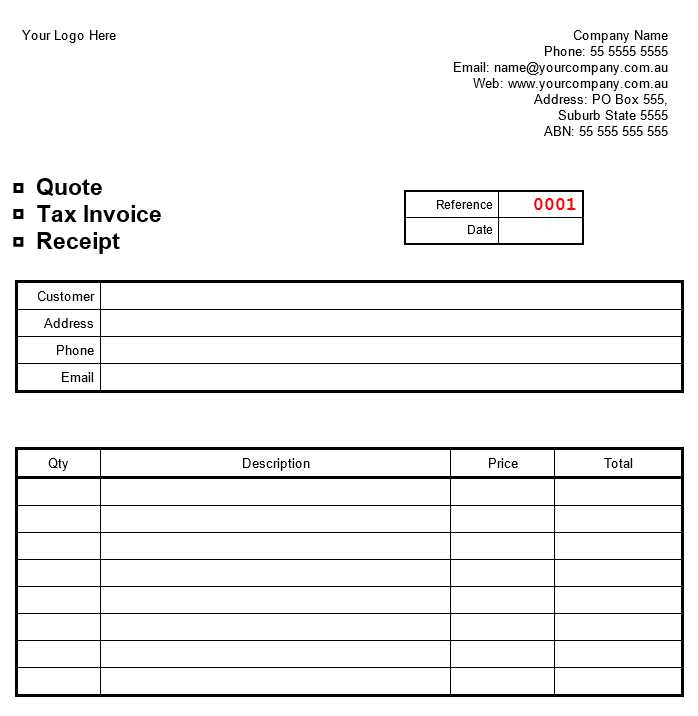
- Seller Information: Clearly state the business name, address, phone number, and email.
- Buyer Information: List the customer’s name, address, and contact details.
- Product/Service Description: Provide a clear breakdown of the items or services being invoiced, including quantity, price, and total.
- Amount Due: Clearly state the total amount owed, including any taxes or discounts applied.
- Payment Terms: Specify the due date, late fees (if applicable), and acceptable payment methods.
Formatting Tips

- Use a clean, simple design that is easy to read and professional. Avoid clutter.
- Ensure alignment of all the text and numbers for a more polished look.
- Include company branding, such as logos or color schemes, to personalize the receipt.
- Leave space for signatures or stamps if needed for physical receipts.
For a well-structured invoice receipt template, there are a few must-have elements that ensure clarity and accuracy in financial transactions. These elements provide both the payer and payee with necessary details for record-keeping and legal purposes.
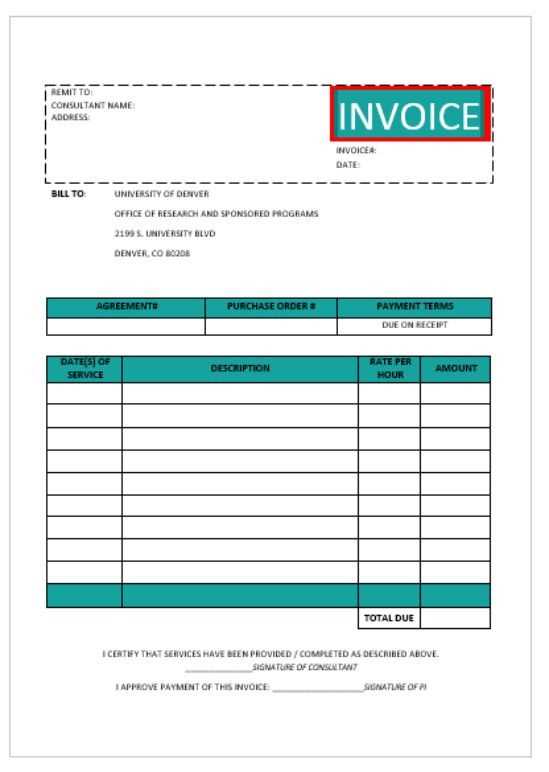
Invoice Identification
Each invoice must have a unique identifier. This is commonly a number, which helps in tracking and referencing the document. This ID is essential for future communication regarding the transaction.
Contact Information
The template should include the names, addresses, and contact details of both the seller and the buyer. This ensures that any communication can be directed accurately, should there be any need for follow-up or clarification.
Itemized List of Products or Services

A detailed description of the products or services provided is crucial. It should include quantities, unit prices, and the total cost for each item. This breakdown helps the customer verify what they are being charged for.
Payment Terms and Due Date

Clarify the payment terms, such as accepted methods of payment (credit card, bank transfer, etc.) and any discounts for early payment. Also, include the due date for the payment to prevent confusion.
Subtotal and Tax Calculation
Include a subtotal that sums up the cost of all items or services. Then, calculate the applicable taxes based on the location and nature of the transaction. These amounts should be listed separately for transparency.
Total Amount Due
Clearly display the final amount due after taxes and discounts. This should be the most prominent part of the invoice to avoid any ambiguity when processing payment.
Payment Instructions
Outline the payment methods and any relevant instructions, such as bank account details or online payment links. This makes it easier for the customer to settle the invoice without confusion.
Footer with Legal Information
Include any legal disclaimers, such as refund policies or business registration numbers. This section serves to protect both parties legally and ensures all regulatory requirements are met.
| Element | Purpose |
|---|---|
| Invoice ID | For tracking and reference |
| Contact Information | Ensures accurate communication |
| Itemized List | Breakdown of services or products provided |
| Payment Terms | Clarifies due date and payment conditions |
| Subtotal and Tax | Shows total before and after taxes |
| Total Amount Due | Displays final amount to be paid |
| Payment Instructions | Provides clear payment options |
| Legal Information | Protects both parties with necessary disclaimers |
For clear organization, place the invoice number in a prominent position at the top of the document. Use a sequential numbering system to help track payments. Common formats include “INV-001” or “2025-01-001” where the first part is a prefix and the second is a number. Make sure the number is unique for each invoice to avoid confusion.
The date should be placed next to the invoice number or in a designated area at the top. Use the full date format, such as “January 5, 2025” or “05/01/2025”. This ensures clarity, especially when dealing with multiple invoices issued in the same month or year. Always ensure that the date format is consistent throughout your invoices.
For easy reference, separate the invoice number and date with a clear space or line. This helps the reader quickly distinguish the two pieces of information, reducing the risk of errors during processing.
Define clear payment deadlines. Specify the exact number of days after the invoice date for payment to be due, such as “Net 30,” “Due upon receipt,” or “30 days from the invoice date.” This ensures clients know when to settle their balance.
Set late payment fees. Include penalties for overdue payments, like “1.5% monthly interest” or a fixed fee for each late payment. This encourages timely payment and prevents delays.
Clarify accepted payment methods. Indicate which methods you accept–credit cards, bank transfers, or PayPal. Provide specific account details or links for easy transactions.
Specify discounts for early payment. If offering a discount for early payments, clearly state the percentage and time frame, such as “2% off if paid within 10 days.” This can motivate faster payments from clients.
State currency and taxes. Ensure the invoice indicates the currency you’re using and if taxes are included or additional. This avoids misunderstandings about the total amount due.
Include conditions for payment disputes. Provide a process for resolving any disputes regarding the payment, specifying how clients can contact you or where they can send a complaint. This helps prevent delays caused by confusion or disagreements.
Clearly indicate all applicable taxes and additional fees in the invoice to maintain transparency with your customers. Ensure that the tax rates and fee breakdowns are visible and easy to understand.
Itemized Tax Breakdown
- Include a line item for each tax, specifying the percentage rate applied to the subtotal or the total amount.
- Indicate the tax type, such as VAT, sales tax, or service tax, alongside the rate.
- Make sure the total tax amount is clearly listed at the bottom of the invoice.
Additional Fees
- If there are extra charges, like shipping or handling fees, clearly label them as separate items.
- Provide details about the reason for the fee, such as expedited shipping or packaging costs.
- List all additional charges separately from the main cost to avoid confusion.
Focus on creating a layout that directs attention to key information. Prioritize the company name, invoice number, date, and total amount. Use clear and distinct headings for each section to avoid confusion. Consistently align text to create a clean, organized look, ensuring everything is easy to read at a glance.
Incorporate adequate spacing between sections. Avoid overcrowding by using margins and padding, allowing each piece of information to breathe. Divide the document into logical sections, such as billing details, itemized list, and payment terms, with each section clearly labeled.
Choose readable fonts with a professional appearance, such as sans-serif types for a modern look. Make sure font sizes vary appropriately to differentiate headers from body text. Maintain consistent font usage throughout the invoice to reinforce professionalism.
Use color sparingly, primarily for highlighting important information such as totals or payment instructions. Stick to neutral or brand-related colors to keep the design balanced and straightforward. A pop of color in headings or totals can add visual interest without overwhelming the reader.
Align data consistently, especially numbers. Use tables for itemized lists and align the numbers to the right for easier comparison. This increases clarity, making it quicker for clients to process the information.
Finally, keep the layout flexible for different devices, ensuring the invoice remains legible whether viewed on a desktop, tablet, or phone. This adaptability improves user experience and enhances the clarity of your communication.
To save your invoice template, first ensure all fields are filled in and formatted correctly. Choose a file format that best suits your needs. PDF is ideal for a universally accessible, professional layout, while Excel or Google Sheets allows for easy editing and tracking. Save your document with a clear file name and version number to stay organized.
For sharing, consider using cloud storage services like Google Drive, Dropbox, or OneDrive. These platforms allow for easy access and sharing via a link. If you need to send it via email, simply attach the saved file to your message. Ensure the recipient has the necessary software to open the file type you chose.
For frequent use, consider creating a folder dedicated to your invoices, where you can quickly access or update templates as needed. If you’re working with a team, enabling collaboration features can save time and ensure everyone is using the most recent version.
Ensure your invoice receipt template includes a properly formatted unordered list (UL) to organize itemized details efficiently. This format enhances readability and provides clarity for both the sender and the recipient. Each item in the list should be clearly defined, with the following structure:
- Item name or description
- Quantity
- Unit price
- Total cost
Using this method helps prevent confusion and simplifies invoice tracking. Don’t forget to include a clear total at the end of the list. This structured approach keeps the document neat and professional, ensuring all necessary information is easy to locate.