Creating a clear and professional invoice receipt is key for both businesses and clients. A well-structured template helps you quickly generate receipts with all the necessary information, ensuring smooth transactions.
Start by including the business name, contact details, and invoice number at the top. Clearly state the date of payment and any related purchase or service information. Make sure to list all items or services rendered, along with their individual costs. This gives your clients a transparent view of the transaction.
The template should also feature space for payment method, payment terms, and any applicable taxes. These sections keep your records consistent and make it easier to track payments. Keep the layout simple yet professional, so it’s easy to read and understand at a glance.
Finally, remember to add a thank-you note or any next steps. It not only personalizes the receipt but also encourages ongoing positive relationships with your clients. A good invoice receipt template saves time and reduces errors, making your workflow smoother and more reliable.
Here’s the corrected version with repeated content removed:
Use concise language to clarify the key points in your invoice. Be sure to list the transaction date, the product or service provided, and the total cost without redundancy. Remove any duplicate entries, such as unnecessary payment details or similar descriptions of services, which could confuse the recipient.
Invoice Formatting Tips

Ensure the structure is clear and easy to read. A simple layout with clear headings for each section (like “Service Description”, “Total Amount”, and “Payment Terms”) makes the document more user-friendly. Avoid repeating the same information multiple times in different places on the same invoice.
Final Check
Before sending the invoice, review it to confirm all the details are accurate and avoid including the same item or service description more than once. This not only makes the document cleaner but also more professional.
- Template Invoice Receipt Guide
To create an invoice receipt template, first ensure it contains key details such as the invoice number, date, and payment terms. The receipt should clearly identify both the buyer and seller, listing the products or services purchased, their quantity, and unit price. Include the total amount due, and specify the method of payment (e.g., cash, credit card, bank transfer). A well-organized template helps avoid confusion and ensures smooth transactions.
Use clear headings for each section, such as “Invoice Number”, “Seller Information”, “Buyer Information”, “Itemized List”, and “Payment Details”. This format ensures easy readability for both parties. Also, make sure to include any tax information, including tax rates and amounts, if applicable. An optional “Notes” section allows for any additional details or terms that may be necessary.
For consistency, choose a simple, professional design. Incorporate your company logo and ensure the font size and spacing are easy to read. Avoid cluttering the receipt with unnecessary elements or excessive design features that could distract from the key information.
Lastly, provide a unique invoice number for each transaction. This will help with future reference and keep the invoicing process organized. You can also set up a system for tracking payments to ensure all transactions are completed as agreed.
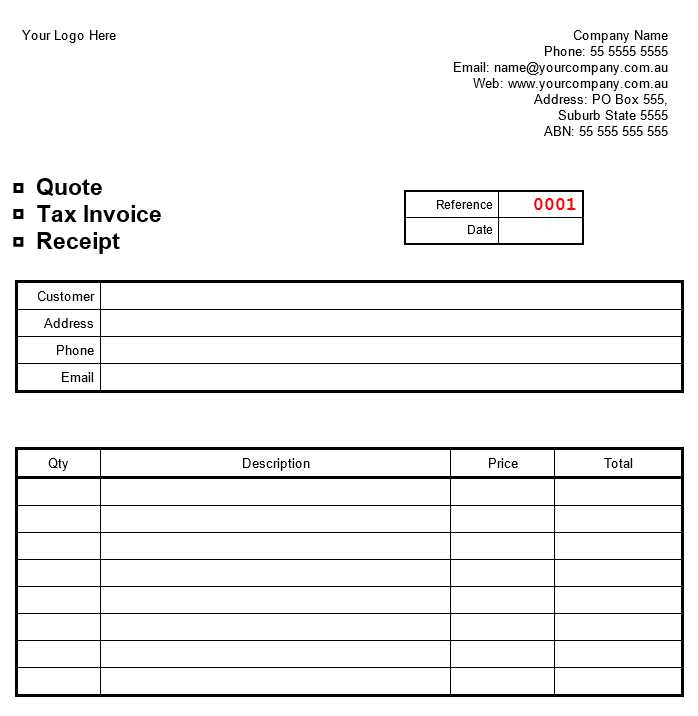
Design a simple structure with the key components of an invoice. Start with your business name and contact details at the top. This ensures your client can easily reach you if needed.
Include a unique invoice number for tracking purposes, followed by the issue date. This helps both you and the client stay organized. Next, provide the recipient’s name and contact details, so there’s no confusion about who the invoice is for.
Clearly list the products or services you provided, along with their quantities and prices. For each item, include a description, and ensure the unit price and total price are easy to read. Use a table format to organize this information:
| Description | Quantity | Unit Price | Total |
|---|---|---|---|
| Product/Service 1 | 1 | $100 | $100 |
| Product/Service 2 | 2 | $50 | $100 |
Don’t forget to calculate the subtotal, then add applicable taxes (if any), and include the total amount due. This step ensures transparency in billing.
Finally, add payment instructions–such as your bank details, PayPal link, or other methods–so clients know how to complete the transaction. You can also specify payment terms, like the due date or penalties for late payment.
An invoice is a critical document for any business transaction. It provides the details needed to ensure payment is made correctly and on time. Here are the key components you must include to make sure your invoices are clear, professional, and legally sound.
- Invoice Number: A unique identifier for each invoice. This helps both parties track payments and organize their records. Make sure the numbering system is sequential and easy to follow.
- Business Name and Contact Information: Include your company’s full legal name, address, phone number, and email address. This ensures the client knows who the invoice is coming from and how to reach you for questions.
- Client’s Details: List your client’s name or company name, billing address, and any relevant contact details. This ensures the invoice is properly directed.
- Invoice Date: Clearly state the date the invoice was issued. This is essential for payment tracking and for setting due dates.
- Payment Due Date: Specify when the payment is due to avoid confusion. Including a due date helps prevent delays in receiving payments.
- Itemized List of Products/Services: Break down the products or services provided, including quantities, unit prices, and total amounts. This ensures transparency and clarity for the client.
- Total Amount Due: Clearly display the total amount owed, including taxes, discounts, and any additional fees. This should be easy to locate on the invoice.
- Payment Terms: Mention the terms of payment (e.g., 30 days, 15 days). If applicable, outline any late fees or interest charges for overdue payments.
- Tax Information: If you are required to charge tax, include the tax rate applied and the total tax amount. This is important for compliance with tax regulations.
- Payment Methods: List the accepted payment methods, such as bank transfer, credit card, or PayPal. Providing multiple options can make it easier for clients to pay.
Final Tips

- Ensure all information is accurate to prevent delays and confusion.
- Use clear, easy-to-read fonts and layouts to make the invoice user-friendly.
Adjust your receipt template based on the industry specifics to enhance clarity and relevance for your clients. For retail businesses, include itemized lists with clear descriptions and pricing for each product. This makes the transaction transparent and helps customers keep track of their purchases.
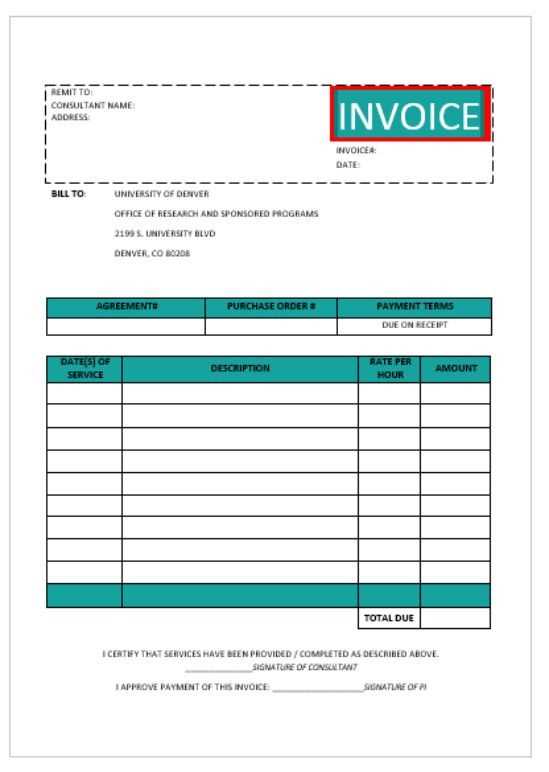
For service-based industries, like consulting or repairs, focus on hourly rates, service descriptions, and any discounts offered. Adding a section for project or job details ensures customers understand exactly what they’re being charged for. Make sure to separate taxable and non-taxable services for accuracy.
In the food and beverage industry, include detailed information on orders such as the name of the dish, modifiers (e.g., “no cheese” or “extra sauce”), and subtotal for each item. Tip sections can also be customizable to accommodate the different tipping practices in various regions.
For freelancers or creatives, it’s important to list project milestones or deliverables, payment terms, and any deposits or advances received. Clear payment instructions and the total balance due can prevent confusion. A section for the work completion date can also be useful.
In industries that involve subscriptions or memberships, like gyms or SaaS, add renewal dates, membership tiers, and payment frequencies. Make sure to include a breakdown of any usage or overage charges to avoid billing disputes.
Lastly, always ensure that your template reflects the legal requirements of your region, such as tax identification numbers or other regulatory data. Customizing the layout for industry-specific needs not only streamlines operations but also builds trust with your clients by showing attention to detail.
Start by choosing software that integrates with your accounting system. This way, receipts can be automatically generated and stored without additional input. Look for tools that allow customization of receipt formats and automatically add transaction details like dates, amounts, and vendor information.
Next, set up automatic data capture from emails or invoices. Many software solutions offer the ability to scan incoming documents and extract key information, saving time on manual data entry. The software should also allow you to match received items with purchase orders, ensuring accuracy.
- Ensure your software supports OCR (optical character recognition) technology for automatic data extraction from PDFs or images.
- Choose a platform that integrates with cloud storage to keep receipts organized and easily accessible.
Automation also involves setting up automatic notifications. For example, your software can alert you when a receipt has been processed or when any discrepancies occur between the expected and actual amounts.
Another key feature to consider is automatic reporting. Once receipts are logged, generate reports with a single click to track spending or reconcile expenses.
By automating these processes, you can minimize human error, save time on administrative tasks, and keep your financial records up to date effortlessly.
Use a clean, simple layout with plenty of white space. A cluttered receipt is harder to read and can cause confusion. Keep the text size consistent, with headings or important sections slightly larger to make key details stand out.
Clearly separate different sections. Place items, prices, taxes, and totals in distinct areas to avoid mixing information. Align columns neatly, especially for items and their corresponding prices, using straight lines for a polished look.
Include sufficient spacing between lines of text. This helps the reader easily distinguish between different pieces of information, especially when dealing with multiple items or long receipts.
Use legible fonts. Stick to widely available, easy-to-read fonts like Arial, Helvetica, or Times New Roman. Avoid decorative fonts that may reduce readability, especially in small sizes.
Ensure numbers are easily distinguishable by formatting them with enough spacing and separating decimals clearly. Use bold or different text styles for totals, taxes, or important amounts.
Include clear headings and labels. Titles like “Item,” “Price,” “Quantity,” and “Total” should stand out to guide the reader through the information. The layout should flow logically, helping the reader navigate from one section to the next without confusion.
Highlight key information such as the total amount due or payment method. Use bold text or a larger font size to draw attention to these details, ensuring they are not overlooked.
Provide clear, readable dates and transaction numbers. These are essential for record-keeping and future reference, so ensure they are prominently displayed and easily distinguishable from the rest of the text.
Clearly separate each payment method on the invoice. If a customer pays using a combination of cash, credit card, and bank transfer, list each payment method along with the amount paid through each. This approach ensures accuracy and transparency.
For each payment method, include specific details. For example, if payment is made via credit card, note the last four digits of the card number. Similarly, for bank transfers, include the transaction reference number. This adds clarity and helps resolve any disputes quickly.
When multiple methods are used, adjust the total amount accordingly. The sum of all payments should match the invoice total. If there’s a remaining balance, show it clearly, and indicate whether it’s due or if the customer has already paid in full.
Always update the payment status in real-time. If partial payments are made, mark the invoice as partially paid and specify the remaining amount. This helps customers track their payments and ensures both parties have the same understanding of the balance.
For better organization, consider breaking down each payment method into a separate line item. This simplifies calculations and improves readability. Grouping payments together can also provide additional clarity when dealing with invoices that have complex payment structures.
Use clear and concise structure for your invoice receipts to ensure that all necessary information is easily accessible. Each item should have its own distinct line for clarity. Include a unique invoice number, the date of the transaction, and contact details for both the vendor and the customer.
Breakdown of Details

List all purchased items or services with quantities and prices next to each. This will make it easy for both parties to verify and reconcile payments. Each item description should be specific and free from abbreviations that may cause confusion.
Terms and Payment Methods

Clarify payment terms and methods at the bottom of the invoice. State the due date for payment and include information about accepted payment methods. If there are late fees or discounts for early payment, clearly outline them to avoid misunderstandings.
Be sure to add a section for additional notes if needed, but keep it short and relevant. Having a signature or confirmation mark from both parties adds authenticity to the receipt.