To create a professional paid receipt, begin by including all the necessary details that validate the transaction. A well-structured template should clearly state the amount paid, the method of payment, and the date the transaction occurred. Make sure to include the payer’s and recipient’s full names, addresses, and contact information for accuracy.
Ensure clarity by formatting the letter neatly. Include a receipt number for tracking and reference purposes. This helps both parties in case of future disputes or for record-keeping. The receipt should also mention any taxes or additional fees that were included in the total amount paid.
Conclude the letter with a clear statement of payment and a thank you note for the transaction. This reinforces a positive business relationship and ensures the document serves as a formal acknowledgment of payment.
Here is the revised version:
Ensure the receipt clearly states the amount paid, including taxes and any discounts applied. Specify the payment method used, whether by cash, card, or online transaction. A well-organized receipt should also mention the transaction date and provide contact details for the vendor. If applicable, add a reference or invoice number to help track the transaction.
Clear Payment Details
Each payment entry should be listed separately with its corresponding amount. If multiple items were purchased, break down the total amount to show the cost per item or service. This makes the receipt more transparent and useful for record-keeping.
Vendor Information

Always include the full name of the business, its address, and contact number. If available, also provide the business’s email or website for easier follow-up.
Here’s a detailed plan for the informational article on “Paid Receipt Template Letter” with six practical and narrow headings in HTML format:
A paid receipt template letter should clearly outline payment details to confirm the transaction. It must include specific information such as the recipient’s name, the amount received, the date of payment, and a brief description of the service or goods exchanged. Ensuring that all this information is organized and easy to read can prevent future confusion.
1. Key Elements of a Paid Receipt
List the essential elements: name of the payer and payee, payment amount, method of payment, date of payment, and description of services or goods. These are the most important data points to include to make the receipt useful and legally binding.
2. How to Format the Date and Payment Details
Make sure the date is clear and unambiguous. Use the full date format (e.g., February 5, 2025), and if possible, include the time of payment. The payment method should specify whether it was by cash, check, or electronic transfer.
It’s also useful to include a unique reference number or invoice number, especially in the case of recurring transactions, for better tracking and record-keeping.
3. Acknowledging Partial Payments
If the payment is partial, the receipt should indicate the remaining balance. This will help both parties stay on the same page regarding what has been paid and what is still due.
4. Adding Contact Information
Include both the payer’s and payee’s contact information. This can be useful if either party needs to clarify details about the transaction later.
5. Customization for Different Transaction Types

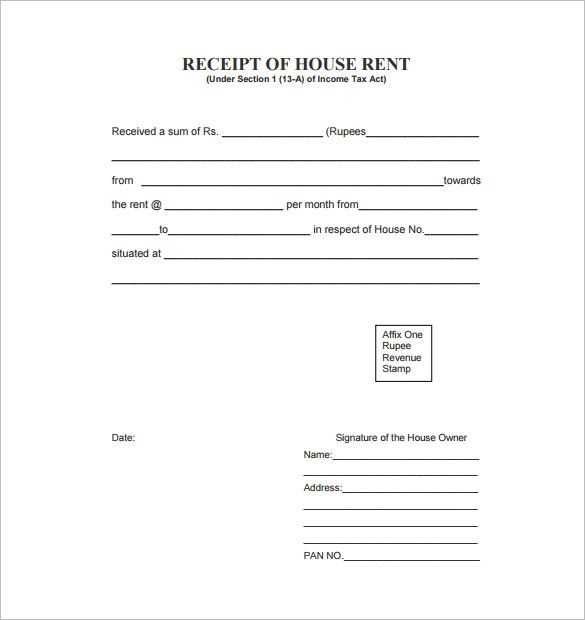
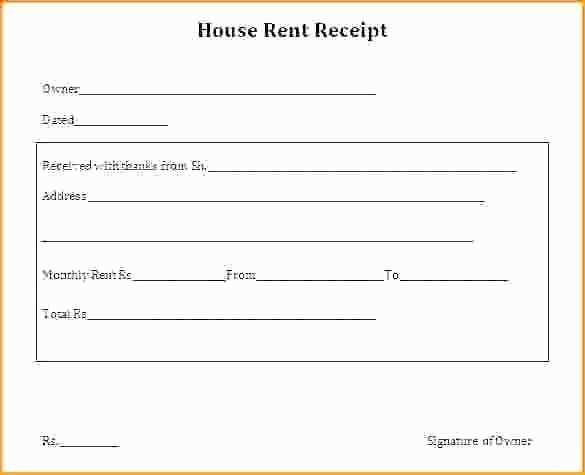
The receipt letter should vary slightly depending on the nature of the transaction. For example, a rental payment receipt might include additional details about the rental period, while a purchase receipt would list the specific items or services bought.
6. How to Deliver the Paid Receipt

Decide whether to deliver the receipt in person, via email, or by post. In digital transactions, an email or electronic receipt can be a valid choice, but ensure that all details are clearly readable, even in a digital format.
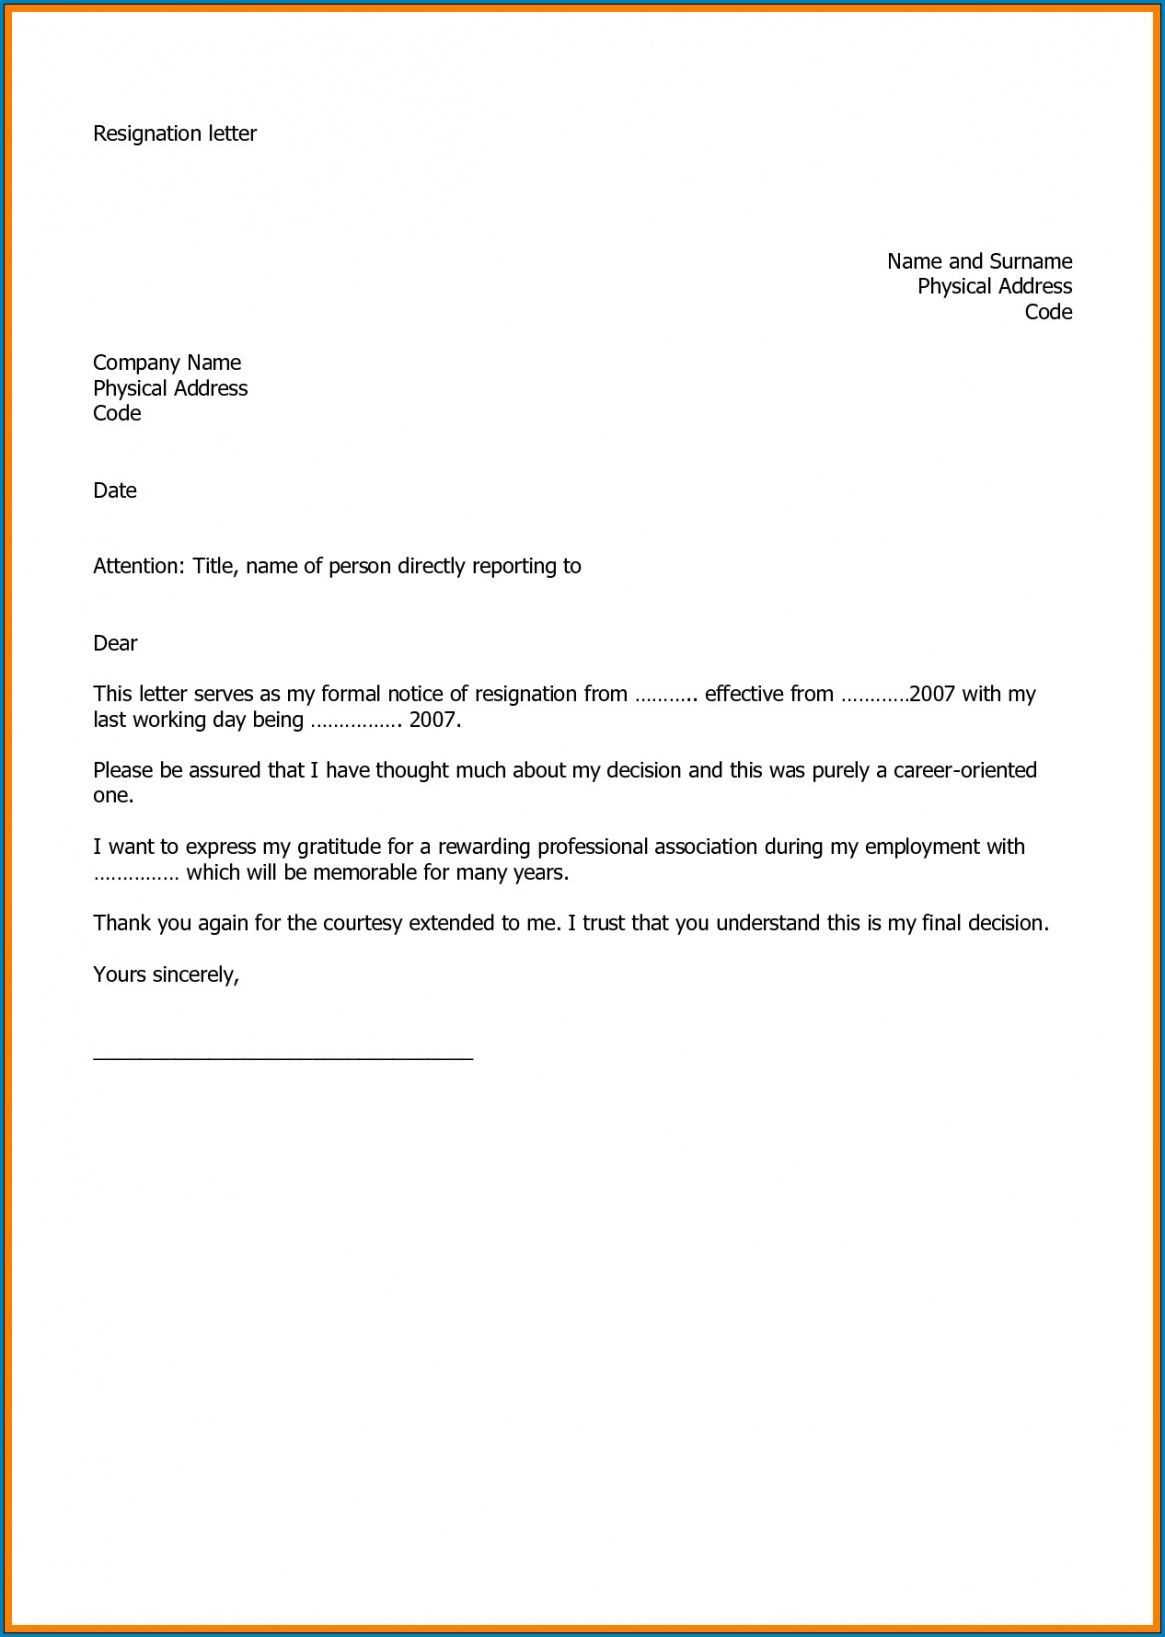
- Structure of a Paid Receipt Letter
A paid receipt letter must follow a clear structure to ensure all necessary information is included. It should contain the following elements:
1. Sender’s Information
At the top, include the name, address, and contact details of the sender. This identifies who is issuing the receipt and provides a point of contact if needed.
2. Recipient’s Information
Include the name and address of the recipient. This confirms the person or entity receiving the payment.
3. Payment Amount
Clearly state the total amount paid, including the currency. This ensures the exact payment is recorded.
4. Payment Method
Indicate the method of payment, whether it was made by cash, cheque, or bank transfer, to specify how the transaction occurred.
5. Date of Payment
Include the date the payment was made to provide a clear timeline of the transaction.
6. Purpose or Description of Payment
Briefly mention the purpose of the payment, whether it’s for goods, services, or a loan repayment. This provides clarity for both parties.
7. Acknowledgment of Receipt
State explicitly that the payment has been received in full, and there is no remaining balance owed.
8. Signature
The sender should sign the receipt. This adds authenticity and validity to the letter.
This format ensures that all important details are included in the paid receipt letter for clear and accurate documentation of the transaction.
Include clear transaction details such as the transaction date, total amount, and the payment method used. These elements help verify the authenticity of the receipt. Ensure that the company name and contact details are legible and accurate to assist in any future inquiries. It’s also necessary to include a unique transaction or receipt number, as it enables easy reference in case of discrepancies or follow-up. Providing the correct billing address, if applicable, reinforces the legitimacy of the payment.
Payment Confirmation Details
List the exact products or services purchased, along with their prices. This provides a concrete reference for verification, showing what was paid for and confirming the amounts. Any additional taxes or discounts should also be listed, ensuring transparency in the total cost.
Personal Information for Recordkeeping
Always include the buyer’s name and contact information for records. This ensures the receipt can be traced back to the person making the purchase, confirming the transaction was legitimate and in line with company policies.
Keep your document organized and easy to read by using clear headings and bullet points. This allows the reader to easily navigate through key sections without feeling overwhelmed.
Use Consistent Font Styles

Choose one font for the body text and a different one for headings. Ensure these fonts are easy to read and maintain consistent size and color throughout the document.
Organize Information Logically

- Start with the most important details at the top.
- Use bullet points or numbered lists to break up complex information.
- Group related data together to avoid confusion.
Ensure that every section is visually distinct. Using bold for headings and italics for important notes helps to draw attention to key elements.
- Use short paragraphs. Limit each to 3-4 sentences for readability.
- Avoid long blocks of text that may confuse the reader.
Maintain consistent spacing between lines and paragraphs to enhance clarity and make the document feel less crowded.
Always verify that the amount in the receipt matches the payment made. Incorrect figures can cause confusion and lead to disputes. Double-check all numbers to avoid errors.
Omitting the payment method can create ambiguity. Specify whether the payment was made by cash, credit card, check, or another method. This clarification ensures the accuracy of the transaction record.
Failing to include the date of the transaction is a frequent mistake. Make sure the receipt shows the exact date when the payment was made to provide clear documentation of the transaction timeline.
Another common mistake is not including the business’s name or address. This information is critical for identification and for any future references related to the transaction.
Do not neglect to add a receipt number. This helps track and organize transactions, especially for returns or inquiries.
Be mindful of providing the correct recipient’s information. An incorrect name or address can create confusion and potentially delay further communication.
Ensure the receipt clearly states the payment details, including the amount, date, and method of payment. The receipt should identify the involved parties–both the issuer and the recipient–along with any relevant transaction references. This helps protect both sides in case of disputes.
Key Requirements
- The receipt must confirm that the payment has been fully settled, without ambiguity.
- Include any applicable terms, such as late fees, if relevant to the transaction.
- Both parties should keep a copy of the receipt for record-keeping purposes.
Legal Implications
- Failure to provide a proper receipt may cause difficulties in case of refunds or disputes.
- In some jurisdictions, issuing an incomplete or incorrect receipt could result in fines or legal penalties.
- The receipt serves as proof of transaction in legal proceedings, making its accuracy paramount.
Customize your receipt templates by adjusting key elements such as logo, contact details, and payment breakdown. Choose from a variety of layout styles, whether you prefer a simple design or a more complex format with additional sections for tax, discounts, and shipping information.
Template Variations
Select from pre-designed templates that cater to different business needs. You can choose between minimalist styles for a clean, professional look, or templates that include detailed sections for itemized services or custom fields. Adjust font styles, colors, and section placements to match your brand identity.
Advanced Customization
If you’re looking for more flexibility, advanced customization options allow you to integrate dynamic fields such as payment method, transaction ID, or customer notes. Many platforms offer drag-and-drop features for easy modification without needing coding skills.
Ensure your paid receipt template includes these key elements to maintain clarity and accuracy.
| Element | Description |
|---|---|
| Date | Clearly state the payment date to avoid confusion regarding the transaction time frame. |
| Payment Amount | Specify the total amount paid, including any applicable taxes or fees, for transparency. |
| Method of Payment | Indicate the payment method, such as credit card, bank transfer, or cash. |
| Recipient Information | Include the name and contact details of the business or individual receiving the payment. |
| Payer Information | List the details of the person making the payment, including their name and address if applicable. |
| Invoice Number | Reference the invoice number associated with the payment to ensure accurate records. |
| Signature | If needed, provide a space for the signature of the person authorizing the payment. |
Double-check all entries for accuracy before finalizing the receipt to avoid any discrepancies.