To create an acknowledgement receipt in Microsoft Office, simply choose from the variety of built-in templates available in Word or Excel. These templates provide a quick and structured format for documenting receipt confirmation, whether it’s for goods, services, or payments. You can easily customize these templates to suit your specific needs, ensuring clarity and professionalism in every transaction.
Start by opening Microsoft Word or Excel, then search for “Acknowledgement Receipt” in the template search bar. Once you find a suitable template, select it to open in your document. From there, you can modify the content fields to include the date, name of the recipient, items being acknowledged, and any relevant terms or conditions. Customizing fonts and adding your company logo is also an option for a more polished presentation.
After filling out the necessary information, save the document for future use or share it directly with your recipients. Whether printed or sent electronically, a well-constructed acknowledgement receipt provides a clear record of the transaction and enhances communication. By using Microsoft Office templates, you streamline the process, saving time while maintaining accuracy and professionalism.
Acknowledgement Receipt Template in Microsoft Office

For a clear and professional acknowledgement receipt, Microsoft Office offers templates that streamline the process. These templates include sections for details such as the recipient’s name, item or service received, and the date. To find one, simply open Word, go to the “File” tab, select “New,” and search for “Acknowledgement Receipt.” You’ll see various templates that can be customized to suit your needs.
Key Elements to Include
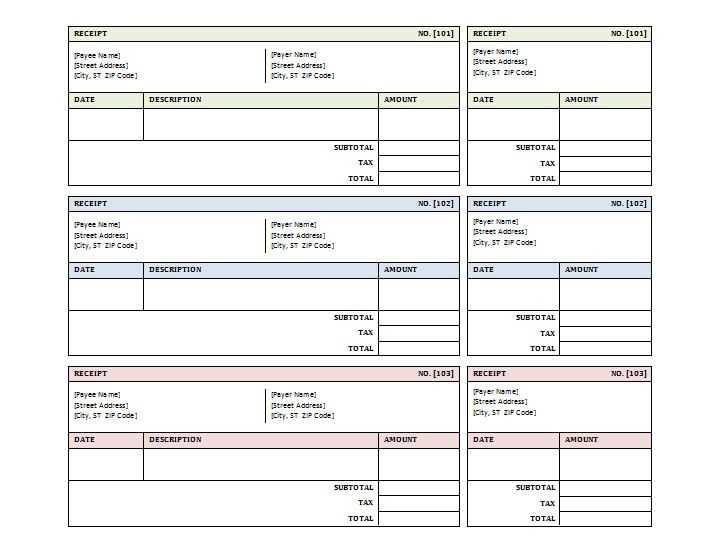
The template typically includes the following sections:
- Recipient Information: The name and contact details of the person or entity acknowledging receipt.
- Item or Service Description: A detailed list of what is being acknowledged, such as goods or services.
- Date of Acknowledgement: The exact date when the item or service was received.
- Signatures: A space for both the recipient and the sender to sign, confirming the transaction.
Customizing the Template
Microsoft Office allows you to modify the template to suit your specific needs. You can adjust the font size, color, and layout. Add your company’s logo or branding to make it more personalized. By simply editing the placeholders in the template, you can create a document that accurately reflects your business style.
Creating a Simple Acknowledgement Receipt in Word
To create a straightforward acknowledgement receipt, open Microsoft Word and begin with a blank document. Set up your page layout by adjusting margins to your preference. A standard letter format (8.5 x 11 inches) is common for receipts.
Include Key Details
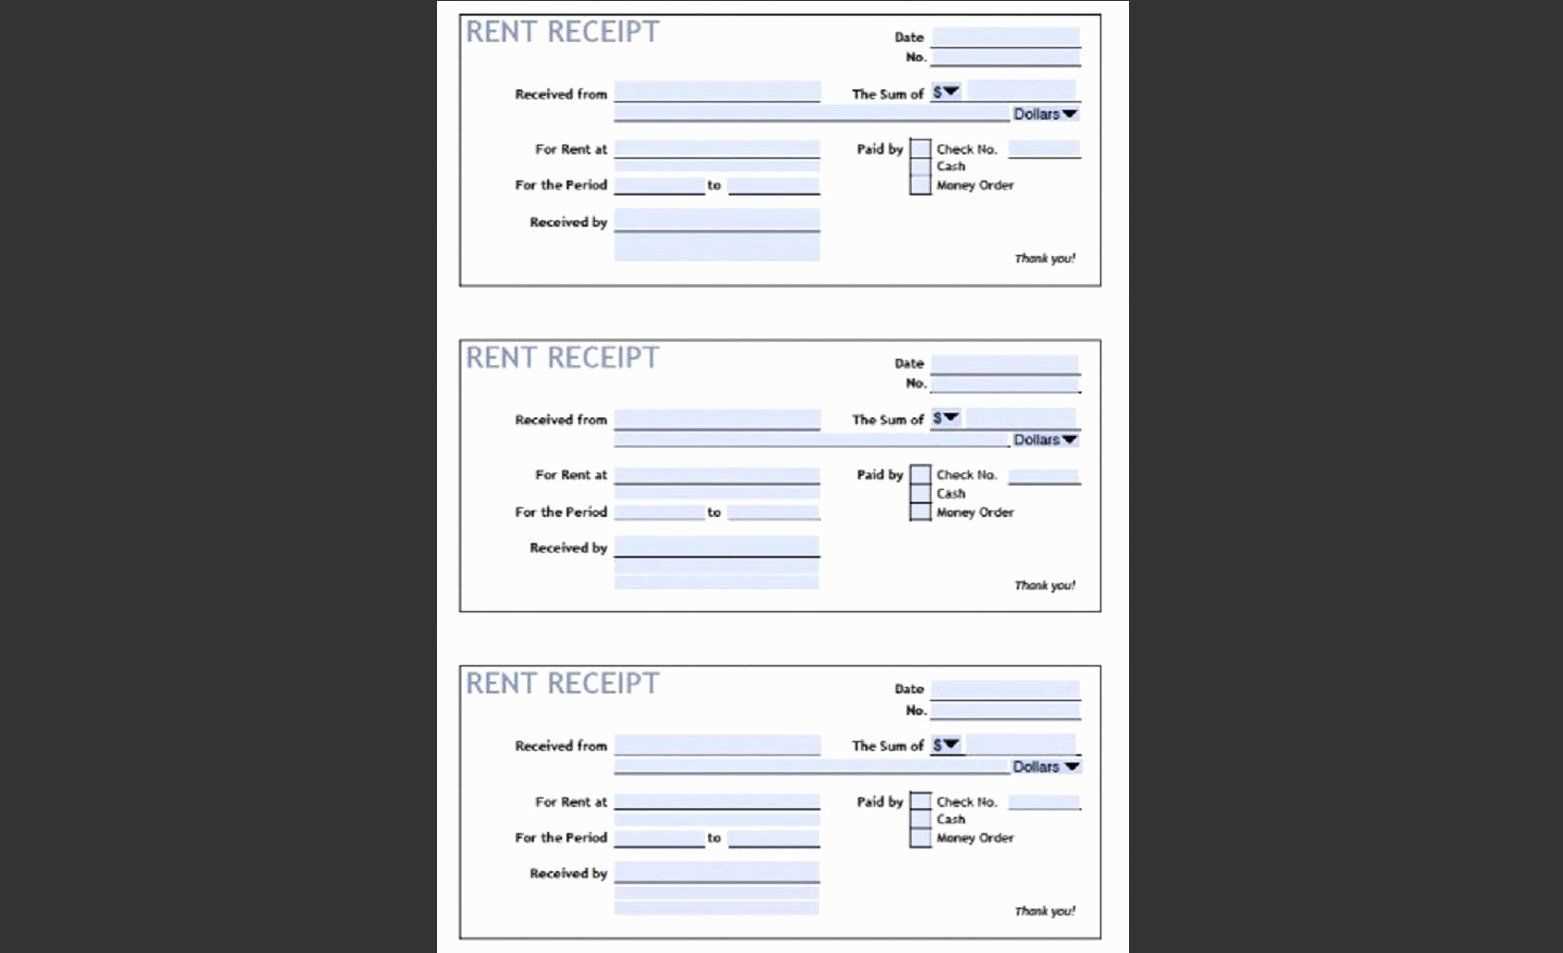
At the top, include a title, such as “Acknowledgement Receipt.” Beneath the title, place the date of the transaction. Follow with a statement confirming the receipt, including the amount, item, or service received, along with the date and the party receiving the item.
Add Contact Information
Include the names and contact details of both the recipient and the person or organization providing the goods or service. This ensures clarity and accountability. Lastly, add a space for signatures to formally confirm the transaction. You can insert lines for signatures or include digital options if necessary.
Customizing the Receipt Layout for Different Needs
Tailor your receipt template by adjusting key sections to match specific requirements. Here are a few tips:
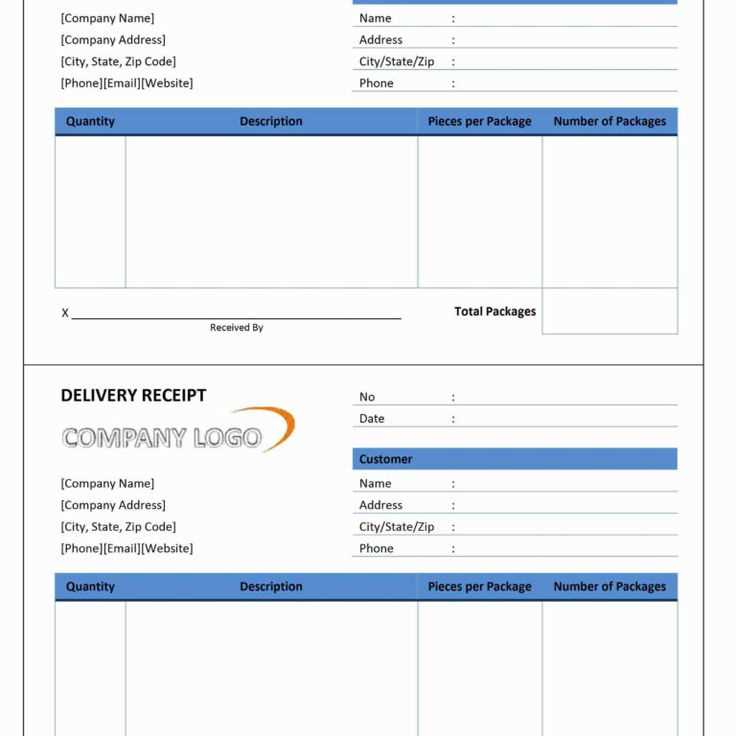
- Modify the Header: Include your company logo, name, and contact information in the header for a professional look. You can also add a title like “Receipt” or “Invoice” based on the nature of the transaction.
- Adjust the Date Format: Depending on your region or preferences, customize the date format (e.g., MM/DD/YYYY or DD/MM/YYYY). Make sure it’s clear and easy to understand for the recipient.
- Product/Service Breakdown: Organize the list of items or services into a clear table format. Include columns for descriptions, quantities, unit prices, and total amounts. This makes it easier for customers to verify their purchase.
- Tax Information: If applicable, add tax rates and the total amount of tax charged. Use a separate section to highlight this information, ensuring transparency for the customer.
- Payment Details: Provide a section for payment methods, such as credit card, cash, or online payment. If relevant, include transaction or reference numbers for easier tracking.
- Additional Notes: Leave space for personalized messages, return policies, or thank you notes. This can create a more personalized experience for the customer.
- Footer Customization: Use the footer area to display your business’s website, social media links, or any legal disclaimers. This ensures that recipients have access to further information if needed.
By adjusting these sections, you can meet specific business requirements while ensuring clarity and professionalism in your receipt layout.
Using Excel for Tracking Acknowledgement Receipts
Excel is an excellent tool for tracking acknowledgement receipts, offering a simple way to organize and monitor the status of received documents. Start by creating a spreadsheet with the following columns: Date, Receipt Number, Acknowledged By, and Comments. This setup allows you to quickly record and reference essential details.
Setting Up the Spreadsheet
Begin by labeling the first row with appropriate headers. In the Date column, input the date each receipt is acknowledged. The Receipt Number column helps you keep track of specific entries. The Acknowledged By column records the person or department who confirmed the receipt. Finally, use the Comments section to add any additional notes or follow-up actions related to each acknowledgment.
Using Excel Functions for Better Tracking
Utilize Excel’s sorting and filtering features to efficiently manage data. Sorting by date or receipt number helps you prioritize follow-ups or review past receipts. Conditional formatting can highlight overdue acknowledgements, making it easier to spot gaps. You can also use Excel’s built-in formula functions, like COUNTIF or SUMIF, to generate reports based on specific criteria, such as the number of acknowledgements processed each month.