Create a Professional Receipt with Microsoft Publisher
To design a receipt in Microsoft Publisher, begin by opening the software and selecting a blank document. Choose a layout that suits your needs. Often, the “Blank Size” option is ideal for customizing the receipt to your preferences.
Customize the Layout

Adjust the size of the page to match the standard receipt dimensions (for example, 3.5 inches by 8.5 inches). This will help you create a receipt that’s easy to print and fits within common formats. Use margins to ensure that text doesn’t spill over the edges.
Add Receipt Elements

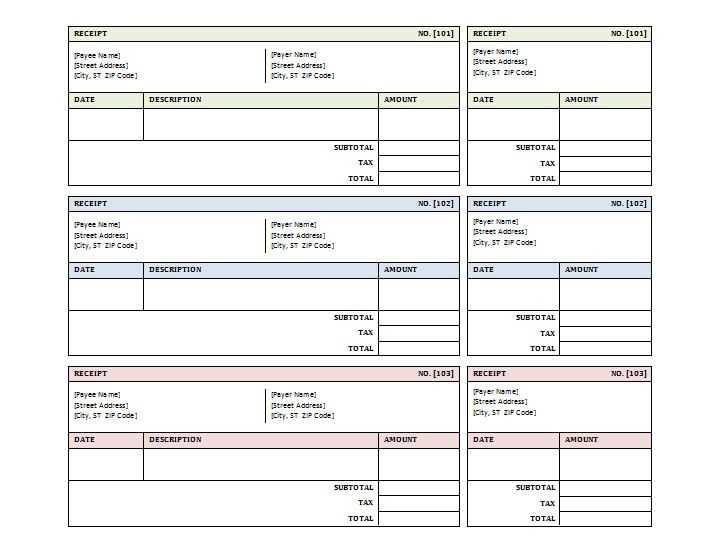
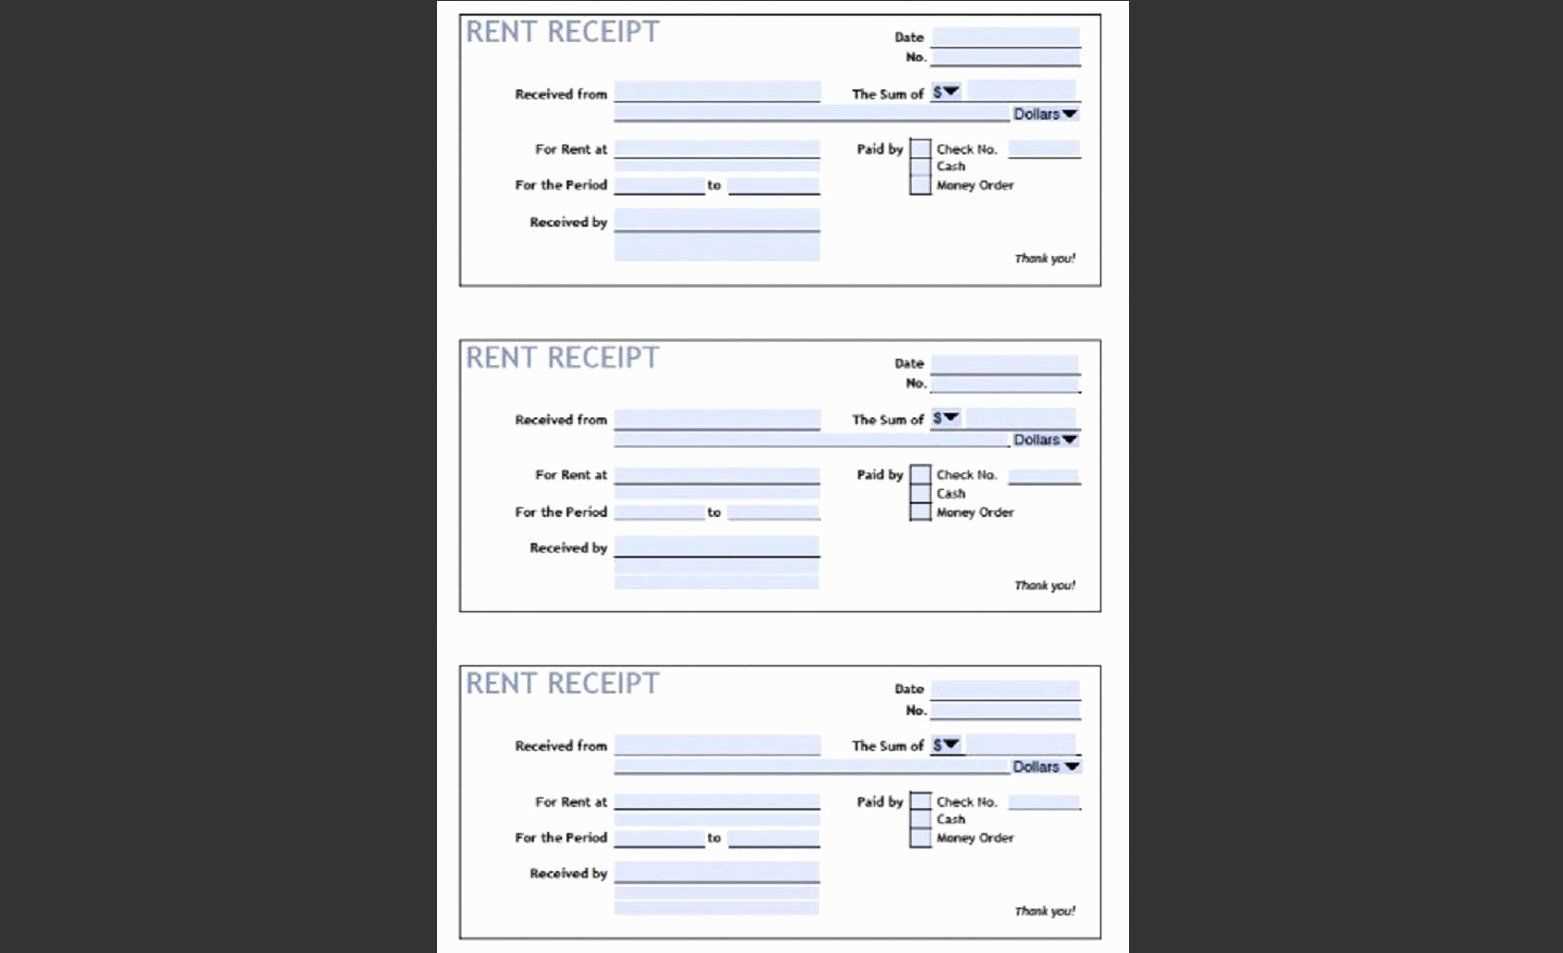
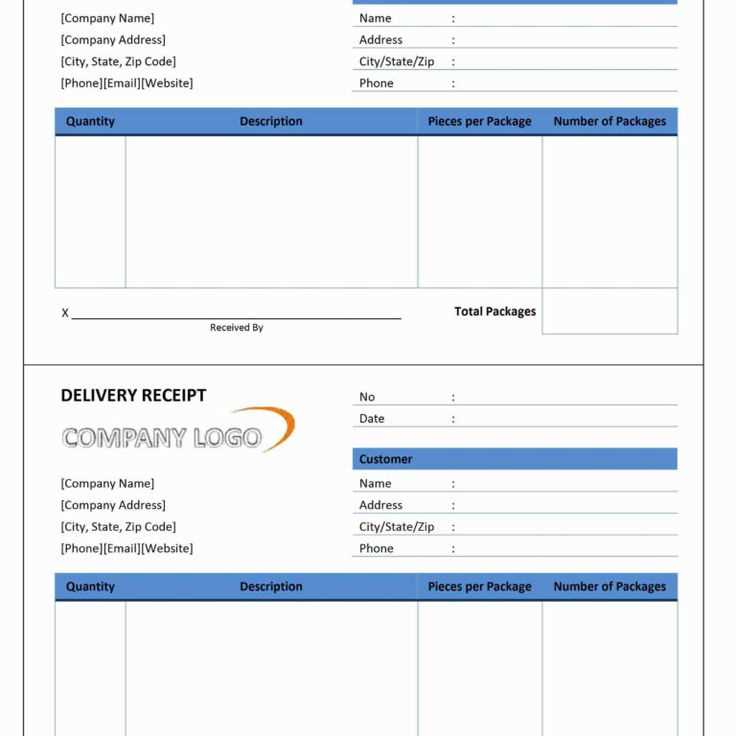
- Title and Branding: Place your business name or logo at the top. Include the word “Receipt” clearly so that it’s easily identified.
- Date and Time: Add a section for the transaction date and time. This helps both parties keep track of the purchase.
- Transaction Details: Include lines or boxes to list items purchased, quantities, prices, and total amounts.
- Payment Method: Add a field where the method of payment (cash, credit, etc.) is specified.
- Customer Information: If necessary, create space to include the customer’s name, address, or contact information.
Final Touches

Once your basic structure is in place, use Publisher’s tools to refine the design. Choose fonts that are easy to read and maintain a professional appearance. Highlight important sections such as the total amount or payment method using bold or larger fonts.
When satisfied with the layout, save your template. You can now use it for future transactions or adjust it for different receipt types as needed.
Microsoft Publisher Receipt Template: A Practical Guide

To create a customized receipt using Microsoft Publisher, begin by opening a blank template or selecting a pre-designed receipt layout. The available templates offer various designs that can easily be adjusted to suit your business needs.
How to Personalize a Receipt Template in Microsoft Publisher
Click on the text boxes in the template to replace default content with your specific details. You can change fonts, colors, and text size to match your brand style. Don’t forget to adjust the spacing and alignment for a clean, professional appearance.
Adding Business Information to the Receipt Template

Incorporate your business name, address, and contact details in the designated sections. Use a clear font for easy readability. You can also add your logo for branding consistency. Ensure that the footer includes terms of service or any other necessary disclaimers for your receipts.
Once everything looks good, save the file and print it as needed. Microsoft Publisher allows you to save your customized receipt as a PDF or in other formats, so you can easily distribute or store it digitally. Make sure to preview the document before printing to ensure everything is in order.