Need a professional receipt template? Microsoft offers ready-to-use formats that simplify record-keeping and financial documentation. Whether you’re a small business owner or managing personal finances, a well-structured receipt ensures clear and organized transactions.
Get started quickly by accessing Microsoft’s official template library. Open Microsoft Word or Excel, search for “receipt” in the template section, and choose a design that fits your needs. These templates come pre-formatted with sections for date, amount, description, and payment details.
Prefer a custom design? Modify colors, fonts, and layout elements to match your branding. With Excel, you can add formulas for automatic calculations, reducing manual effort and errors.
Looking for a free alternative? Microsoft also provides downloadable templates on its website. Visit the official Microsoft Office Template Gallery, browse available options, and download a receipt template in just a few clicks.
Using a structured template saves time and ensures accuracy in financial tracking. Choose a format that works best for your workflow and start creating professional receipts today!
Here’s an Improved Version with Fewer Repetitions
Download a structured and customizable invoice file directly from official sources. Choose a format that fits your needs, whether it’s Word, Excel, or PDF. Each option allows quick modifications, ensuring compliance with your business requirements.
Modify and Personalize with Ease
Adjust key details such as company name, address, itemized charges, and tax information. Built-in formulas in spreadsheet versions automate calculations, reducing errors and saving time. For added branding, insert a company logo and adjust fonts to match your style.
Saving and Sharing
Once finalized, export the file to PDF for secure sharing. Cloud storage integration ensures accessibility from any device, while email-friendly formats allow seamless client communication.
- Microsoft Receipt Template Download
Download a pre-made template directly from Microsoft’s official website. Open Microsoft Word or Excel, go to “File” > “New,” and search for “receipt.” Choose a design that fits your needs and click “Create” to edit it immediately.
Customize for Your Business

Modify the template by adding your logo, business name, and contact details. Adjust colors and fonts to match your brand identity. Use Excel’s built-in formulas for automatic calculations if needed.
Save and Share

Save the completed receipt as a PDF for professional distribution. Print it or send it via email directly from Microsoft Office. Keep a digital record for easy tracking.
Get official billing templates directly from Microsoft’s Templates Hub on their website. Visit the Microsoft Office Templates page and search for “invoice” or “billing statement” to access free, customizable forms.
Using Microsoft Office Applications

Microsoft Word and Excel offer built-in billing templates. Open either program, go to File > New, and type “invoice” or “billing” in the search bar. Choose a template and personalize it with your details.
Microsoft 365 Subscription Benefits
Microsoft 365 users get additional templates with advanced features. Sign in to your account, access premium designs, and integrate them with Excel’s automation tools for streamlined calculations and record-keeping.
Download a ready-made template: Open Microsoft Word or Excel, go to File > New, and search for “receipt template.” Select a suitable option and click Create to open it for editing.
Customize the Template
Modify placeholders for business details, date, and transaction specifics. Adjust fonts, colors, and layouts as needed. Ensure calculations work correctly in Excel by using formulas for totals.
Save and Reuse
Save the template as a reusable file. In Word, use File > Save As and choose Word Template (*.dotx). In Excel, save as Excel Template (*.xltx) to keep formulas intact.
Modify the default layout by adjusting fonts, colors, and logos to match your branding. Open the template in Microsoft Word or Excel, then replace the placeholder logo with your own by clicking on the image and selecting “Change Picture.” Adjust font styles and sizes using the formatting toolbar.
Include essential details such as business name, address, and contact information. Ensure clarity by using a readable font and structured layout. Add custom fields if needed, such as tax ID or payment terms, by inserting new rows or columns in Excel or using text boxes in Word.
Set up automatic calculations for taxes and totals in Excel. Use built-in formulas like =SUM() for totals and =A1*B1 for line-item calculations. Check all formulas to ensure accuracy before saving the template.
Convert the final invoice to PDF for professional presentation and secure sharing. In Word or Excel, click “File,” select “Save As,” and choose “PDF” to maintain formatting. Review the document before sending to confirm accuracy.
To save your completed payment document, click on the “Save” button in the application. Select a destination folder and name your file, ensuring it is easy to locate later. It’s a good idea to save the document in PDF format to maintain formatting integrity and ensure easy sharing.
For printing, open the saved document and click the “Print” option. Choose your printer from the available list, and ensure the correct paper size is selected. Adjust the print settings if needed to fit the document properly on the page. Once satisfied, press “Print” to generate a hard copy.
- Ensure the document is saved with a clear file name to avoid confusion later.
- Check printer settings for quality, paper type, and orientation before printing.
- Consider saving a backup copy on a cloud storage service for easy access.
Templates often lack the flexibility required to fit specific needs. Customization options might be limited, forcing users to adapt their content to fit the pre-designed structure. This can lead to frustration when trying to add unique elements or adjust layout components.
1. Formatting Problems
Pre-made templates can cause formatting inconsistencies, especially if you try to adapt them to different devices or screen sizes. Text may not align correctly, or images could be distorted. Pay attention to these issues when previewing your document across different platforms to ensure everything displays properly.
2. Unnecessary Design Elements

Templates often come with extra design elements that are irrelevant to your needs, such as background images or unnecessary headings. These can clutter the document and distract from its purpose. Removing or adjusting these elements requires time and can be difficult for those unfamiliar with editing templates.
If you’re looking for alternatives to Microsoft Forms, several tools offer robust form-building capabilities. These options often come with features that can enhance your data collection and reporting. Some popular choices include Google Forms, JotForm, and Typeform, each with unique strengths.
Google Forms
Google Forms is widely used for its simplicity and integration with Google Workspace. It allows for unlimited form creation with automatic data syncing to Google Sheets. Customization options like question types, conditional logic, and response validation are readily available.
JotForm
JotForm offers a user-friendly platform with drag-and-drop functionality. It supports advanced features like payment integrations, file uploads, and email notifications. JotForm also provides various templates for different use cases, including surveys, feedback forms, and event registrations.
Typeform
Typeform specializes in creating visually appealing and interactive forms. Its conversational style makes forms feel like a dialogue, which can improve user engagement. It also integrates seamlessly with various third-party applications, making it suitable for complex workflows.
| Feature | Google Forms | JotForm | Typeform |
|---|---|---|---|
| Ease of Use | Simple Interface | Drag-and-Drop Builder | Interactive Forms |
| Integrations | Google Sheets | Payments, Email | Third-Party Apps |
| Customization | Basic Themes | Advanced Options | Customizable Layouts |
Each platform provides a unique set of tools that cater to different needs, from simple data collection to complex workflows. Depending on your requirements, you can choose one that aligns best with your goals.
To download a Microsoft receipt template, follow these simple steps:
- Go to the official Microsoft website or Office templates section.
- Search for “receipt” in the template search bar.
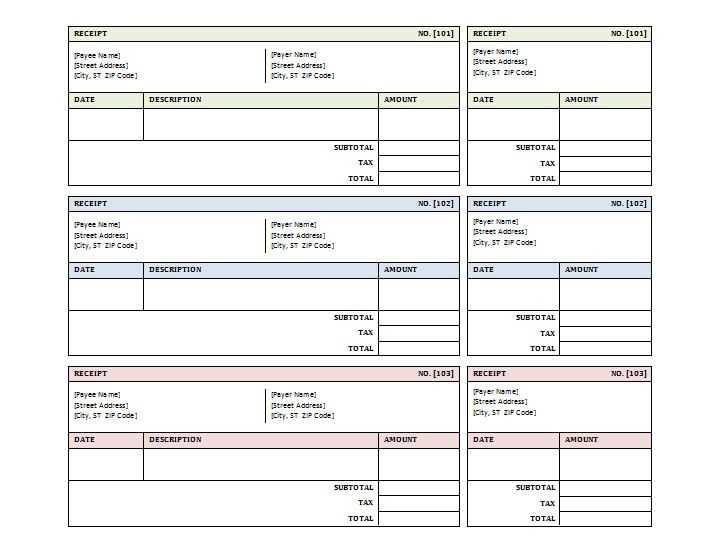
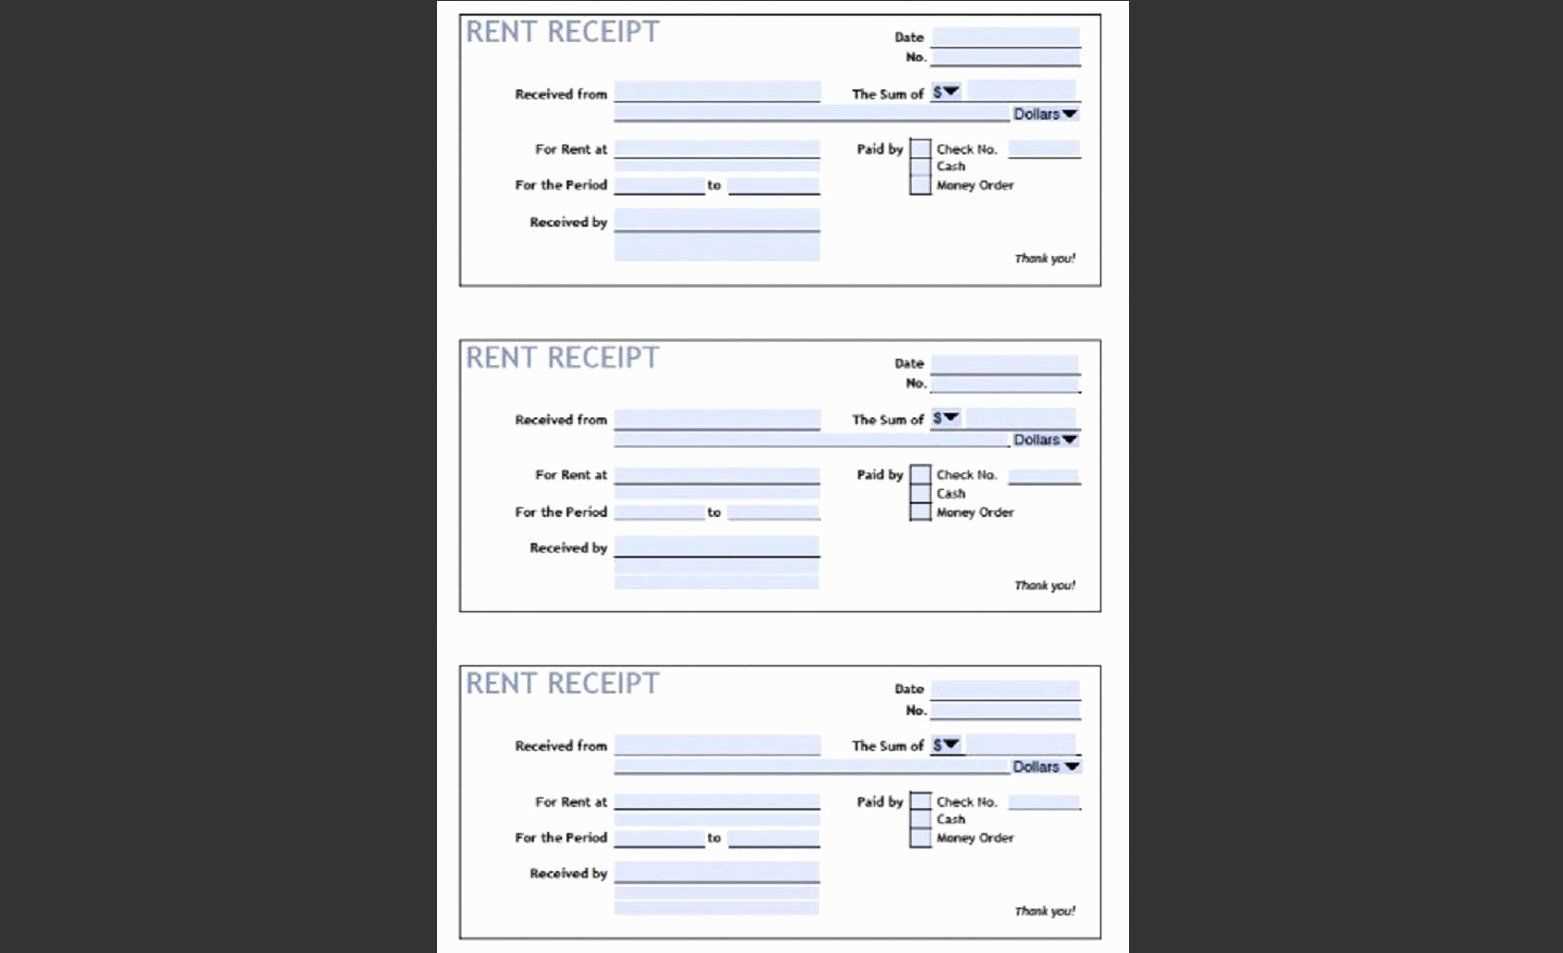
- Choose the template that fits your needs. There are options for various types of receipts, including sales and service receipts.
- Click the “Download” button to save the file to your device.
- Open the downloaded template in Microsoft Word or Excel.
- Customize the template with your information, such as the transaction details, date, and customer name.
This process ensures you have a functional, ready-to-use receipt template in just a few minutes.