If you need a receipt template, Microsoft offers a variety of customizable options to make your task quicker and easier. With Microsoft templates, you can find designs that suit your needs, whether it’s for personal use or a small business.
Accessing a template is simple: Open Microsoft Word or Excel, search for “receipt” in the template section, and choose the one that fits best. Customize it by adding your details such as items purchased, price, and payment method.
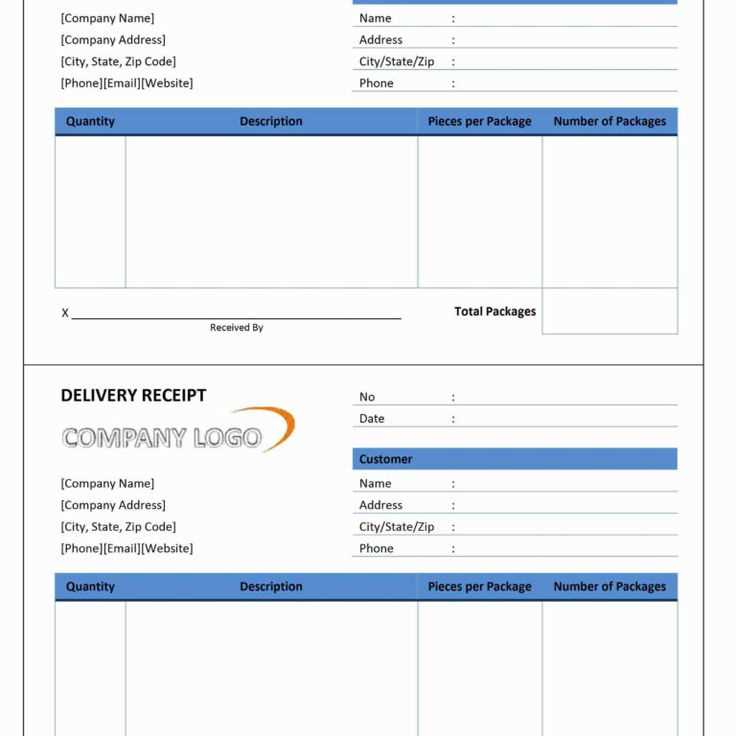
For a professional touch: Ensure that you include your company logo and business information if you’re issuing receipts for a business. This adds credibility and helps customers keep track of their transactions.
By using a Microsoft template, you save time without sacrificing the look of a professionally designed receipt. Once completed, you can easily save and print the receipt for any transaction.
Choosing the Right Template for Your Business
Select a template that aligns with your business goals. If you’re a retailer, choose one that emphasizes product displays and sales funnels. Service-based businesses may benefit from templates featuring client testimonials and service descriptions.
Look for designs that can adapt to your branding. A template should allow for easy customization of colors, fonts, and logos without compromising functionality. Avoid overcomplicated layouts that may confuse visitors.
Prioritize templates optimized for mobile devices. As many users browse on smartphones, ensure your chosen template is responsive, maintaining a seamless experience across all screen sizes.
Consider the template’s loading speed. Templates with heavy graphics or too many features can slow down your website. Test templates for performance before making a decision to avoid potential customer drop-off.
Check for built-in SEO features. A good template should support your SEO strategy, including clean code, fast load times, and options for optimizing page titles and meta descriptions.
Customizing Templates to Match Your Brand
Adjust the color scheme to align with your brand’s identity. Choose shades that are consistent with your logo and marketing materials to create a cohesive experience. Avoid using too many colors; instead, focus on two or three main colors that reflect your brand’s style.
Fonts and Typography

Modify the font styles to reflect your brand’s tone. Opt for fonts that are readable and consistent with your company’s image. If your brand has a specific typeface, ensure it is applied throughout the template for uniformity. Use bold or italicized text sparingly to maintain a clean look.
Incorporate Your Logo
Place your logo strategically within the template. Typically, the header or footer is ideal, but ensure it doesn’t overshadow the main content. Ensure that the logo’s size is balanced and doesn’t disrupt the overall layout or message.
Integrating Templates with Financial Software

Connecting templates with financial software streamlines data input and reporting. Begin by selecting templates that are compatible with your software platform. Many software options, such as QuickBooks or Xero, offer customizable templates designed to match your accounting needs.
Ensure Compatibility
Confirm that the template format aligns with your software’s file requirements. Most programs support CSV, Excel, or PDF templates, but it’s crucial to verify the specific template structure accepted by the software. Custom templates may need to be adjusted to fit the system’s parameters.
Automate Data Import

Utilize the import feature in your financial software to transfer data directly from templates. This reduces manual entry and prevents errors. Set up automated processes for regular imports, saving time on repetitive tasks. You can schedule imports, so financial data is automatically updated in your software without additional input.
By integrating templates effectively, you reduce the chance of mistakes, increase speed, and improve the accuracy of your financial processes. Make sure to update both the templates and your software regularly for smooth integration.
Setting Up Automated Fields for Quick Use
Configure fields that automatically populate based on predefined rules to streamline your workflow. Begin by identifying key data points that should be automatically filled, such as client names, dates, or specific amounts.
Use the “Form Fields” feature in Microsoft templates to insert these automated fields. Access this by navigating to the “Developer” tab and selecting “Legacy Tools.” Choose the “Text Form Field” option for basic fields or the “Drop-down List” for pre-defined options.
Set up default values and conditions for each field. For example, use the “Properties” option to specify how fields behave under different scenarios. This allows you to set rules for fields that auto-fill depending on the user’s input.
Testing is crucial. After setting up the automated fields, test them in various scenarios to ensure they populate correctly and consistently. Modify any default settings if the fields don’t behave as expected.
Save the template with these automated fields in place, so they’re ready for immediate use in future documents, reducing the need for repetitive data entry.
Ensuring Legal Compliance in Receipt Design
Always include required tax information such as VAT or sales tax details. Clearly state the tax rate applied to each item or service, as mandated by local regulations.
Key Information to Include
- Company name, address, and contact details
- Transaction date and time
- Itemized list of purchased goods or services
- Price breakdown, including taxes
- Payment method (credit card, cash, etc.)
- Transaction number or receipt ID
Stay Updated with Local Legislation
Check local laws and guidelines regularly to ensure all receipt elements meet regulatory standards. Some regions may require additional disclosures, such as environmental fees or specific refund policies. Failure to comply can result in fines or other penalties.
Sharing and Printing Receipts Using Microsoft Tools
Use Microsoft Excel or Word templates to generate and print receipts quickly. After filling out the necessary fields in your template, save the document as a PDF for easy sharing. This format is universally compatible, making it convenient for emailing or uploading online.
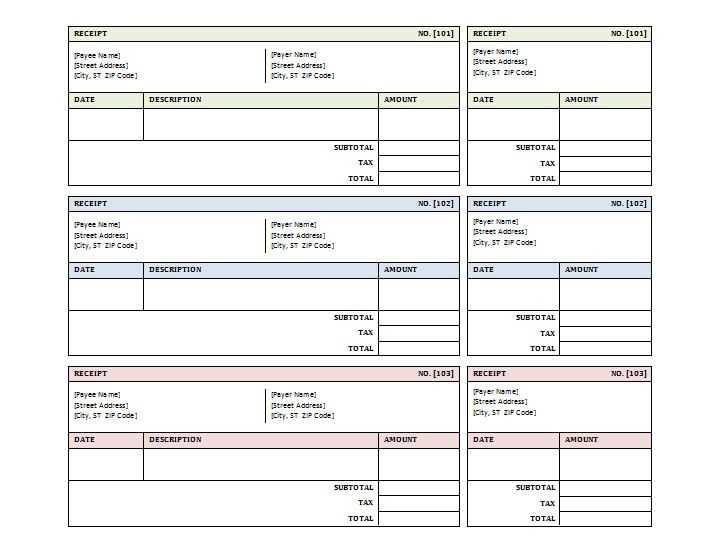
In Excel, create a receipt template with fields such as date, item description, amount, and payment method. Customize the layout with formulas to automatically calculate totals or tax, streamlining the process.
If you prefer a more formatted layout, use Word’s receipt templates. These templates are available through the “File” > “New” menu. You can choose from various designs to match your business style. Once complete, print directly or export as PDF for digital distribution.
For printing, ensure your receipt layout fits standard paper sizes. In Excel or Word, go to the “Print” settings and select the appropriate paper size and margins. Preview the document before printing to avoid any issues with alignment or content cutoffs.
For quick sharing, utilize OneDrive to upload and share your receipt. OneDrive integrates seamlessly with Microsoft Office, allowing easy sharing via link or direct email, maintaining access control and ensuring only the intended recipients receive your receipt.