Need a simple way to create receipts in Microsoft Works? Use the built-in templates to generate professional-looking receipts in minutes. Open Microsoft Works, go to the “Templates” section, and search for “Receipt.” Choose a format that suits your needs and start filling in transaction details right away.
Customizing a receipt template is just as easy. Modify fields like date, item description, quantity, and price to match your requirements. If you want a personal touch, add your business logo or adjust the font and colors. Once finalized, save the file for future use or print it directly.
For recurring transactions, save a filled-out version as a reusable template. This reduces manual entry and ensures consistency across all receipts. If Microsoft Works doesn’t include a built-in template that fits your needs, you can create a new one using the spreadsheet or word processor module.
Exporting to PDF is a great way to share receipts digitally. Save your receipt as a Works document first, then use the “Save As” option to convert it to PDF for easy distribution. If a PDF option isn’t available, consider using a third-party converter.
Whether for personal or business use, a well-structured receipt template keeps financial records organized and professional. Experiment with different layouts to find the one that works best for you.
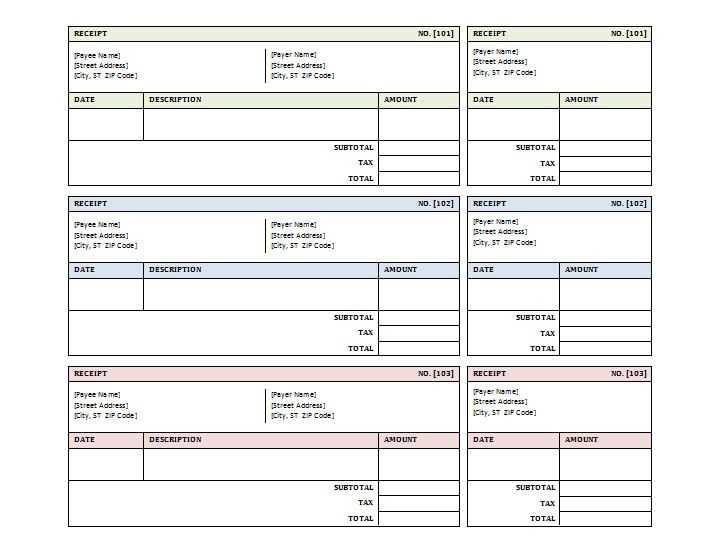
Microsoft Works Receipt Template
Use Microsoft Works to create structured and professional receipts quickly. The built-in template simplifies the process by organizing key details like item descriptions, prices, and payment information. To access it, open Works, go to File > New, and select a receipt template.
Customizing the Template

- Modify fields such as Date, Buyer’s Name, and Payment Method to fit your needs.
- Adjust fonts and colors under Format for a personalized touch.
- Insert a business logo by selecting Insert > Picture.
Saving and Printing
- Click File > Save As to keep a reusable version.
- Choose Print Preview to check formatting before printing.
- Select Print and adjust settings if necessary.
For frequent use, save a blank receipt as a template to avoid repetitive formatting.
Finding and Accessing Receipt Templates in Microsoft Works
Open Microsoft Works and go to the Task Launcher. Select Templates, then choose Receipts from the available categories. If no receipt templates appear, check the Microsoft Works installation disk or visit Microsoft’s official support site to download additional templates.
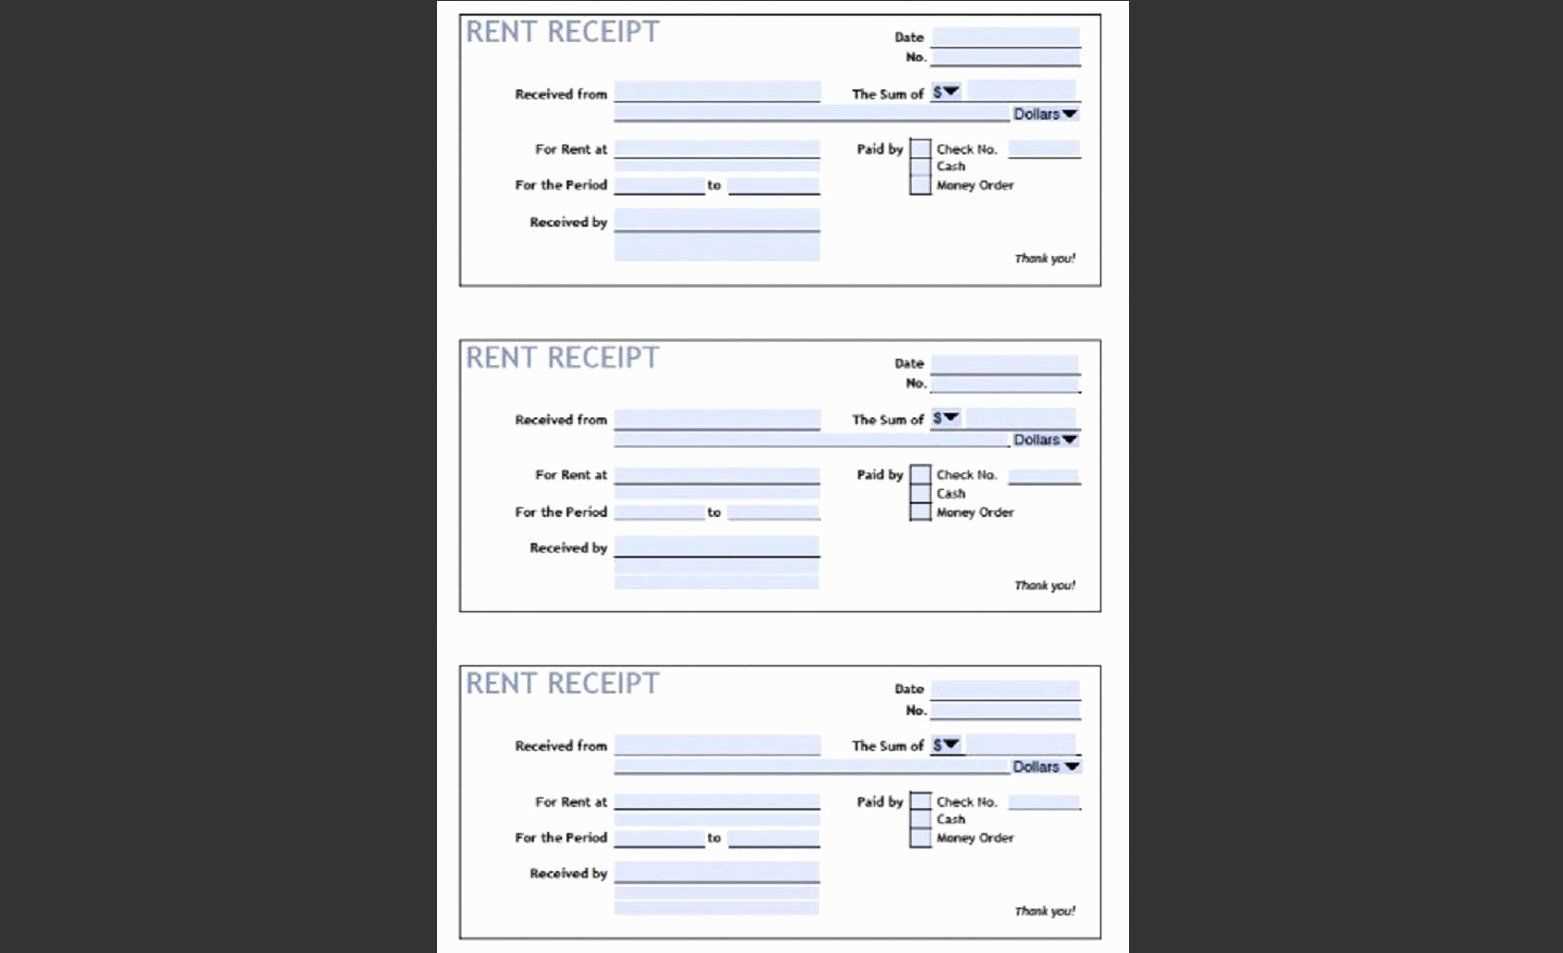
Using Built-in Templates

In the Task Launcher, browse the template list and select a receipt format that suits your needs. Click Use This Template to open it in the word processor or spreadsheet module. Modify the placeholder text, adjust formatting, and save it for future use.
Downloading Additional Templates
If the built-in options are limited, search for Microsoft Works receipt templates on reputable template websites. Download the file and open it in Works. Ensure compatibility by choosing templates designed for Works versions you use. Save frequently used templates in an easily accessible folder for quick retrieval.
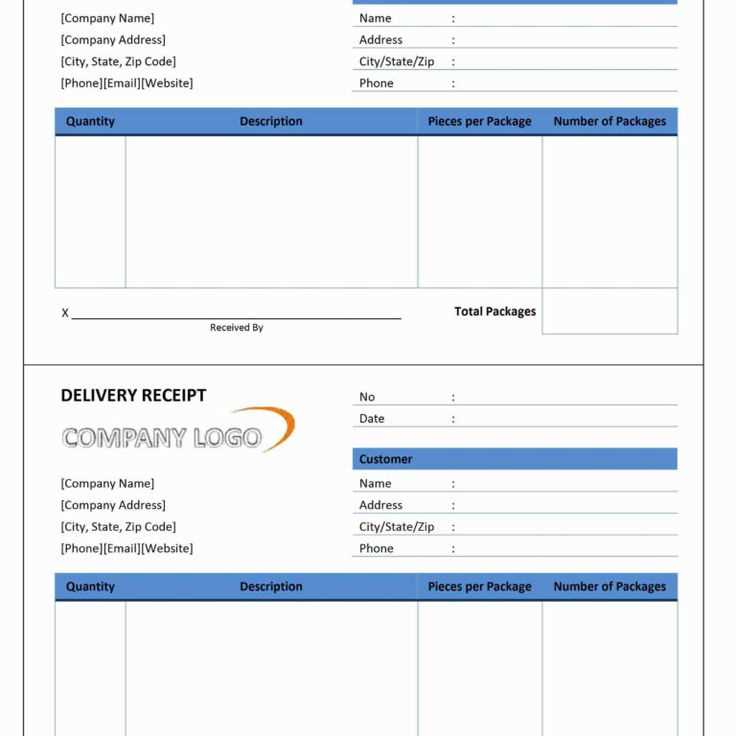
Customizing Layout and Fields for Specific Needs

Adjust column widths by dragging the edges of field headers. This ensures proper spacing for longer descriptions or additional details.
Modify field names to match business terminology. Click a field header, select Rename, and enter a more relevant label.
Rearrange sections by selecting a field, dragging it to a new position, and releasing it. This helps prioritize important details.
Insert new fields by right-clicking within the template and choosing Add Field. Use this for custom data like order numbers or payment terms.
Delete unnecessary fields by selecting them and choosing Remove. This keeps the receipt clean and relevant.
Apply conditional formatting to highlight specific values. For example, mark overdue amounts in red for quick identification.
Save the customized template as a default by selecting Save As. This ensures consistency across future receipts.
Saving, Printing, and Exporting Completed Receipts
Save your receipt by clicking File > Save As. Choose a location and enter a filename to keep an editable copy. Use the default Works format for later modifications or select .RTF if you need broader compatibility.
Printing Your Receipt
Click File > Print and check the print preview to ensure proper formatting. Adjust margins or page orientation if needed, then select your printer and confirm the print job.
Exporting as a PDF

To create a non-editable version, choose Print, then select a PDF printer from the list. Click Print, enter a filename, and save the document to your preferred folder.