Fill out the money check receipt template with precision to ensure clarity and prevent any misunderstandings. Start by entering the date at the top of the form to indicate when the transaction occurred. Follow this with the name of the payer and payee, making sure both are clearly specified to avoid confusion.
Next, in the amount section, write the exact sum being paid, ensuring that both the numeric and written forms match. This helps prevent any discrepancies in the amount received. Be sure to also include a short description of the purpose of the payment–this provides transparency for both parties.
Lastly, in the signature section, make sure both the payer and payee sign the document to confirm their agreement. This will validate the transaction and make it legally binding. Once completed, the template can be stored as a record of the exchange.
Here is a detailed HTML plan for an informational article on “Money Check Receipt Template Fill Out,” with three practical and focused headings:
Begin with specifying the type of receipt needed and the information it should contain. The purpose of this template is to track money transactions accurately. Ensure that all fields are clear and relevant, such as the payer’s name, recipient’s details, date, and the total amount received. This helps avoid confusion later on. Keep it concise and straightforward for easy comprehension.
Section 1: Basic Information to Include
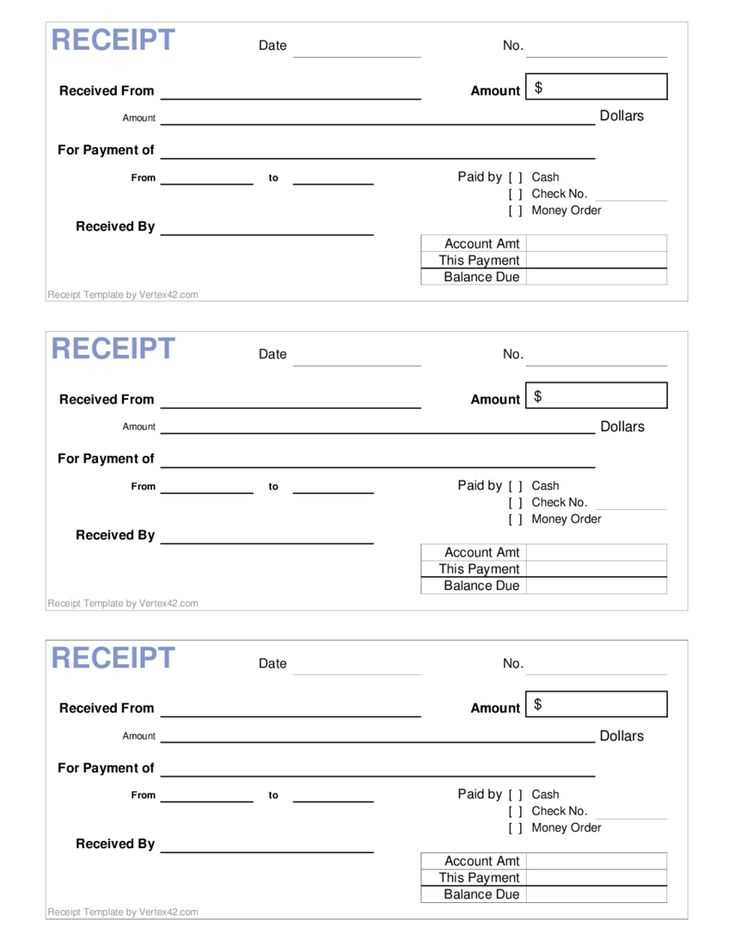
The key components of a money check receipt include the payer’s name, the amount received, the date of the transaction, and the method of payment (e.g., check, cash, bank transfer). Ensure all fields are completed accurately to prevent misunderstandings. Use simple terms and avoid unnecessary jargon that might confuse the person receiving the receipt.
Section 2: Formatting the Template
Use clear labels for each field in the template. Align all information neatly to create a structured document. For example, make sure the payer’s details are listed first, followed by the payment amount and method. An organized template minimizes errors and ensures easy filling out, especially for non-technical users.
Section 3: Tips for Customization and Use

Consider adding space for additional notes, such as payment references or transaction numbers, if needed. Customizing the template ensures it meets specific business needs and enhances the receipt’s clarity. You can also include a section for signatures, depending on your requirements. Keeping the design simple and functional is key to a practical receipt template.
- Understanding the Key Fields in a Receipt
The key fields in a receipt are straightforward and provide crucial details about the transaction. The most important elements include the transaction date, total amount, payment method, and vendor information. These fields are vital for record-keeping and potential returns or disputes.
Start with the date of the transaction. This is often the first field and indicates when the purchase occurred. It helps in verifying timelines for any follow-up actions or warranty claims.
Next, the total amount section shows the final cost of the purchase, including taxes, discounts, or fees. Ensure this matches the advertised price or the amount discussed at the point of sale.
The payment method field outlines how the transaction was completed, whether by cash, card, or another method. This is useful for reconciling statements and tracking payment history.
Vendor information is typically displayed at the top or bottom of the receipt and includes the store name, address, and contact details. Verify this to confirm where the purchase was made, especially if dealing with multiple stores or locations.
Finally, some receipts include a unique transaction or receipt number. This number is key for referencing specific purchases, especially for returns or customer support inquiries.
Accurately record the payment method for each transaction. Start by specifying whether the payment was made in cash, by check, via credit/debit card, or through online payment platforms. This helps in organizing the payment details for easy tracking and reference. For example, write “Cash,” “Credit Card (Visa),” or “PayPal” under the payment method column of the receipt.
Include Exact Payment Amounts
Be precise with the amounts received. Write the exact figure without rounding or approximating. This ensures accuracy in accounting and eliminates discrepancies during audits or reviews. For instance, write “$50.75” instead of “$51” or “$50” to avoid errors. Record the amount in a consistent format, whether using decimal points or currency symbols.
Double-Check the Payment Data

Before finalizing any entry, cross-check the payment details. Ensure that the payment method and amount match the corresponding transaction. If payment was made via a check, include the check number for clear reference. This adds another layer of accuracy and traceability to the recorded data, reducing confusion in future documentation or financial assessments.
Double-check the accuracy of personal details, such as your name and address. Small mistakes can cause delays or invalid transactions. Confirm that the spelling and numbers are correct to avoid processing issues.
Verify the amount you are writing. Ensure you are filling out the payment amount clearly and accurately, using the correct currency if needed. A simple typo can lead to an incorrect transaction.
Review the date carefully. Make sure you enter the correct date in the required format to avoid confusion or rejection of the form.
Leave no blank spaces, especially in required fields. Skipping important sections can cause the form to be returned or delayed. If a section does not apply, indicate this clearly, such as by writing “N/A” or a similar notation.
Use legible handwriting if filling out a physical form. Illegible writing can lead to errors in processing. Print clearly to prevent misunderstandings of any critical information.
Ensure the payment method details are correct. If you’re providing bank account information, verify the account number and routing details before submitting the form.
Always follow the instructions carefully. Refer to the guide provided with the form and ensure you’re following the outlined steps. Missing instructions or not adhering to the form’s structure can lead to mistakes.
Lastly, keep a copy of the completed form. Having a reference for any future inquiries or issues is always helpful to ensure all the details are intact.
Fill out a money check receipt template by following these practical steps:
- Write the payee’s name: In the first section, write the full name of the person or organization receiving the payment.
- Include the amount: Write the amount in both words and numbers to avoid confusion. Always double-check to ensure they match.
- Date the receipt: Record the exact date when the transaction occurred.
- Specify the purpose: Provide a clear description of the reason for the payment. This helps both parties understand the context of the transaction.
- Sign the receipt: Add the signature of the payer or authorized representative to validate the document.
Additional Tips for Accuracy
- Use legible handwriting: Ensure all fields are readable to avoid any misunderstandings.
- Use correct terminology: Use standard terms like “paid to” or “payment for” to maintain clarity.