Creating a money receipt template is a simple yet important task that can save time and ensure accuracy in financial transactions. A well-structured receipt helps both parties keep clear records and avoid confusion later on. A good template should include essential details such as the amount received, the date, the payer’s information, and the purpose of the payment.
Start with clear fields for the payment amount, method, and date. These are the most critical pieces of information to include. You may also want to provide space for a unique receipt number for easier tracking. Make sure the template is flexible enough to cover various payment scenarios, whether it’s cash, check, or digital transfers.
Additionally, include space for a brief description of the transaction. This will help both the payer and the recipient understand the reason for the payment without needing to look up any additional records. This is particularly useful for businesses and freelancers who handle multiple transactions regularly.
Lastly, consider adding a disclaimer or note at the bottom, especially if you are issuing receipts for large sums or for business purposes. This can help clarify terms, such as refund policies or tax-related information, ensuring transparency and trust between parties involved.
Here are the corrected lines where the same word is repeated no more than 2-3 times:
To improve clarity, avoid redundancy in receipts. Replace repeated terms with varied expressions, ensuring smooth readability.
- Example 1: “Received the amount of $100 from John for the service.” can be rephrased as “John has paid $100 for the service.”
- Example 2: “Payment of $50 has been received from the client for the product.” can be updated to “The client has paid $50 for the product.”
- Example 3: “The total amount due is $200. The amount received is $200.” can be modified to “The total due is $200, which has been fully paid.”
When structuring money receipts, prioritize clarity while minimizing word repetition. This approach keeps the document professional and easy to understand.
- Money Receipt Template Guide
A clear and well-structured money receipt template helps avoid misunderstandings and keeps a record of financial transactions. Ensure the template includes the following key sections:
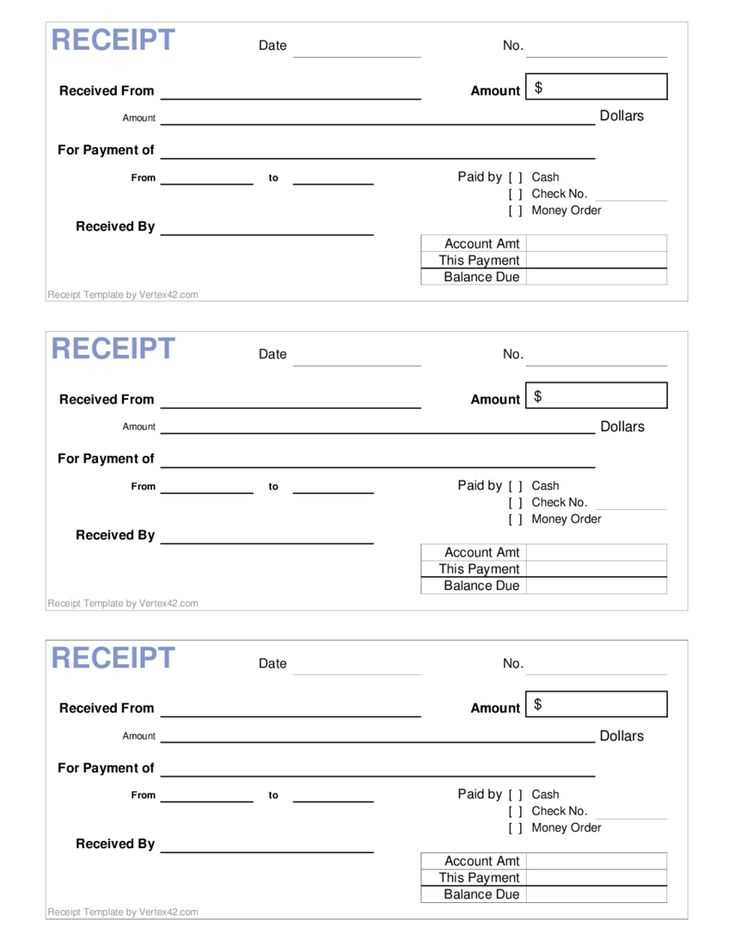
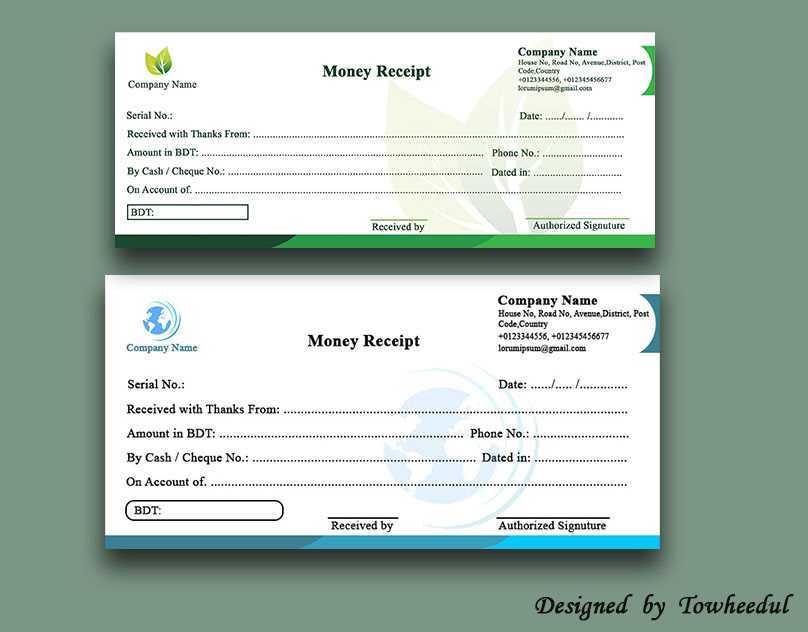
1. Receipt Title: Start with a simple title, such as “Receipt” or “Money Receipt,” to make it clear what the document represents.
2. Transaction Date: Include the exact date the payment was made. This provides a clear timeline for both parties.
3. Payer’s Information: Add the name and contact details of the person or entity making the payment. This helps identify the source of the funds.
4. Payee’s Information: Include the name and contact details of the person or business receiving the payment. This ensures clarity on who has received the funds.
5. Amount Paid: Clearly state the amount of money being received, both in numbers and words. This avoids any ambiguity regarding the sum paid.
6. Payment Method: Specify the method used for payment, such as cash, bank transfer, check, or online payment. This clarifies the nature of the transaction.
7. Description of the Transaction: Provide a brief explanation of the reason for the payment. This could include details about the goods or services provided, or a loan repayment.
8. Signature: Ensure that both parties sign the receipt to confirm the validity of the transaction. If necessary, include a space for witnesses to sign as well.
9. Unique Receipt Number: Assign a unique number to each receipt for easy tracking and reference in case of future inquiries.
Using these key elements in your money receipt template ensures clarity and provides both parties with a solid record of the transaction. Customise the template to suit the specifics of your business or personal needs.
Begin by setting up a clean structure with the necessary fields for a payment receipt. Include the payer’s and payee’s information, such as names, addresses, and contact details. Be sure to add the date of the transaction, receipt number, and the amount paid. These details ensure clarity and prevent confusion later.
Next, choose a layout that allows for easy modification. A simple table format works well, with clear sections for each detail. A row for item descriptions, another for the quantity or services provided, and a final row for the total amount make the template versatile.
Ensure the font size and style are readable and consistent. For customizations, allow space for optional fields like payment method or transaction notes. You can use placeholders or editable sections for easy updates.
Once the core structure is set, save the template in a format that can be quickly edited–consider using software like Word, Excel, or Google Docs. This gives flexibility for further changes as needed without reformatting the entire document.
For a more polished look, consider adding a company logo or footer with legal disclaimers if applicable. Ensure that these elements do not distract from the important transaction details.
Include the legal details in a money receipt by ensuring it clearly reflects the transaction’s validity. Begin with the date of the transaction and the full names of both parties involved. Specify the amount paid and the form of payment, such as cash, check, or bank transfer. Mention the purpose of the payment, especially for services rendered or goods delivered, to provide clarity on the nature of the transaction.
Ensure both parties’ contact information is included, like addresses or phone numbers, to maintain transparency. For legal protection, include a statement such as “This receipt acknowledges the payment received as per the agreement between [payer’s name] and [payee’s name].” This can help in future disputes or clarifications.
Incorporating the legal framework surrounding the transaction is necessary, especially if there are terms or conditions that both parties agreed to beforehand. For example, specify refund policies or payment terms if applicable. A clear breakdown of taxes, fees, or deductions can also enhance the legal standing of the receipt.
Lastly, always provide space for both parties to sign and date the receipt, which will confirm mutual agreement and acceptance of the payment details. A signature gives the document added credibility and shows consent from both sides.
To create personalized receipt templates quickly, begin with an online template editor. These platforms allow you to customize key details like your business logo, colors, fonts, and layout. You can easily modify the header, footer, and itemized sections, making each receipt unique to your brand.
1. Choose a Customization Platform
Use web-based platforms like Canva, Google Docs, or Microsoft Word templates. These tools offer drag-and-drop interfaces, where you can adjust the template elements with a few clicks. Canva, for example, lets you upload your logo, add specific product information, and tweak text to match your style.
2. Modify Layout and Design
Adjust the layout of your receipt to suit your business needs. Customize columns for item details, taxes, discounts, and totals. Ensure the layout is clear and user-friendly to avoid any confusion when the receipt is viewed or printed. You can also add QR codes or barcodes for easy scanning in the future.
Digital tools also let you save your design for reuse, making it easier to generate receipts in bulk. Whether you’re sending receipts via email or printing them on demand, these tools streamline the entire process. Customize fonts, colors, and even add your social media handles to the receipt for extra visibility.
To create a simple and functional money receipt template, ensure that it includes the necessary details for clarity and legal compliance. A receipt should have a clear structure, making it easy for both parties to refer to in case of discrepancies.
Key Components of a Money Receipt
Include the following items for an organized and professional receipt:
| Item | Description |
|---|---|
| Receipt Number | Assign a unique number to each receipt for tracking purposes. |
| Date of Payment | Include the exact date when the payment was made to avoid confusion. |
| Payee Details | List the name and contact details of the recipient. |
| Payer Details | Include the name and contact information of the person making the payment. |
| Amount Received | Clearly state the exact amount of money received, including currency type. |
| Payment Method | Specify how the payment was made, such as cash, check, or bank transfer. |
| Purpose of Payment | Describe the reason for the payment, such as a product purchase, service rendered, or loan repayment. |
Formatting Tips

Keep the layout clean and straightforward. Align the text to the left for readability and make sure the important details, like the amount and date, stand out with bold text or larger font size. A simple design helps avoid confusion and ensures all details are easy to understand at a glance.