Structure of a Money Receipt Template

Designing a money receipt template in HTML requires clear sections for each essential detail. Below is a recommended layout for an efficient and professional template:
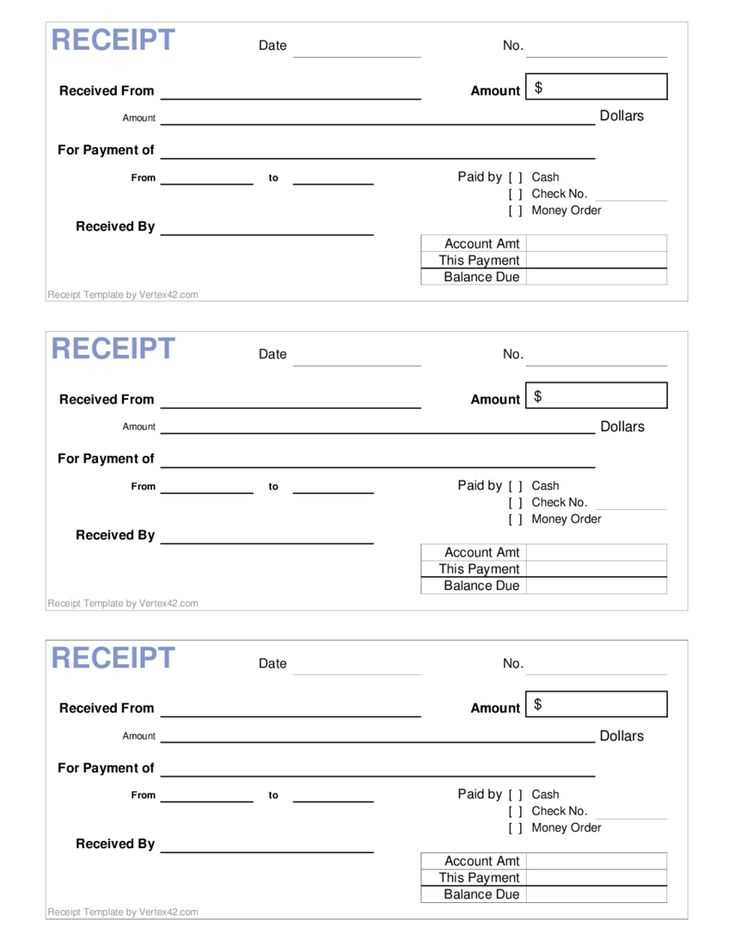
- Header: Include the company or individual name, logo, and contact information.
- Date: Display the transaction date clearly.
- Receipt Number: A unique identifier for each transaction.
- Sender and Receiver Details: Clearly list the name, address, and contact information of both parties involved in the transaction.
- Amount Received: Specify the amount received, including currency details.
- Payment Method: Indicate whether the payment was made in cash, card, or via another method.
- Signature: Provide space for signatures of both parties (if applicable).
HTML Code Example

Below is a simple HTML template for a money receipt:
<div class="receipt">
<h1>Money Receipt</h1>
<div class="company-info">
<p>Company Name</p>
<p>Address, City, Country</p>
<p>Phone Number</p>
</div>
<p>Date: <strong>[Date]</strong></p>
<p>Receipt No: <strong>[Receipt Number]</strong></p>
<h2>Sender Information</h2>
<p>Name: <strong>[Sender Name]</strong></p>
<p>Address: <strong>[Sender Address]</strong></p>
<h2>Receiver Information</h2>
<p>Name: <strong>[Receiver Name]</strong></p>
<p>Address: <strong>[Receiver Address]</strong></p>
<h3>Transaction Details</h3>
<p>Amount Received: <strong>$[Amount]</strong></p>
<p>Payment Method: <strong>[Payment Method]</strong></p>
<div class="signature">
<p>Sender's Signature: </p>
<p>Receiver's Signature: </p>
</div>
</div>
Styling Tips

To make the template visually appealing, you can add some basic CSS styling. Consider using clean fonts, space out the sections, and add borders around critical sections to highlight them. Use bold text for important details like the transaction amount and signatures to make the receipt easy to read.
Further Customization

Adjust the layout to fit your needs. Add additional fields like tax amounts or item descriptions if the receipt requires more detailed information. Keep the design straightforward for easy printing or digital saving.
Money Receipt Template HTML: A Practical Guide

Create a simple and functional money receipt template with just a few lines of HTML. Begin by structuring the layout with the basic elements: company name, receipt number, date, payer and payee details, amount, and a short description of the transaction. Use <div> for grouping sections and <p> for each piece of information. For example:
<div class="receipt">
<p>Receipt #12345</p>
<p>Date: 2025-02-13</p>
<p>Payer: John Doe</p>
<p>Amount: $100.00</p>
<p>Description: Payment for services</p>
</div>
To enhance the template, add customization features like logos or additional notes. Use <img> to embed a logo, and <span> for custom messages. Make it more professional by styling with CSS–ensure the font size and spacing make the content clear and readable.
<div class="receipt">
<img src="logo.png" alt="Company Logo">
<p>Receipt #12345</p>
<p>Date: 2025-02-13</p>
<p>Payer: John Doe</p>
<p>Amount: $100.00</p>
<p>Description: Payment for services</p>
<span>Thank you for your business!</span>
</div>
Ensure the template is printable by using @media print in your CSS to hide unnecessary elements such as navigation or footer sections. For example:
@media print {
.receipt {
font-size: 12px;
}
.footer, .navigation {
display: none;
}
}
This approach creates a simple, yet customizable money receipt that is easy to print and user-friendly. Adjust margins, fonts, and spacing to suit your needs, ensuring the final result looks professional and clean.