Choose an online receipt maker template to create receipts quickly and accurately. This tool is designed to help you customize receipts to fit your specific needs, ensuring that you have all the necessary details ready for any transaction. Whether you’re managing a business or need personal receipts, these templates provide a straightforward way to generate professional-looking documents.
By using a receipt maker template online, you can easily input key information such as the company name, date, items, and amounts. Templates allow for quick modifications, whether you need to add or remove fields, making the process seamless. This flexibility ensures that you can adapt the template to suit different transaction types without any hassle.
Using an online tool eliminates the need for complicated software or design skills. With a few clicks, you can customize fonts, colors, and layout to match your brand or personal preferences. This way, you can keep receipts consistent, professional, and aligned with your requirements.
Detailed Guide on Using Receipt Maker Templates Online
Using online receipt maker templates simplifies the process of creating professional and personalized receipts. Follow these steps to make the most out of these tools:
1. Choose the Right Template

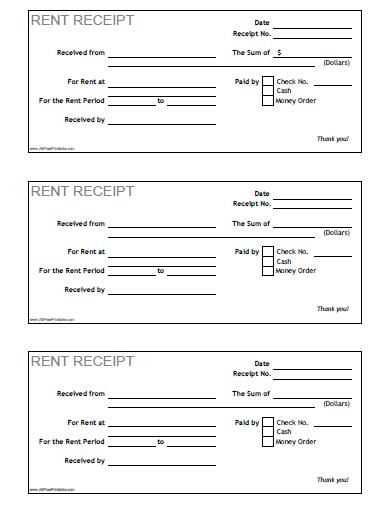
First, explore various templates based on your needs. Look for one that matches the type of transaction you’re documenting–whether it’s for a product sale, service, or donation.
2. Customize the Template
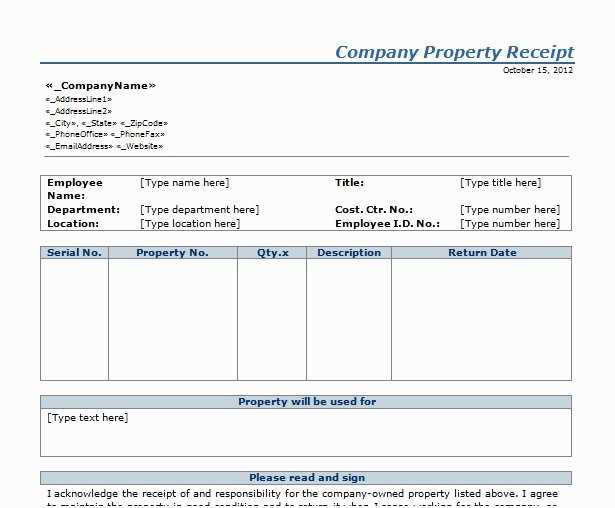
Once you’ve selected a template, personalize it with your business or personal information. This includes your company name, logo, address, and contact details. Make sure the font and layout align with your branding.
3. Add Transaction Details

Fill in the transaction details like the customer’s name, item or service description, quantity, price, taxes, and total amount due. Be precise, as this section is crucial for both record-keeping and clarity.
4. Set Payment Information
Include the payment method (cash, credit card, bank transfer, etc.) and any relevant transaction numbers. This ensures that both parties have a clear record of the payment process.
5. Review and Finalize

Before generating the receipt, double-check all entered information. Ensure there are no spelling mistakes, incorrect amounts, or missing details that could cause confusion later on.
6. Download and Share
After finalizing, download the receipt in your preferred format (PDF, PNG, etc.). You can then email it directly to your customer or save it for your own records.
7. Repeat for Future Transactions
Once you get the hang of using templates, the process becomes quicker. Simply update the fields for each new transaction, saving you time and effort on each occasion.
How to Choose the Right Receipt Maker Template for Your Business
Choose a receipt template that matches your brand’s identity and provides all the details necessary for your transactions. Look for one that allows you to easily input the customer’s information, including their name, address, and purchased items. It should also support your business logo and include a clear breakdown of the products or services provided, along with tax details and total amounts.
Customization Options
Look for templates that offer flexibility in design. Customize the layout to match your business’s aesthetic, but also ensure the template is easy to read and understand. It should allow you to adjust font sizes, colors, and placement of elements like logos and payment methods, so your receipts look professional and are easy to follow.
Compatibility and Integration
Ensure the receipt maker integrates smoothly with your existing systems, whether that’s your accounting software, point of sale, or inventory management tools. Templates that support multiple file formats like PDF or Excel can save time when archiving or sending receipts to clients.
Step-by-Step Instructions for Customizing and Generating Receipts

Begin by selecting a receipt template that suits your business needs. Choose a design that aligns with your brand identity or the type of transaction you’re documenting.
Customize the header by adding your business name, logo, and contact details. Ensure the information is clear and easy to read. You can adjust the font size, color, and positioning to match your brand style.
Next, move to the receipt body. Enter transaction details like the item description, quantity, price per unit, and total amount. Ensure accuracy by double-checking the figures before proceeding. You can add any additional charges like taxes or discounts as necessary.
Make sure to include fields for the customer’s name, address, and email if required. This will help you maintain clear records for future reference or follow-up.
Customize the footer with terms and conditions, return policies, or thank-you messages to enhance customer satisfaction. This section can also include payment methods accepted, such as credit cards, PayPal, or cash.
Once everything is customized, review the entire receipt for accuracy. Ensure all details are correct and that the layout looks professional. Many templates offer a preview option for this purpose.
Generate the receipt by clicking the “Generate” or “Download” button. Most online tools will offer the option to save it as a PDF or print it directly. Choose the format that best suits your needs.
Store a copy for your records and send the receipt to your customer via email or in person, depending on your business setup.
How to Download, Print, and Use Receipts from Online Templates
To download a receipt from an online template, first select a reliable receipt maker website. Choose a template that fits your needs and enter the necessary details, such as the date, item descriptions, prices, and contact information. Once you’ve filled out the fields, review the information and double-check for accuracy.
After reviewing, click the “Download” button, usually available in PDF or Excel formats. Most platforms offer a preview before downloading to ensure everything looks correct. Save the file to your computer or cloud storage for easy access later.
For printing, open the downloaded file on your computer. Use a printer connected to your device and select the appropriate print settings, ensuring the document is formatted to fit on standard paper sizes. If necessary, adjust margins or scale to fit. Click “Print,” and the receipt will be ready for physical use.
To use your downloaded receipt, simply attach it to your records, whether for tax purposes, reimbursement, or personal tracking. Make sure to store both the digital and printed versions in a safe place for future reference. This way, you can easily access them whenever needed.